The Zenyo Workforce Benefits feature allows organizations to offer a range of employee benefits that help attract and retain top talent. These plans enhance employee well-being, boost morale, and reduce turnover costs, providing employees with financial security and improved job satisfaction.
How to Manage Benefits Settings?
Benefits help provide employees with support beyond their salaries and improve job satisfaction.
- Click the Settings icon in the top right corner of the navigation bar and choose the Benefits menu.
- The Benefits has two submenus:
- Plans
- Groups
Plans:
Organizations can create and manage various benefit plans tailored to meet the needs and preferences of employees.
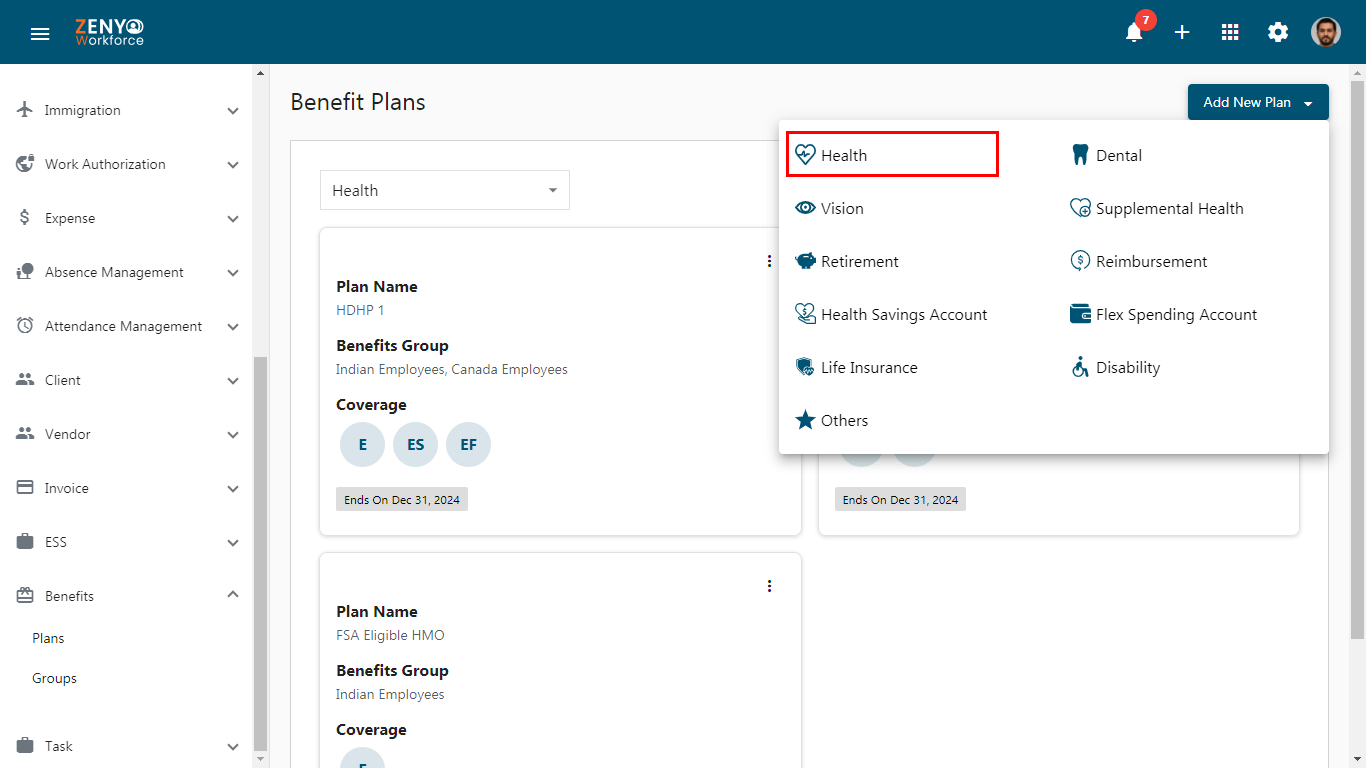
Click on Add New Plan in the top right corner and select a plan type from the dropdown menu.
Plans With Coverage:
A plan with coverage is a collection of options providing support and financial protection for employees and their beneficiaries, including health care and dental services, ensuring overall security and well-being.
There are four plans with coverage:
- Health
- Dental
- Vision
- Supplemental Health
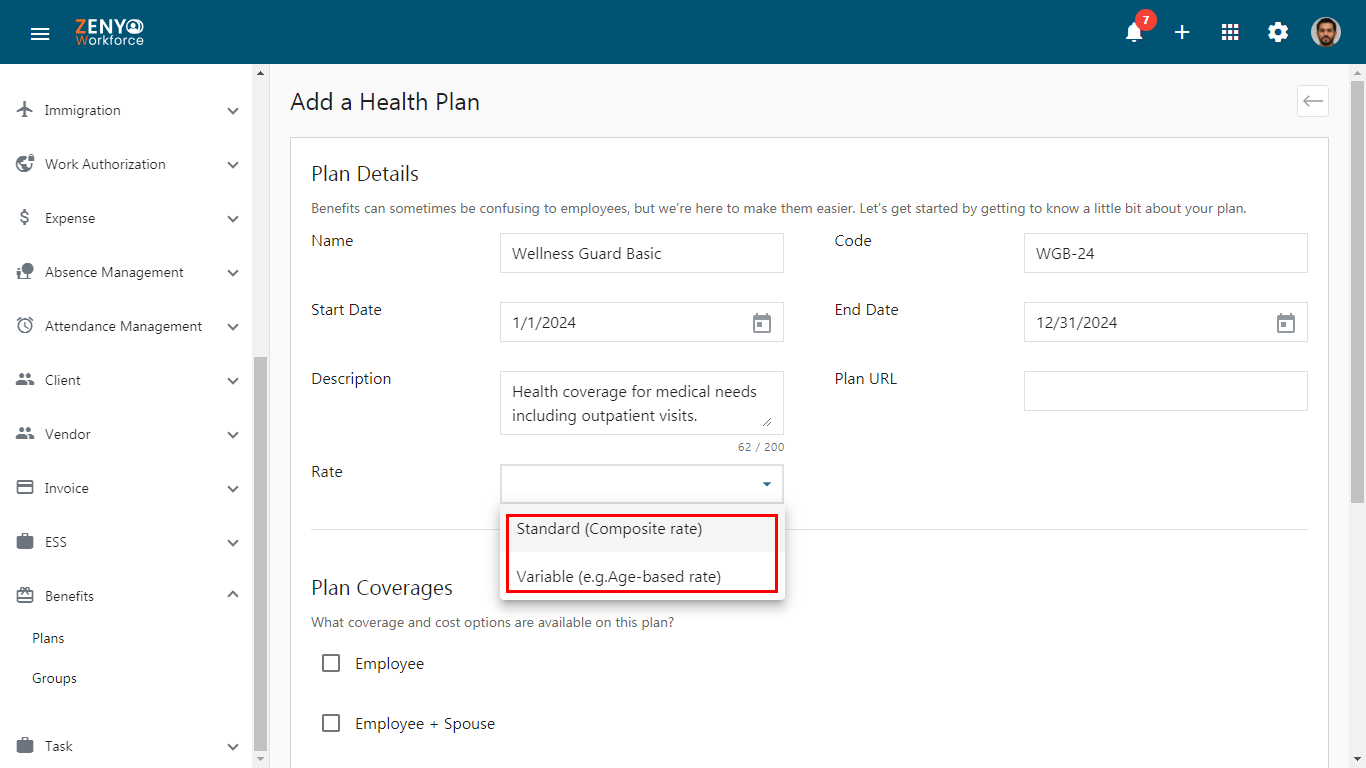
- For instance, in the Add a Health Plan section, choose Health, fill in the plan details by entering the plan’s name and code, select the date range, provide a description of the plan, and enter the plan’s URL if necessary. Then, select the rate type (either Standard or Variable).
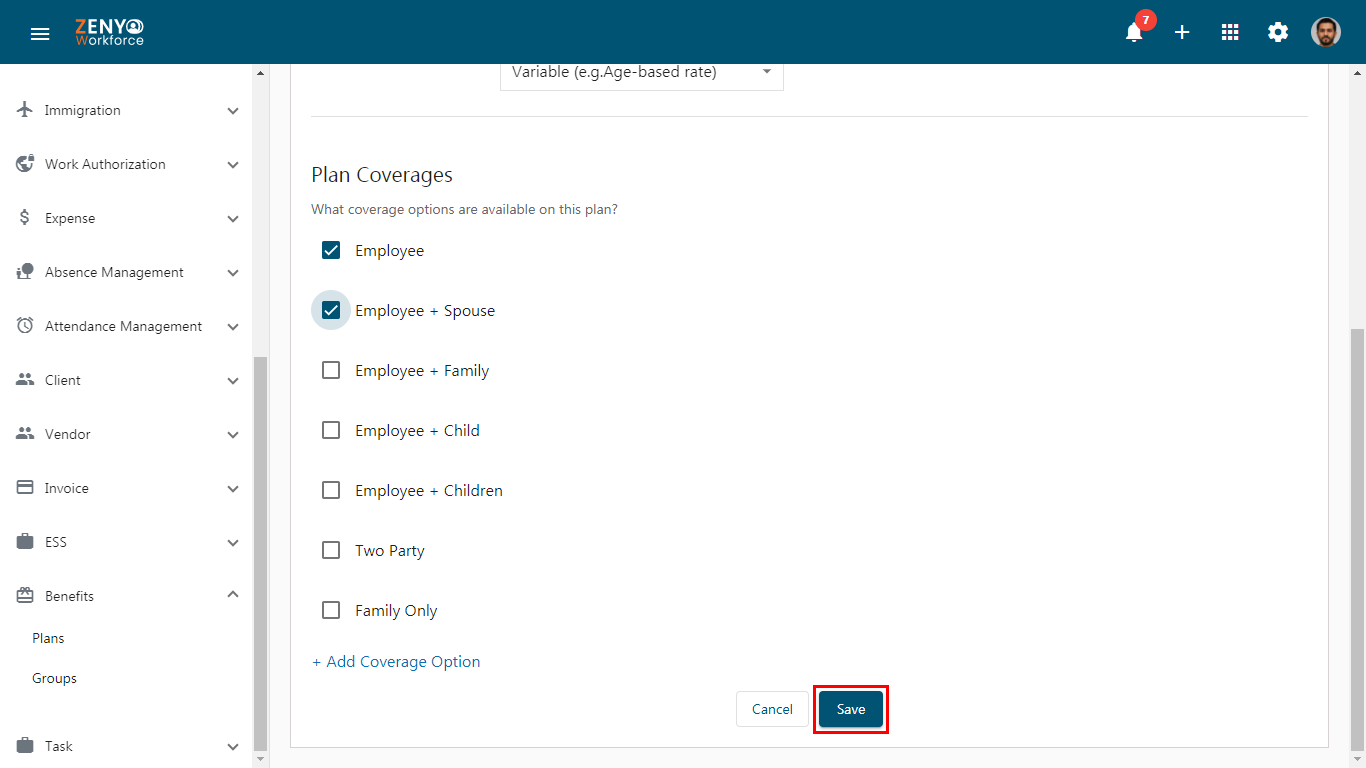
- If you choose the Standard rate, under Plan Coverages, select the checkbox for those covered by the plan.
- After selecting the checkbox, the amount field will appear, allowing you to enter the coverage amount, which will be calculated monthly.
- If you wish to add additional coverage options beyond the default ones, click on Add Coverage Options, and enter the coverage name.
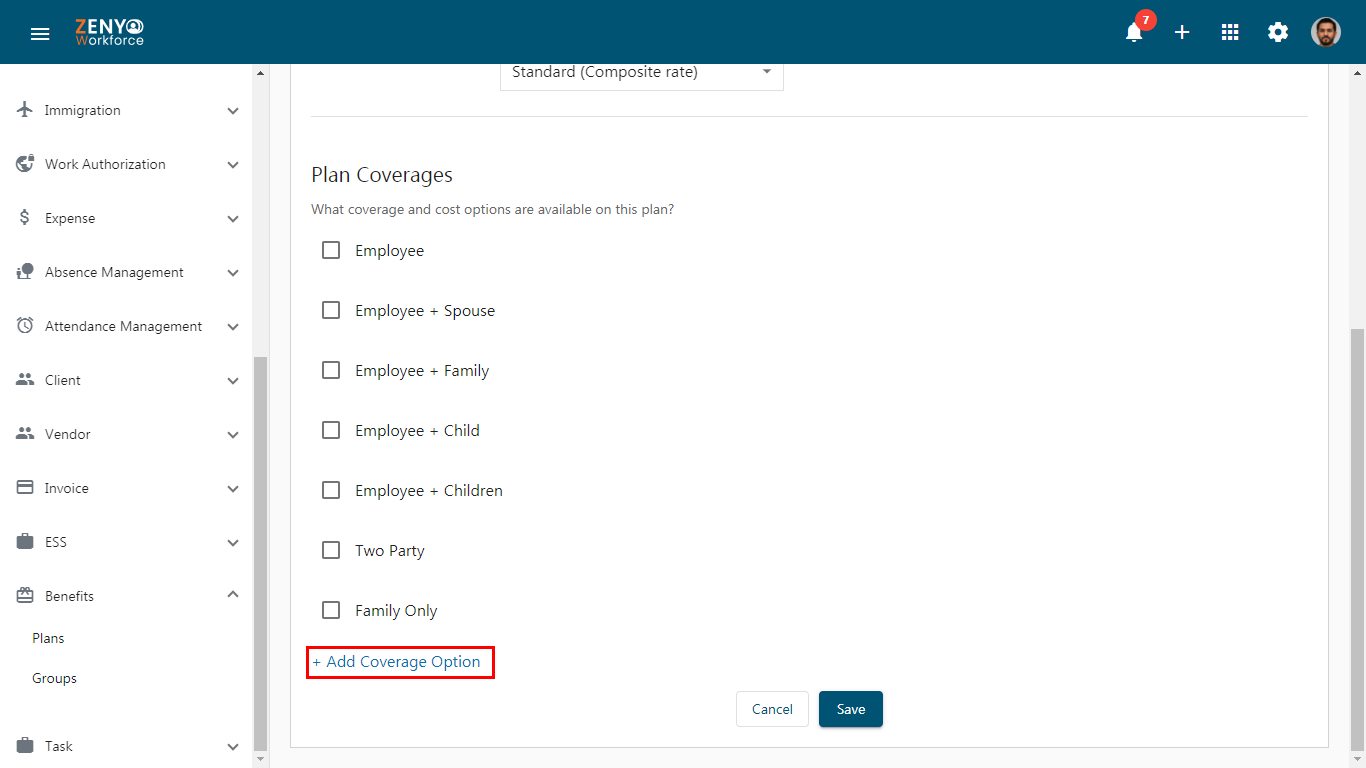
- Click the Add icon, and the amount field will appear, allowing you to enter the coverage amount.
- Finally, click on Save.
- If you choose the Variable rate, the amount field will not be displayed under Plan Coverages, and only the coverage options will appear. Simply select the desired coverage option and click Save.
- Once a plan is added, it will appear on the Benefits plans home page, with its name, end date, and coverages.
Note: This same process applies to the Dental, Vision, and Supplemental Health Plans
Plans Without Coverage:
A plan with no coverage refers to a benefits option that is applicable solely to the employee, without extending coverage to any additional persons or dependents. This plan provides benefits exclusively for the employee, without including options for family or dependent coverage.
There are five plans without coverage:
- Retirement
- Health Savings Accounts
- Life Insurance
- Disability
- Others
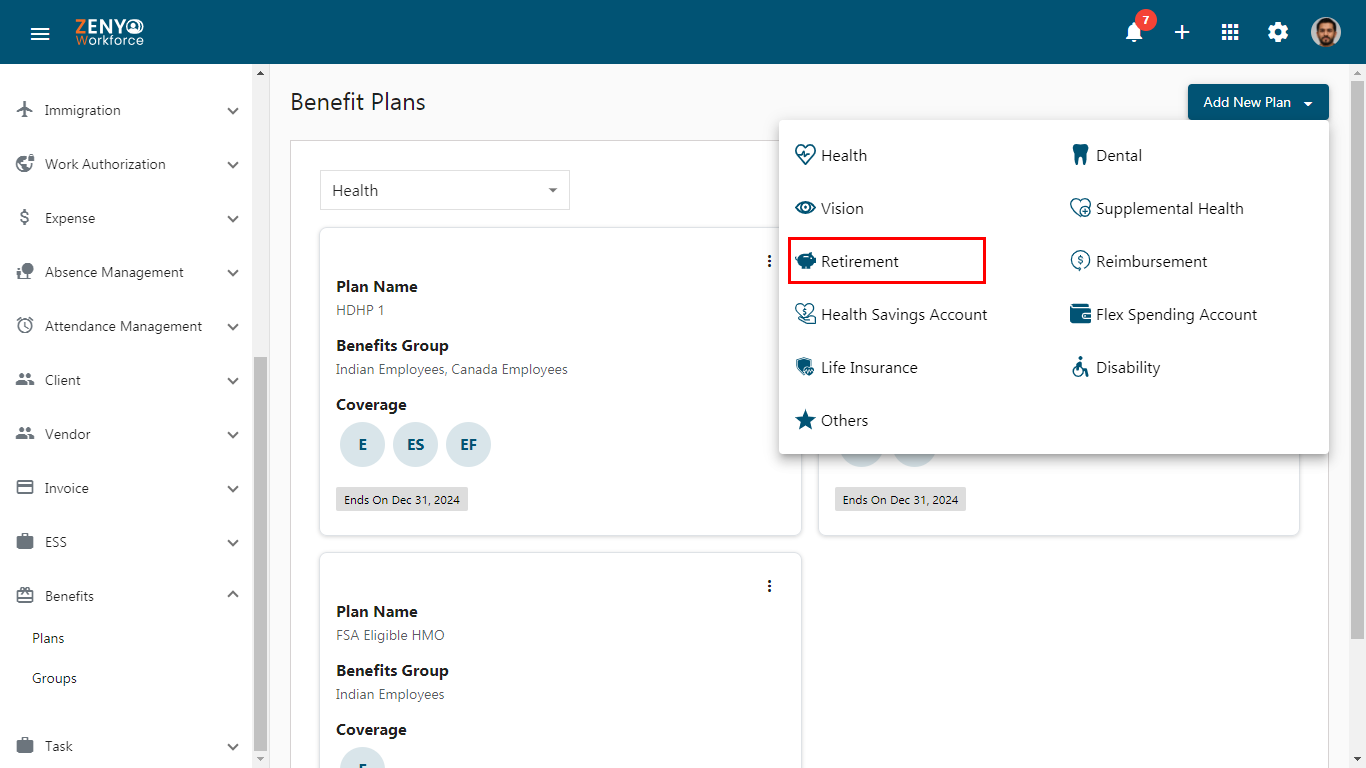
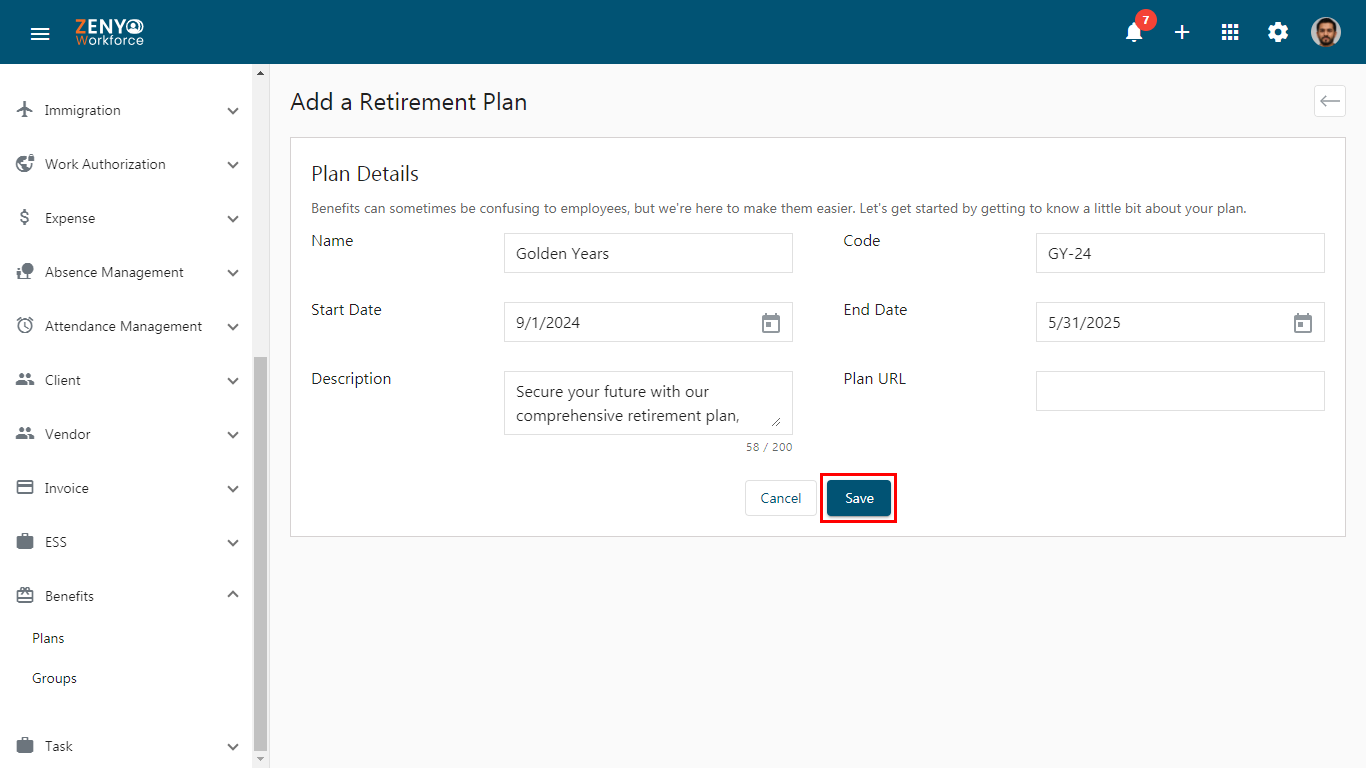
- For instance, choose Retirement. In the Add a Retirement Plan section, fill in the plan details by entering the plan’s name and code, selecting the date range, providing a description, and entering the plan’s URL if needed.
- Click on the Save. Once a plan is added, it will appear on the Benefits Plans home page, with its name and end date of the plan.
 Note: Health Savings Account, Life Insurance. Disability and other plans follow the same procedure as the retirement plan
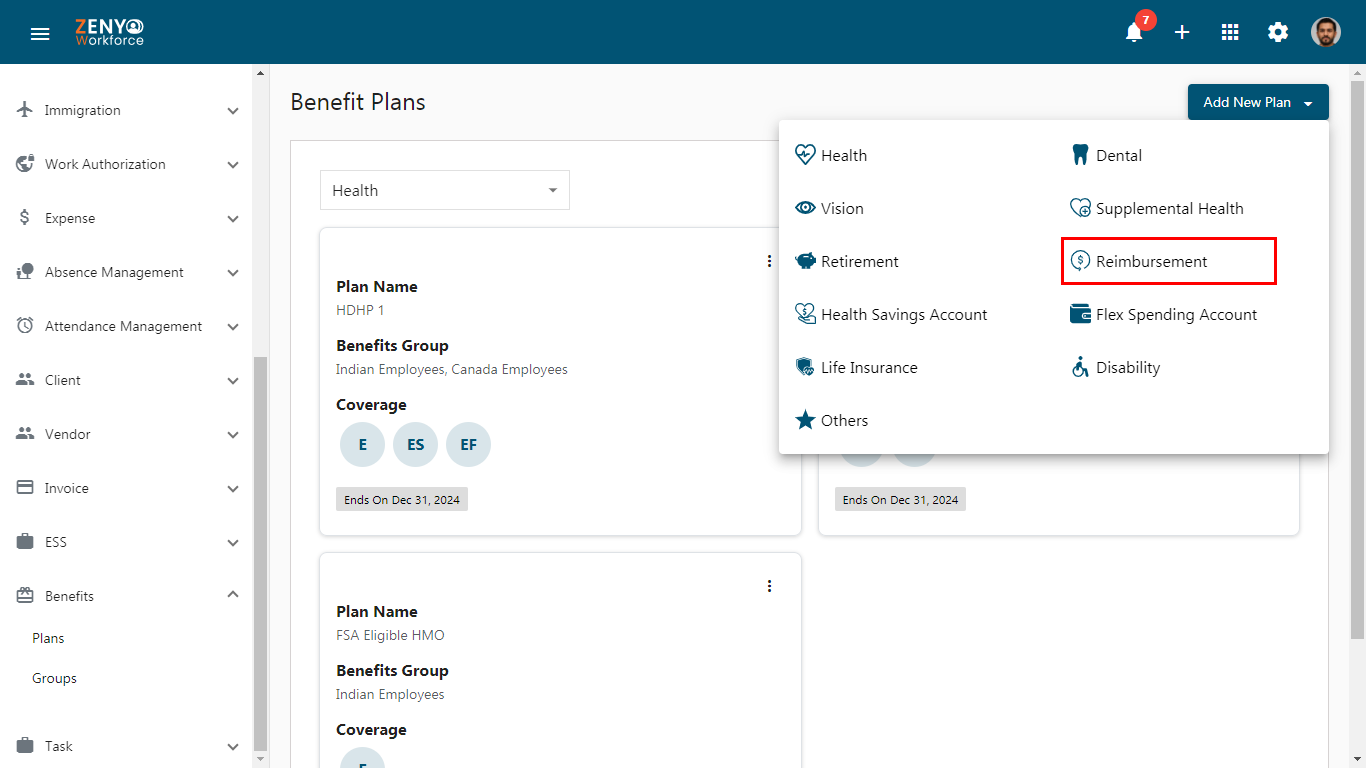
Reimbursement Plan:
A reimbursement plan is a system that reimburses employees for expenses incurred for work-related purposes, such as travel costs, including flights, accommodation, meals, and transportation, ensuring they are compensated for necessary expenditures while performing their job duties.
- Click on the Add New Plan and select the Reimbursement Plan.
- In the Add a Reimbursement Plan section, fill in the plan details by entering the plan’s name and code, selecting the date range, providing a description, and entering the plan’s URL if needed.
- Enter the amount in the Reimburse upto field.
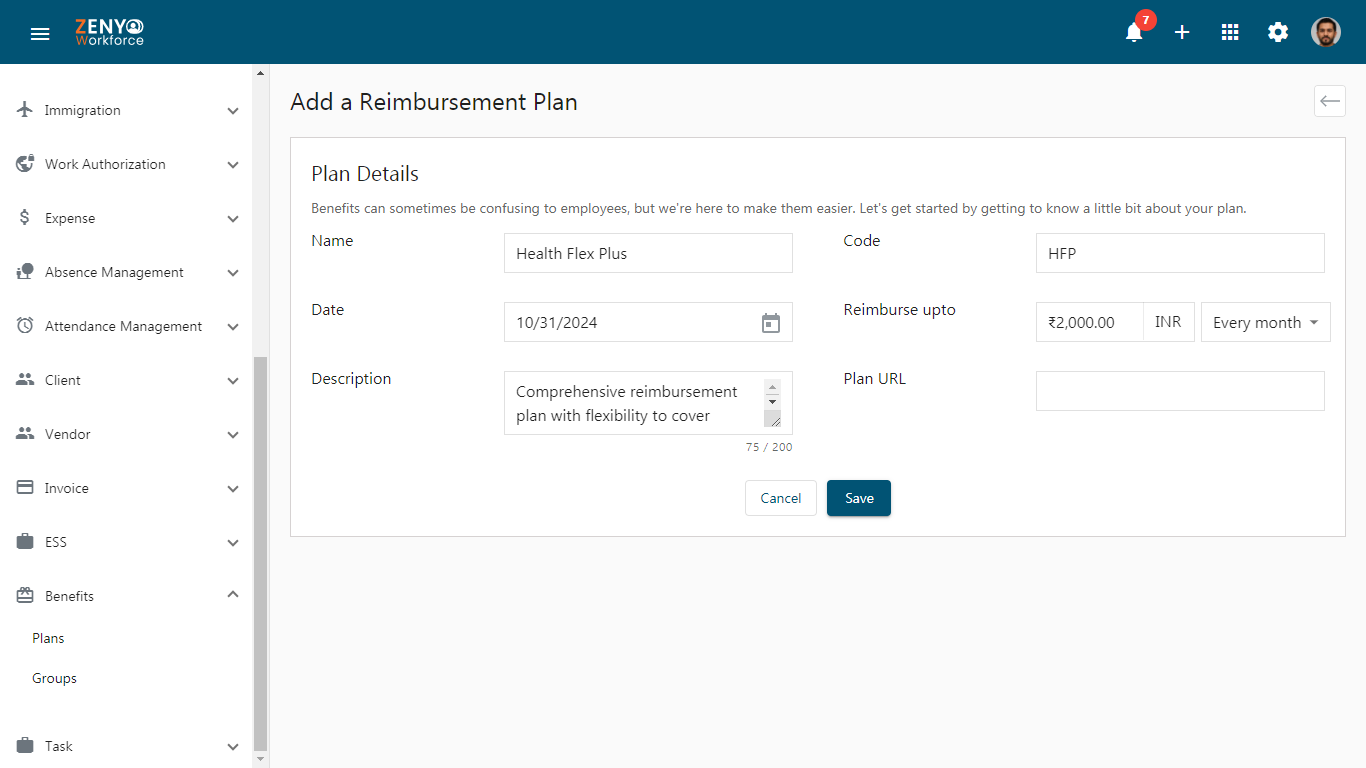
- Select the payment period by clicking the dropdown arrow and choosing from the list of period options shown (e.g., Monthly, Quarterly, etc.).
- Finally, click on the Save.
Flex Spending Account Plan:
A Flex Spending Account plan is a benefits program enabling employees to set aside pre-tax earnings for qualified medical expenses, including general health care and dependent care, offering significant tax savings and enhanced financial flexibility for managing health-related costs.
- In the Add a Flex Spending Account Plan section, fill in the plan details by entering the plan’s name and code, selecting the date range, providing a description, and entering the plan’s URL if needed.”
- Select the Type (Purpose of the Plan) by clicking the dropdown and choosing from the list of Purposes options shown (e.g., General Health Care Purpose, Dependent Health Care Purpose).
- General health care encompasses a wide range of medical services focused on maintaining and improving individuals’ overall health and well-being.
- Dependent care refers to services supporting individuals unable to care for themselves, such as children, elderly family members, or those with disabilities.
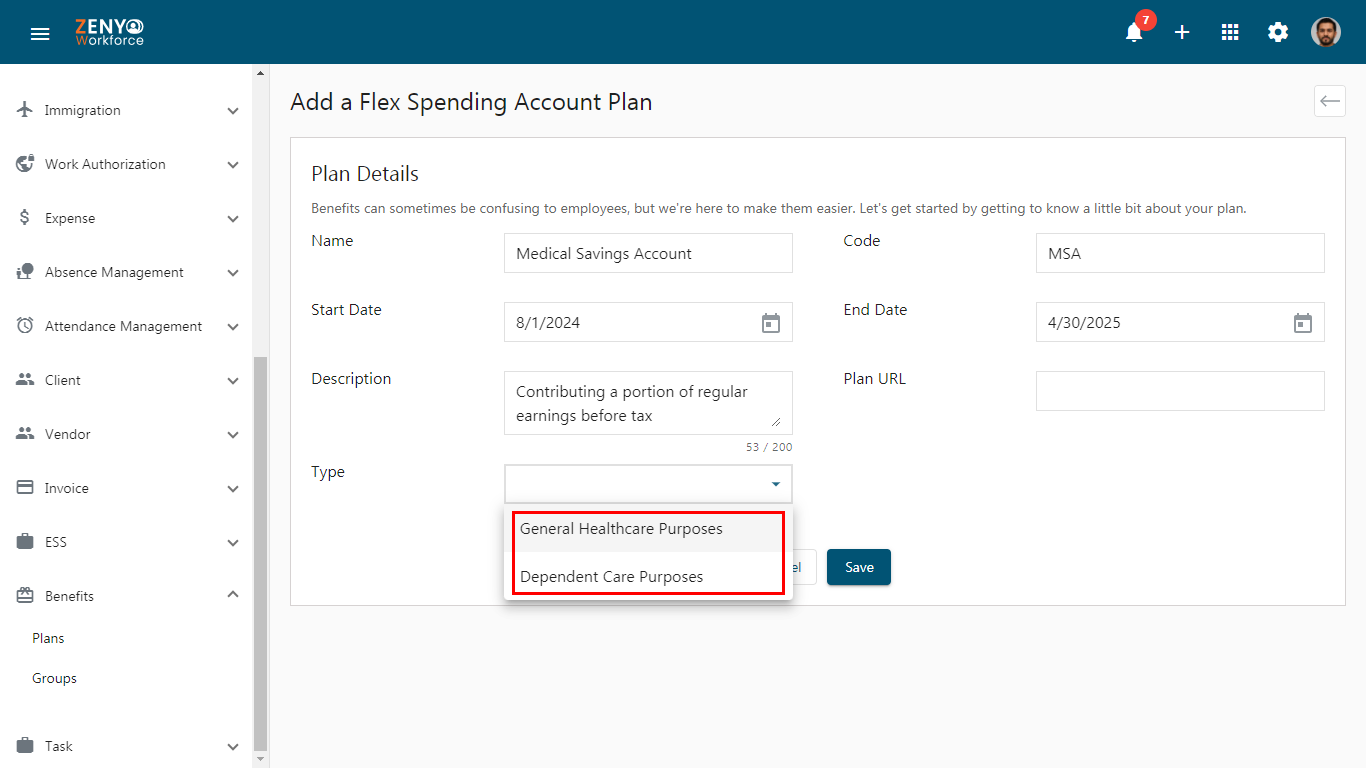
- Click on the Save.
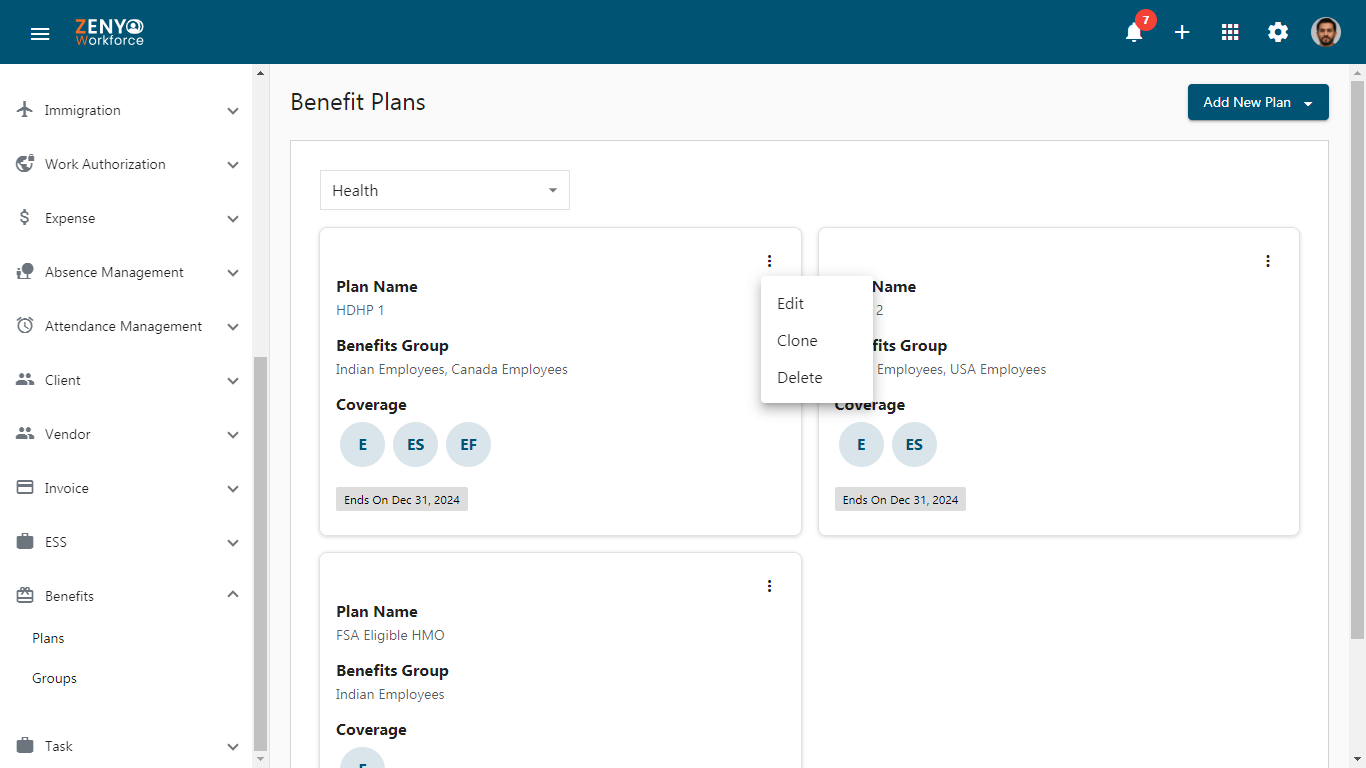
Edit/Clone/Delete Plans:
To edit, clone, or delete a plan, first select the desired plan type by clicking the dropdown and choosing from the list. Under the selected plan type, plans will be displayed on the Benefits Plans home page.
Click on More Options
- Select Edit to modify the plan details.
- Click Delete to remove the plan.
- Choose Clone to create a duplicate copy of the plan
Click the link under the Benefits Group section to create a group and add plans to it. This will redirect you to the group submenu within the Benefits section.