Organize your client information in one place. Optimize client management processes through configurable workflows. Whether onboarding fresh clients or updating existing details, outline stepwise actions, and documentation involved.
How to Manage Client Information?
- Click on the Settings icon in the top right corner of the navigation bar.
- Navigate to the Client menu and select the Contact Type submenu.
To add a Contact Type
- On the Client Contact Type page, a list of predefined and previously created Contact Types is displayed.
- Edit the Contact Type name by using the Edit icon.
- Click on the Delete icon to delete the contact type.
- To find a specific contact type name, use the search bar provided.
- To create a new contact type, click the Add button. Enter a valid contact type for the client. Click Save, and the client contact type is successfully added.
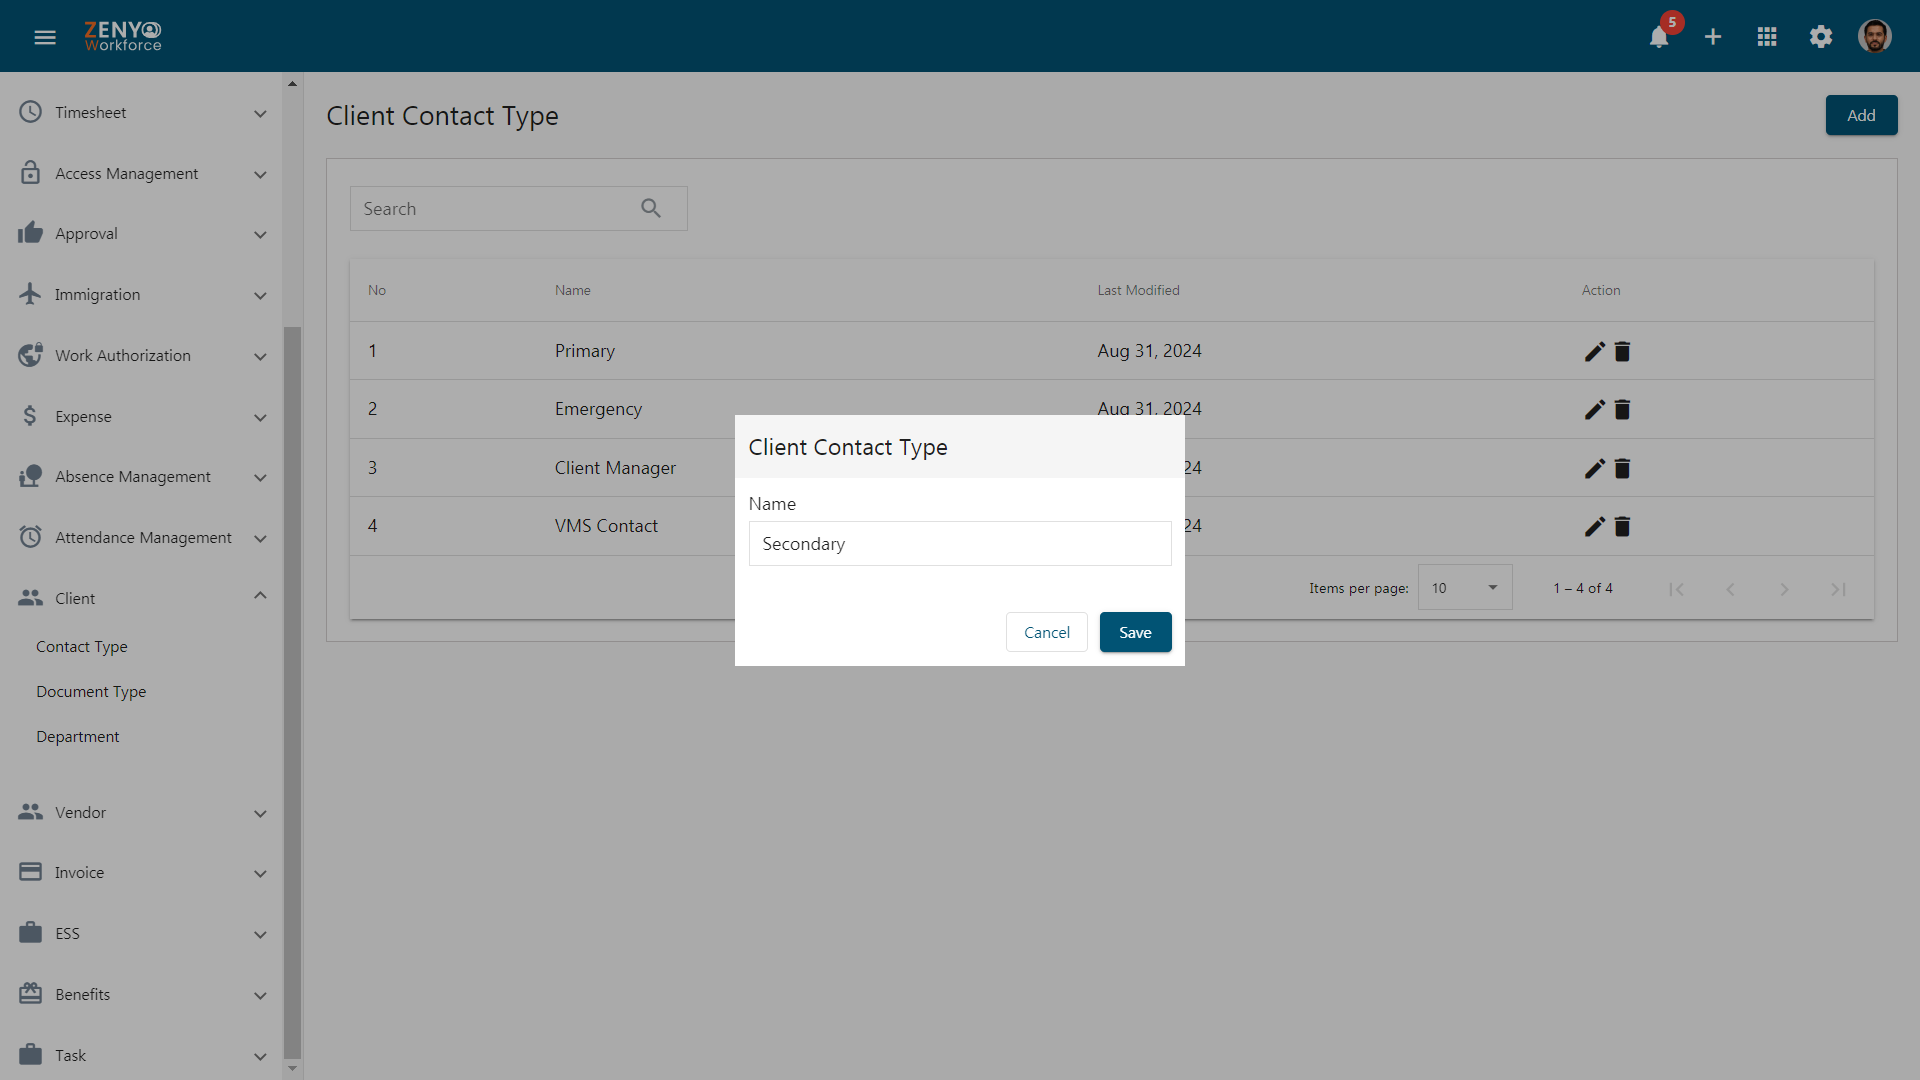
- Now the newly created contact type appears in the list.
To add a Document type
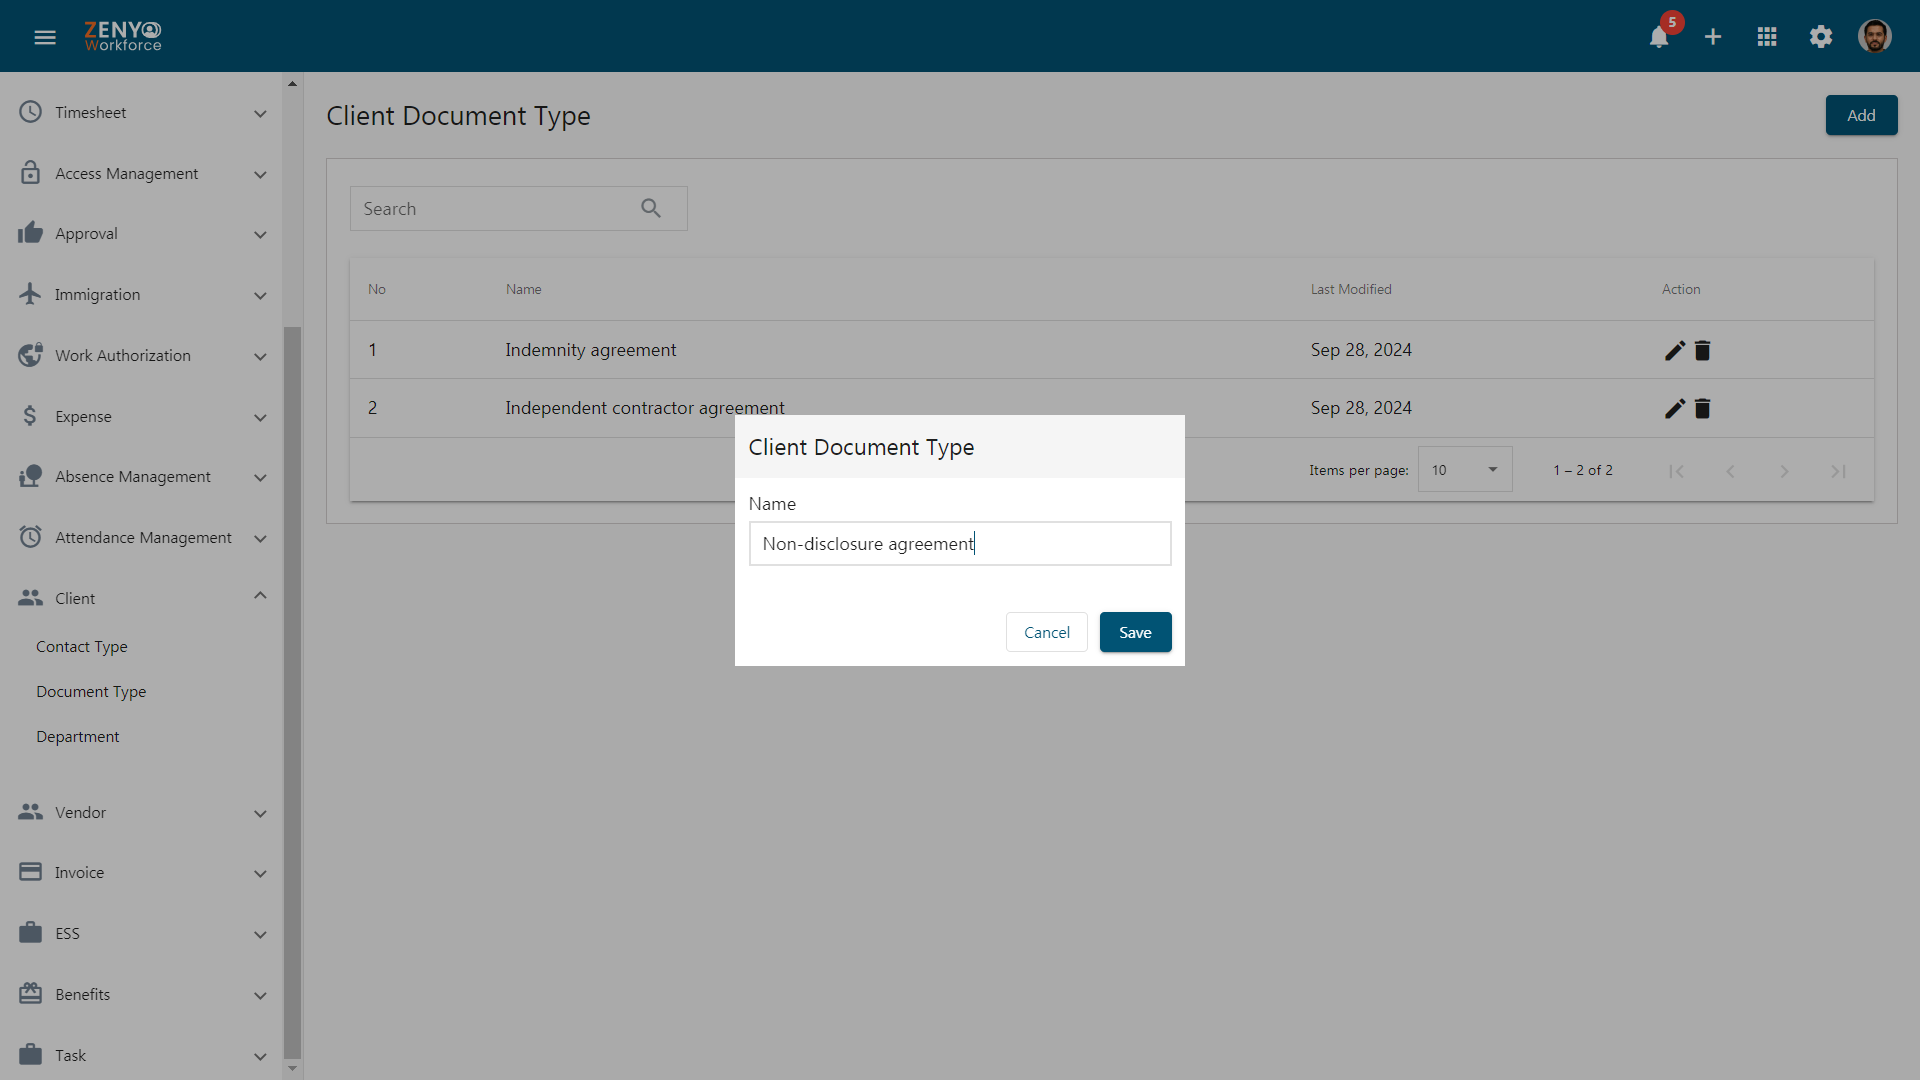
- Click the Document Type sub-menu to view the listed document types.
- Edit or delete a Document Type using the Edit and Delete icon.
- Add a new Document Type by clicking the Add button.
To add a Department
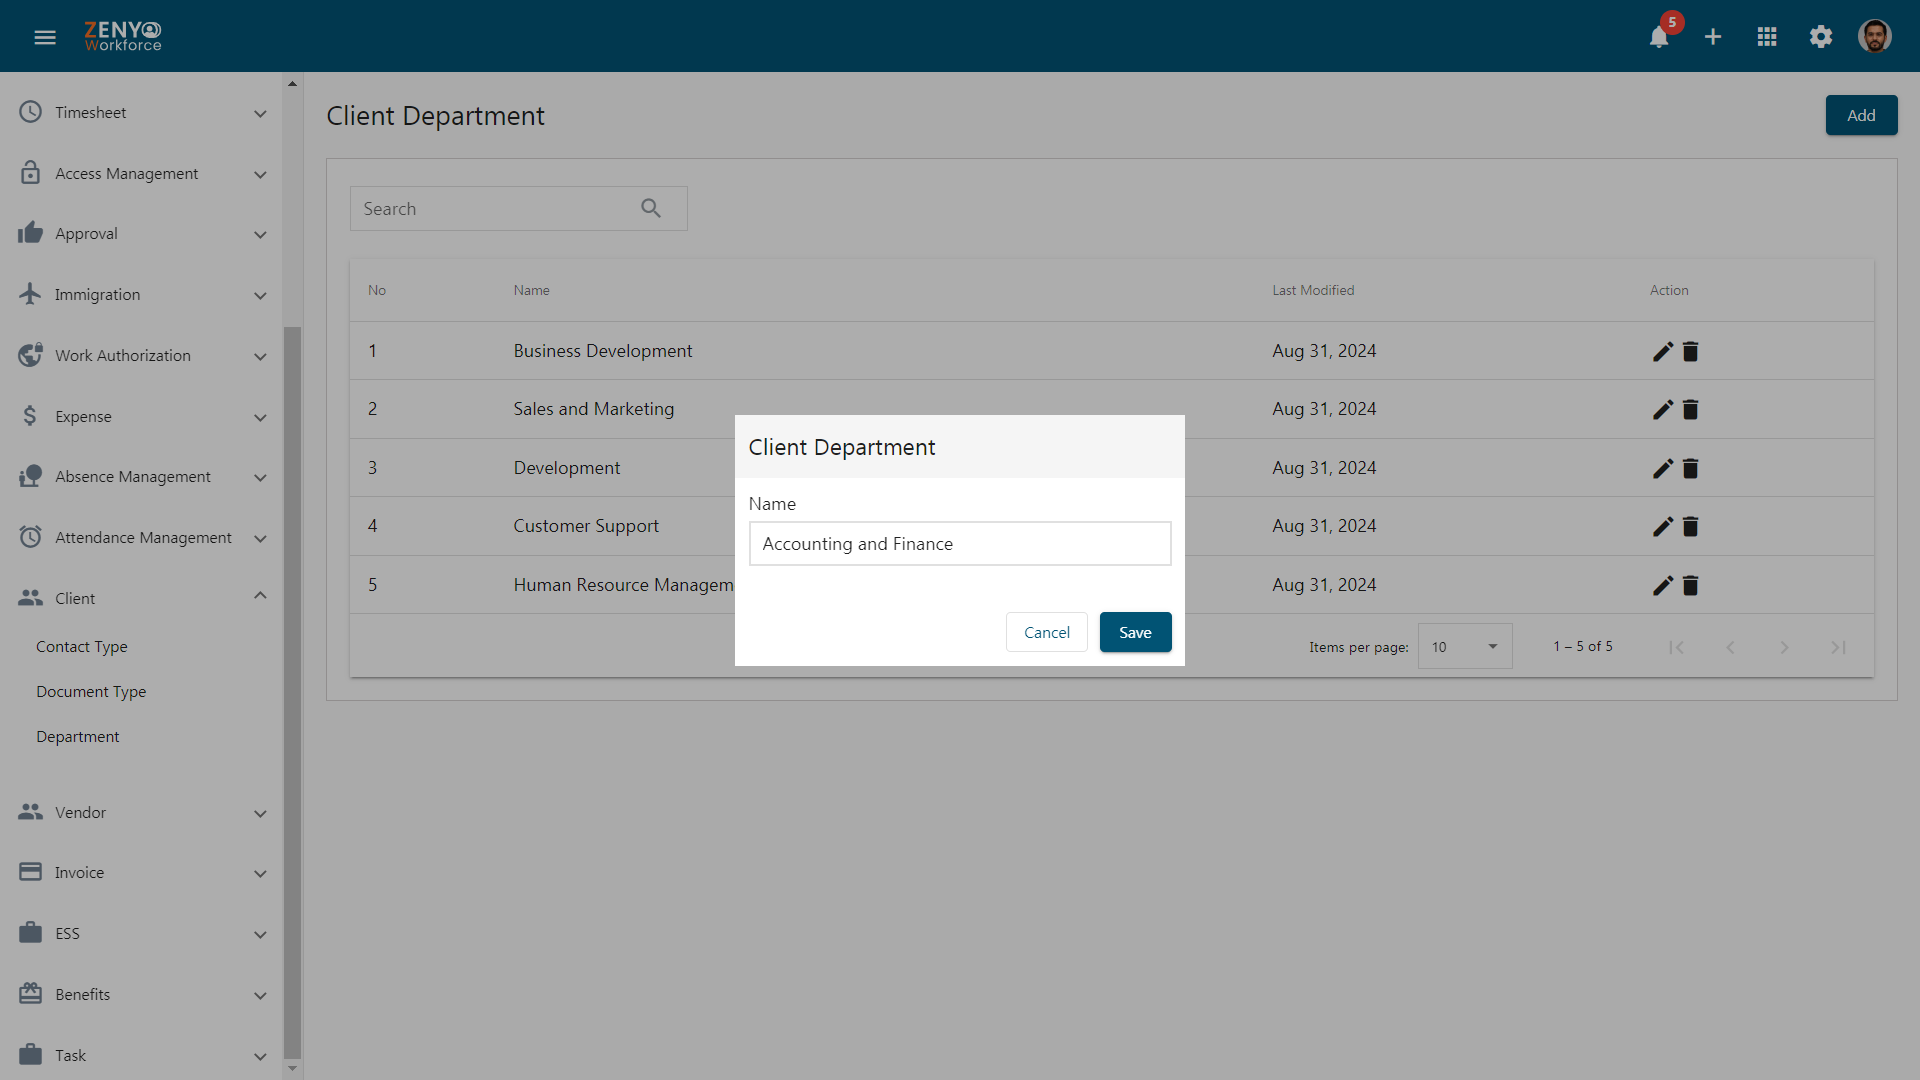
- Click on the Department submenu. A list of existing departments is displayed.
- Use the Edit icon to modify a department or the Delete icon to remove it.
- To add a new department, click the Add button. Then, enter a name for the department in the designated field. Finally, click Save to complete the process.
How to Add Clients?
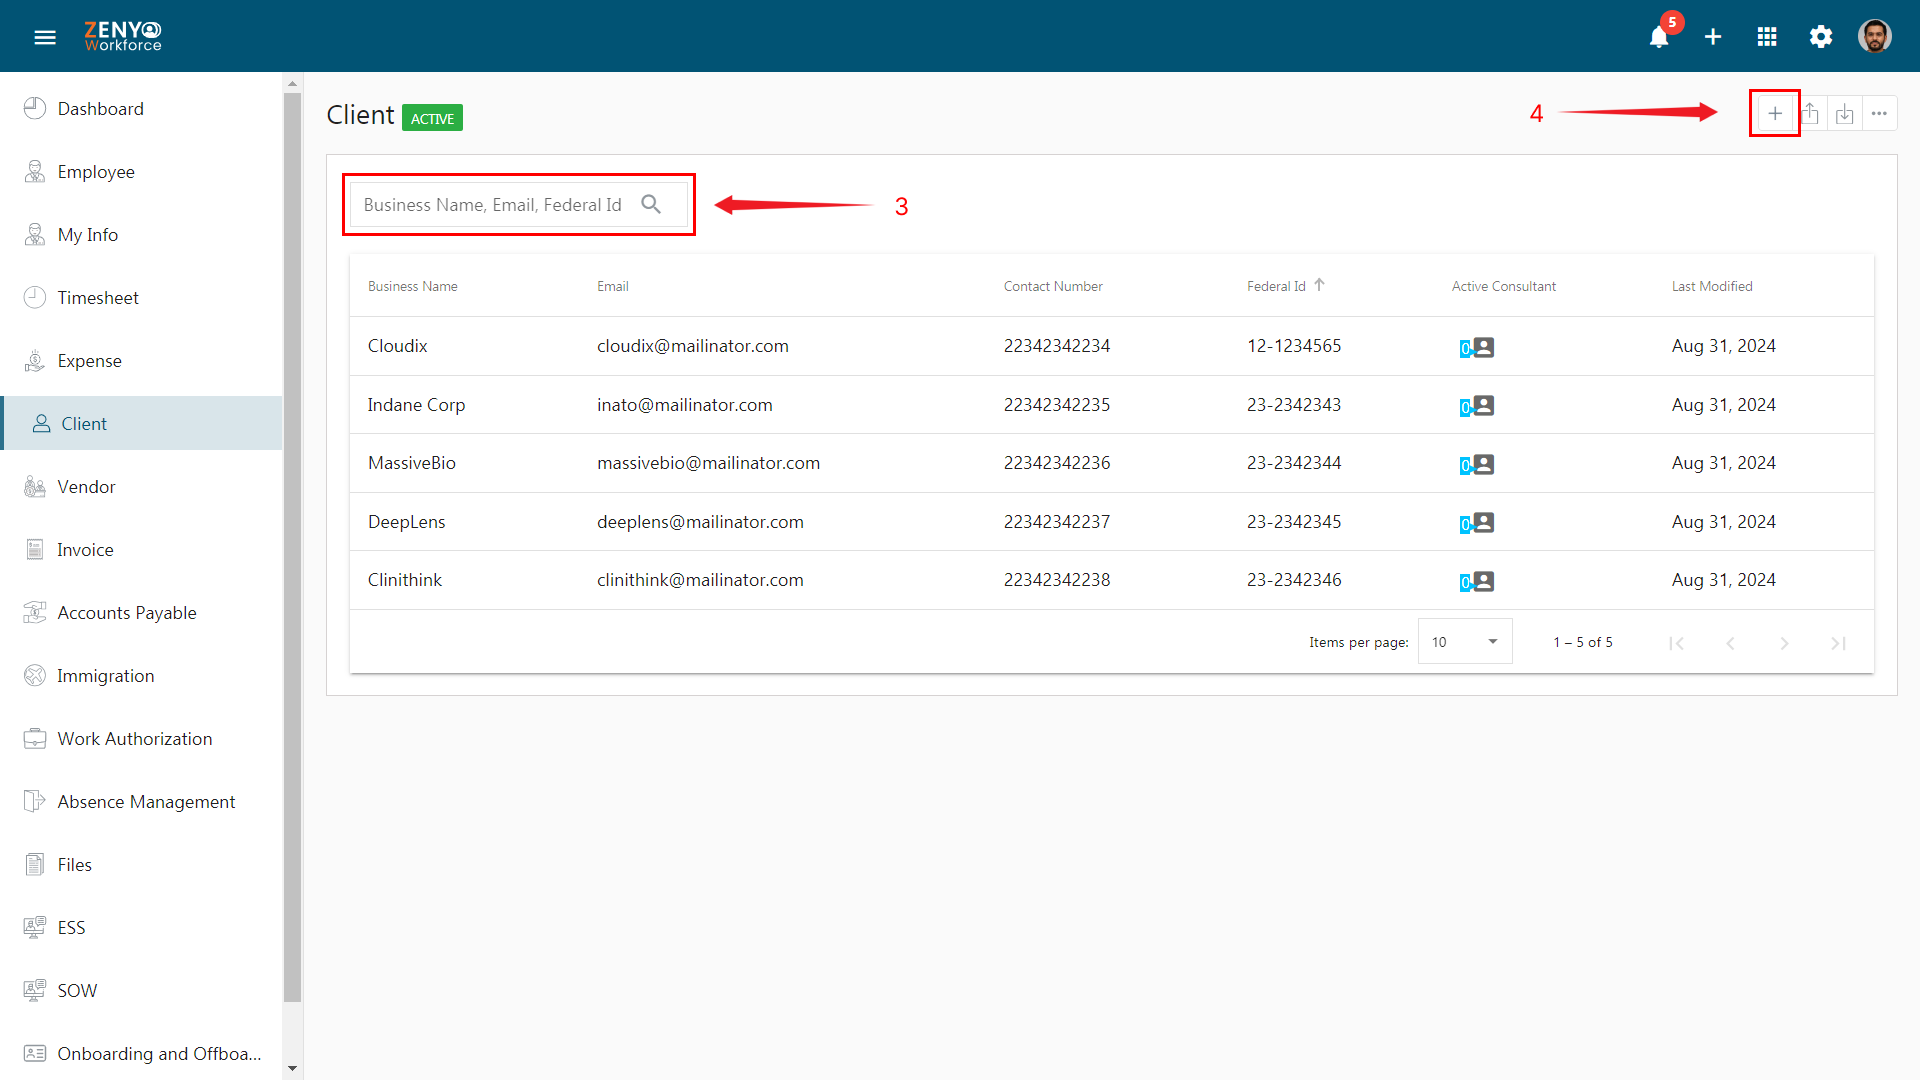
- Navigate to the Client menu.
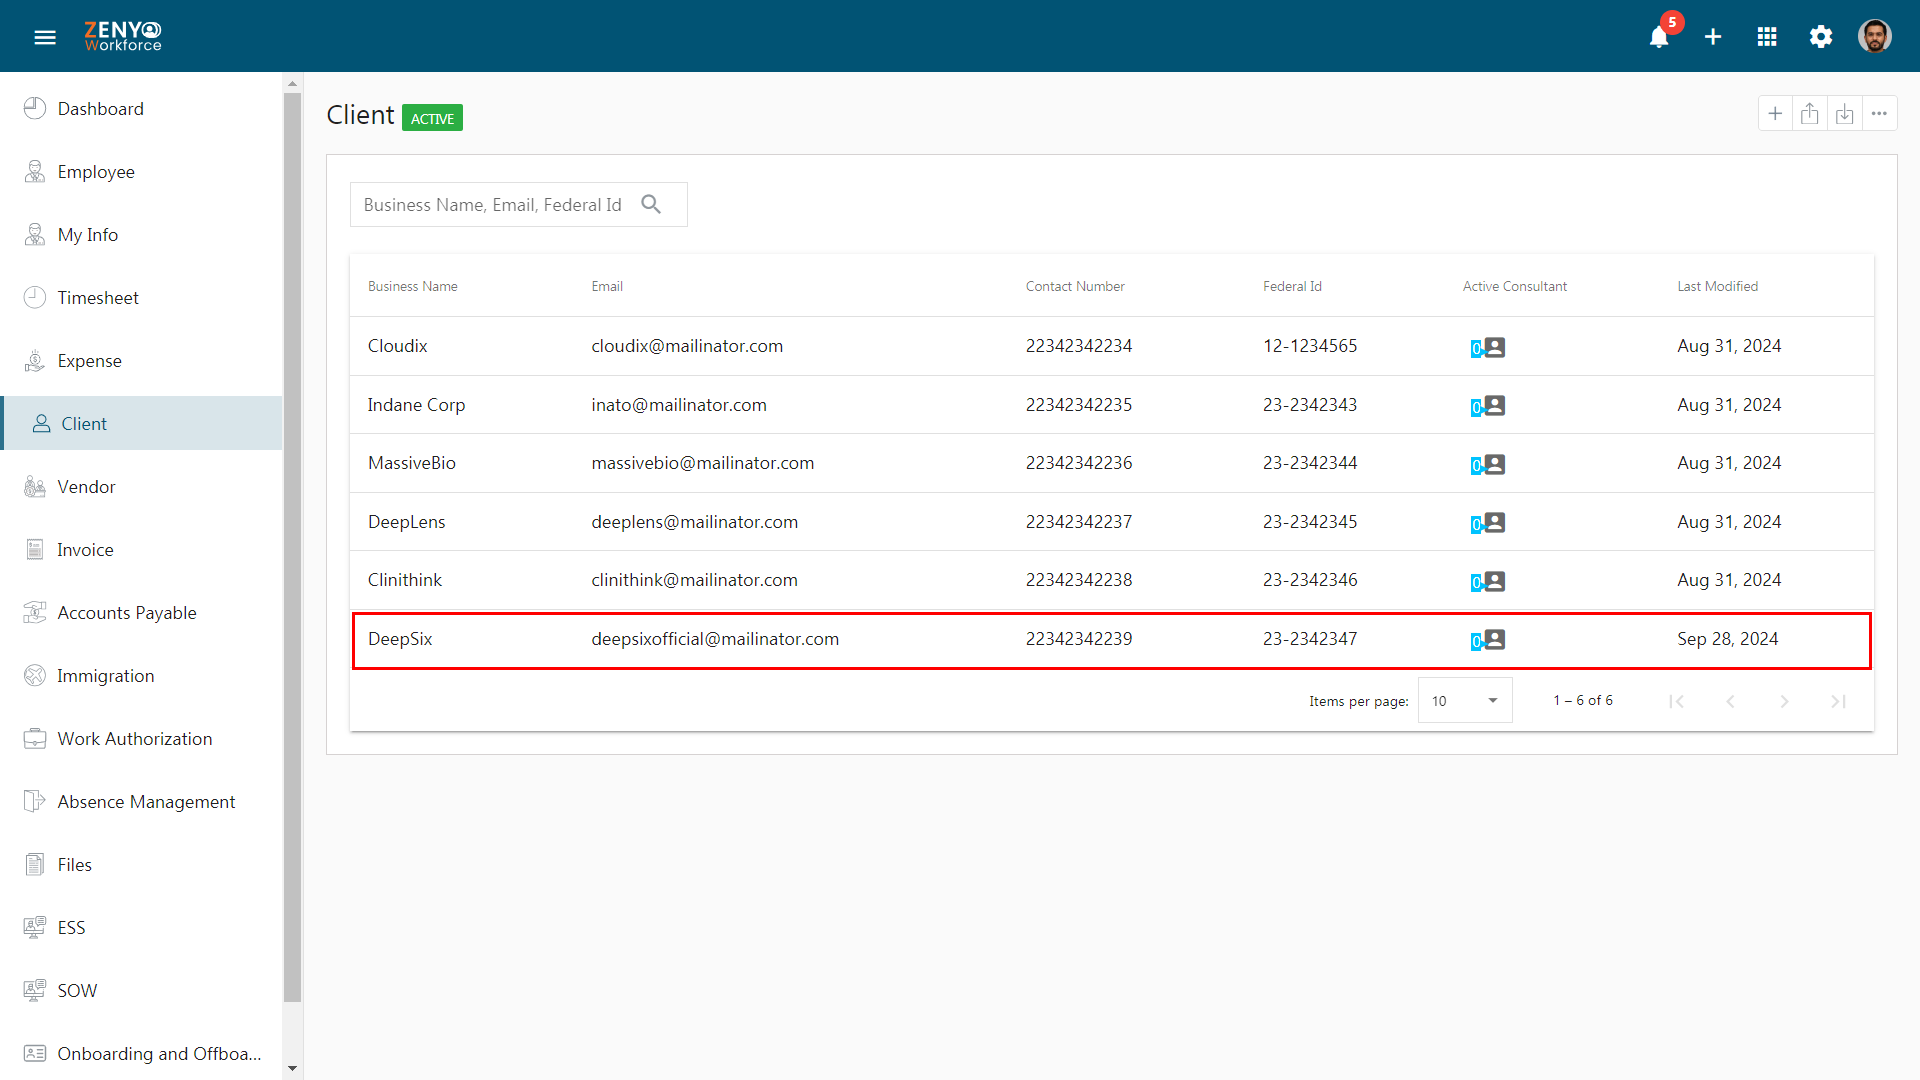
- On the Client page, the list of existing clients along with their Business Name, Email, Contact Number, Federal ID, Active Consultant, and Last Modified date will be displayed.
- Search for a Client using their Business Name, Email, or Federal ID.
- Click on the Add icon to add a new client.
- In the General section. Enter the client’s information including their Name, Email, Contact Number, and Federal ID. Also, provide their Website and Fax number if available. Additionally, fill in the Address and City. Choose the Country and State, then enter the Zip Code.
- Now fill in the Net Terms value, in order to specify the due date for invoice generation.
- In the Code Generation section, Enter the prefix value of the particular code and the increment value for Job Code.
- Enter the prefix value and the increment value for Invoice Number and Work Order also.
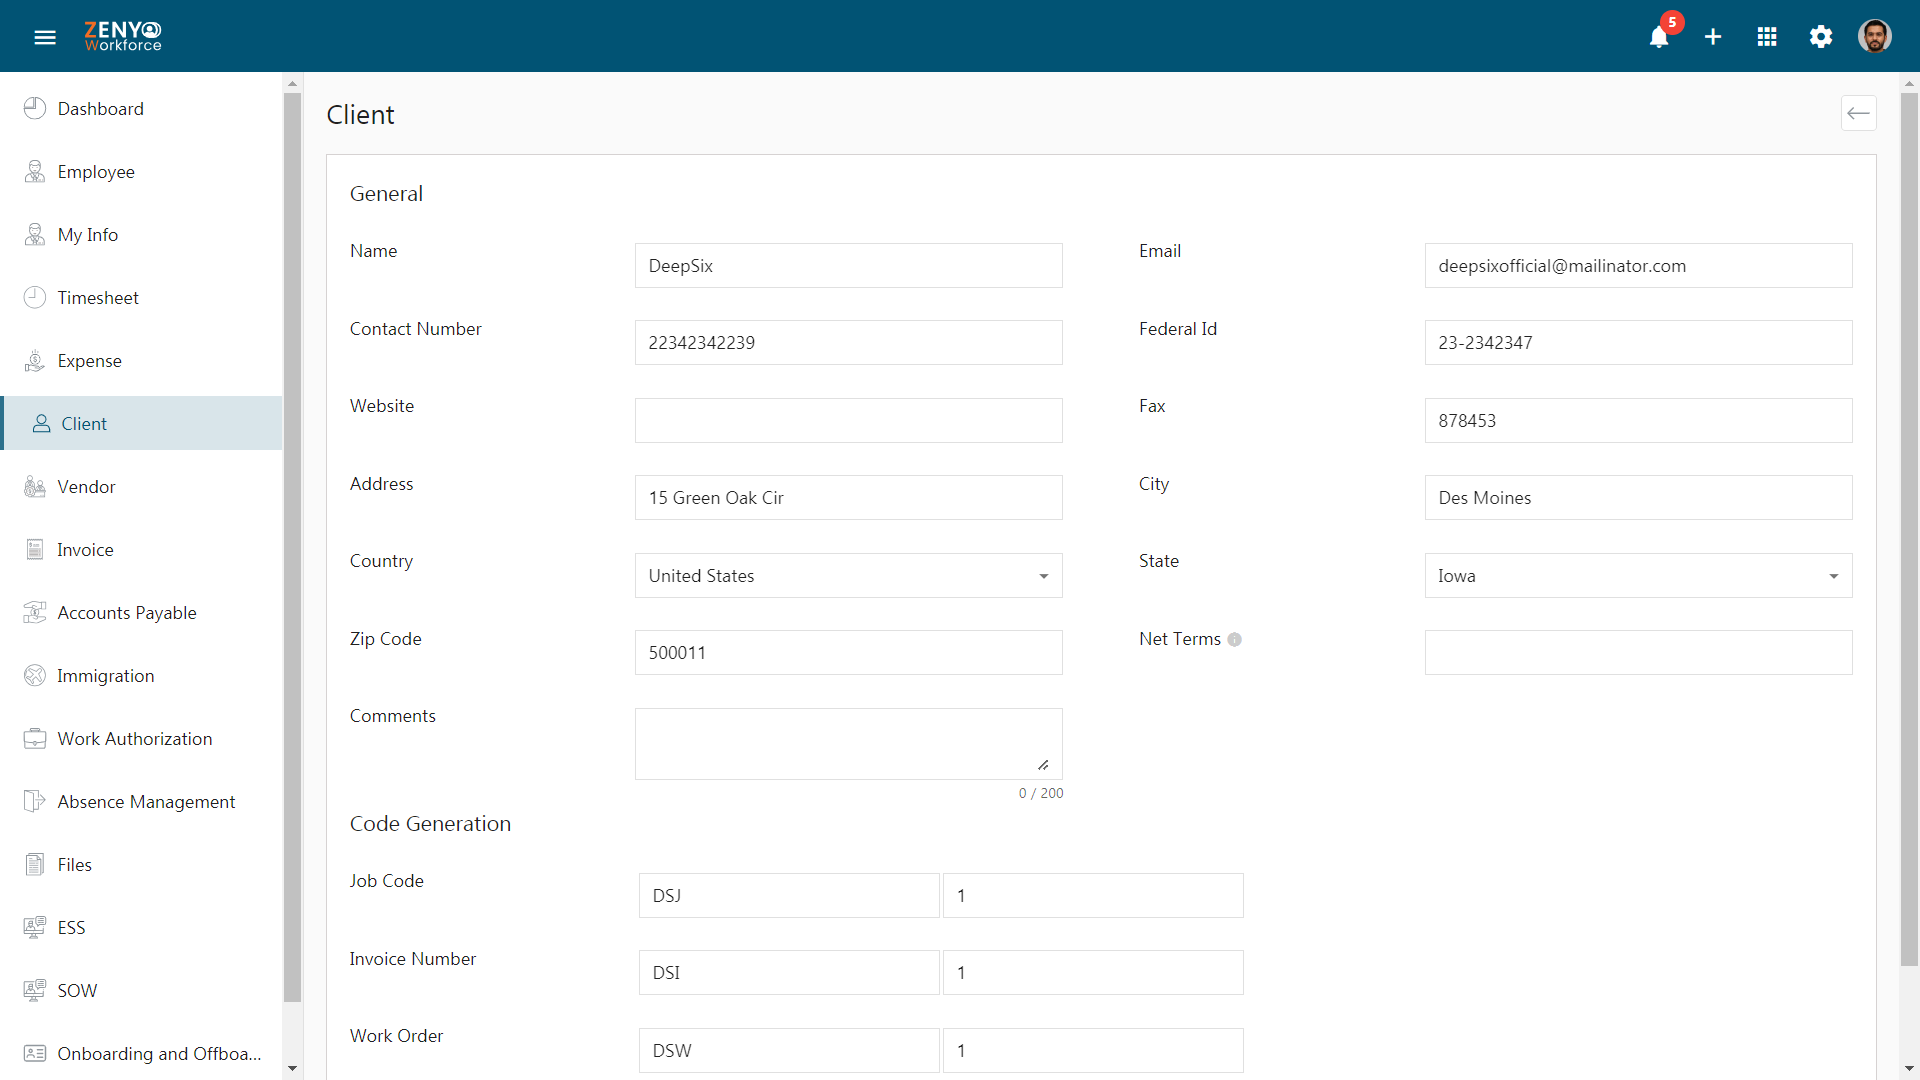
- Click Save.
- To view details and further edit this client information, click on the record. This will redirect you to that client’s page.
How to Access Client Information?
The information is organized under 6 tabs.
- Business Information
- Contact
- Office location
- Invoice Location
- Documents
- SOW Template
- In the Business Information tab, you’ll see all the details you initially entered for the client. Make the necessary changes and click Update to save the changes.

- Navigate to the Contact tab.
- Click on the Add button to input the contact details of the client. Choose a Contact Type from the dropdown. Then, fill in the fields for Name, Email, Contact Number, Designation, Gender, Address, and City. Select the Country and State, and enter the Zip Code. Finally, click Save.
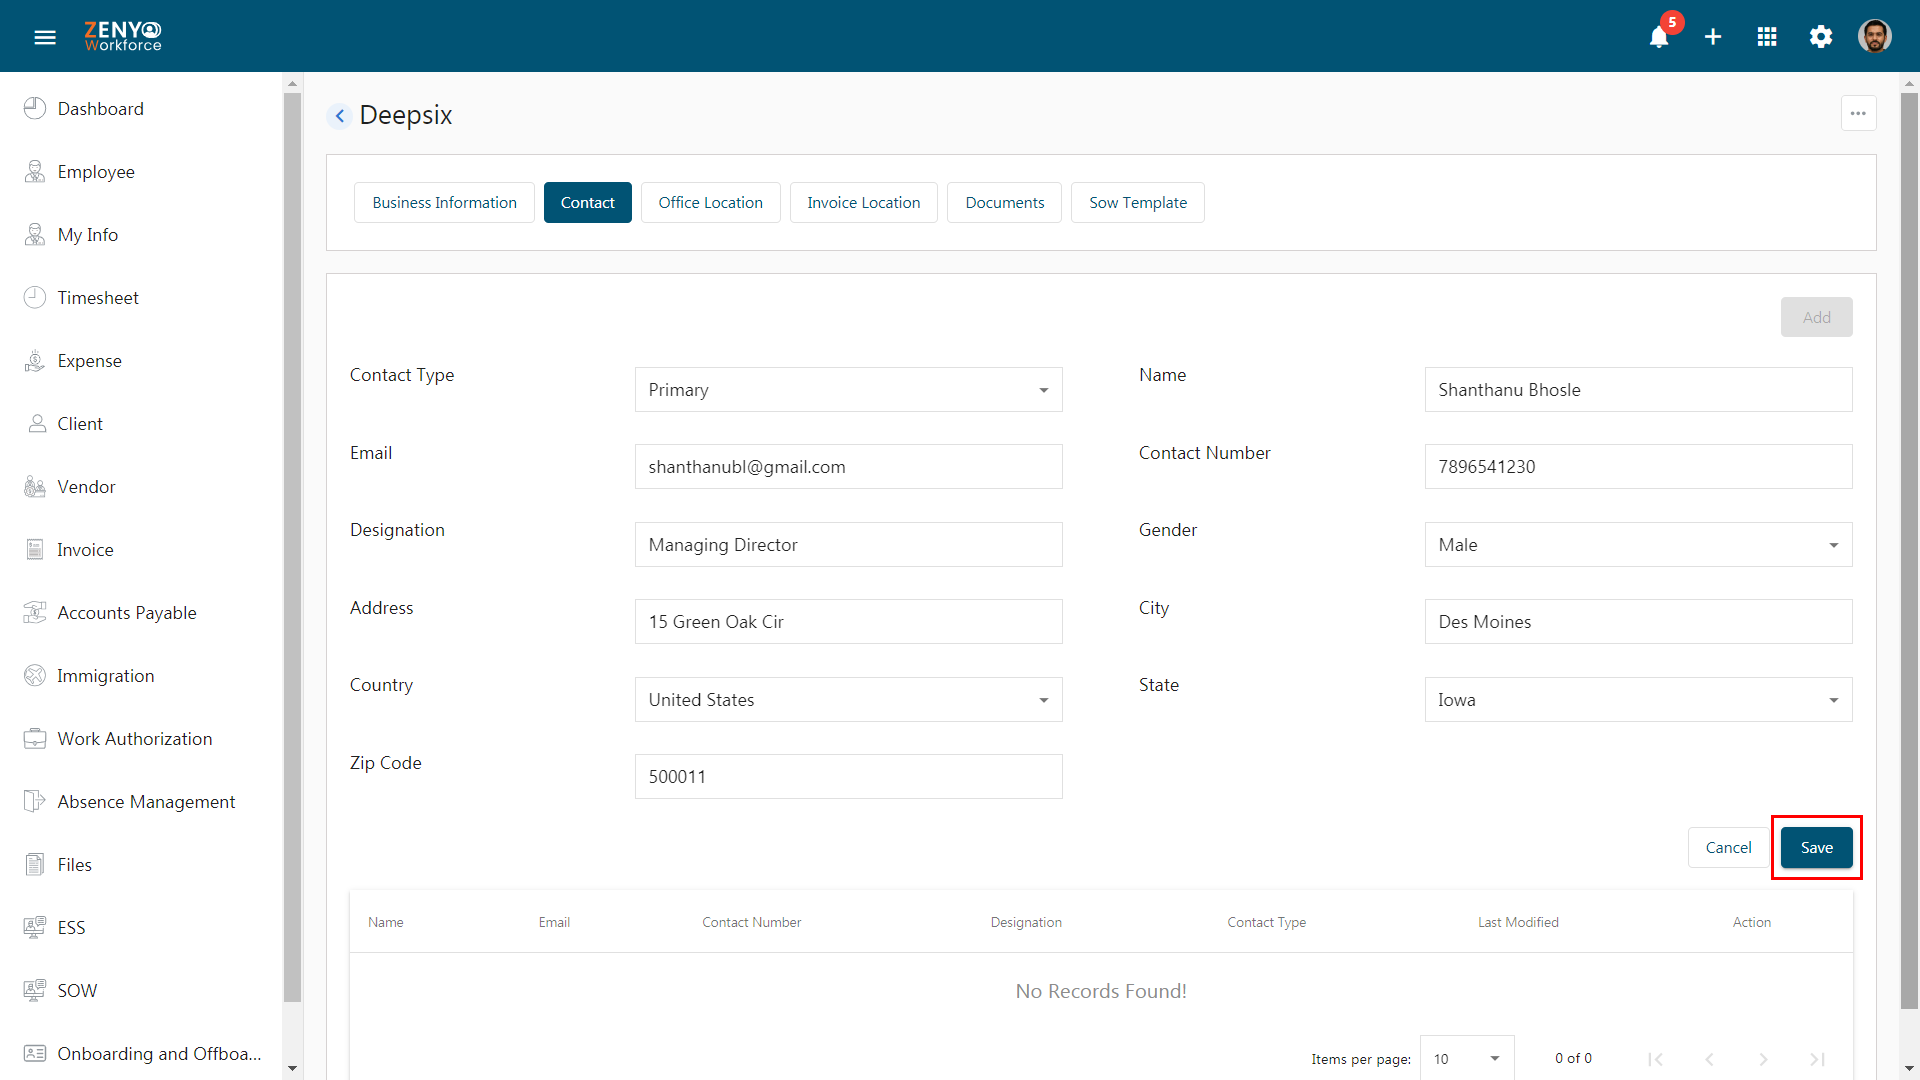
- Edit or delete this contact using the Edit and Delete icon.
- If you need to add more contacts, click on the Add button and repeat the process.
- In the Office Location tab, add the Office Location of the client.
- Click the Add button to input the details. Enter the Branch Name, Address, and City. Choose the Country and State, then enter the Zip Code. Click Save.
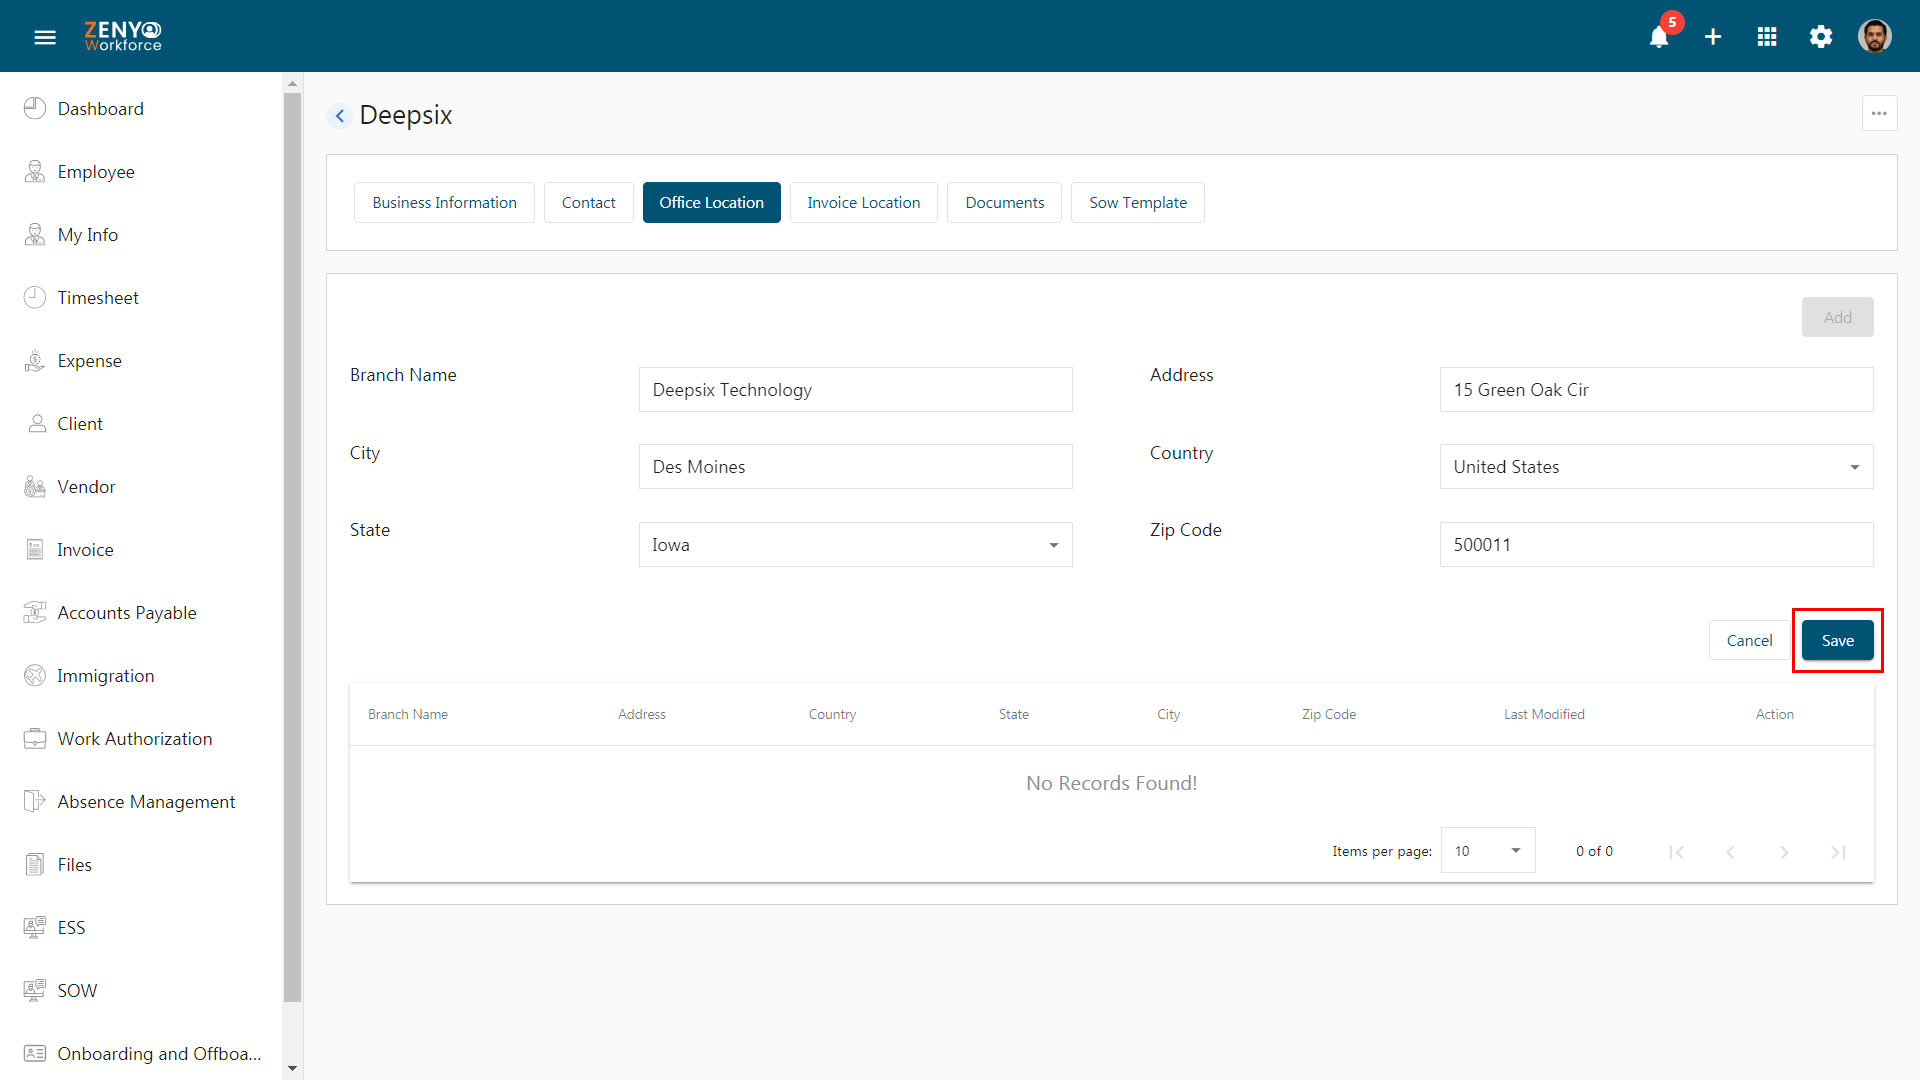
- Update the details using the Edit icon or delete them using the Delete icon. Repeat the same process to add more office locations.
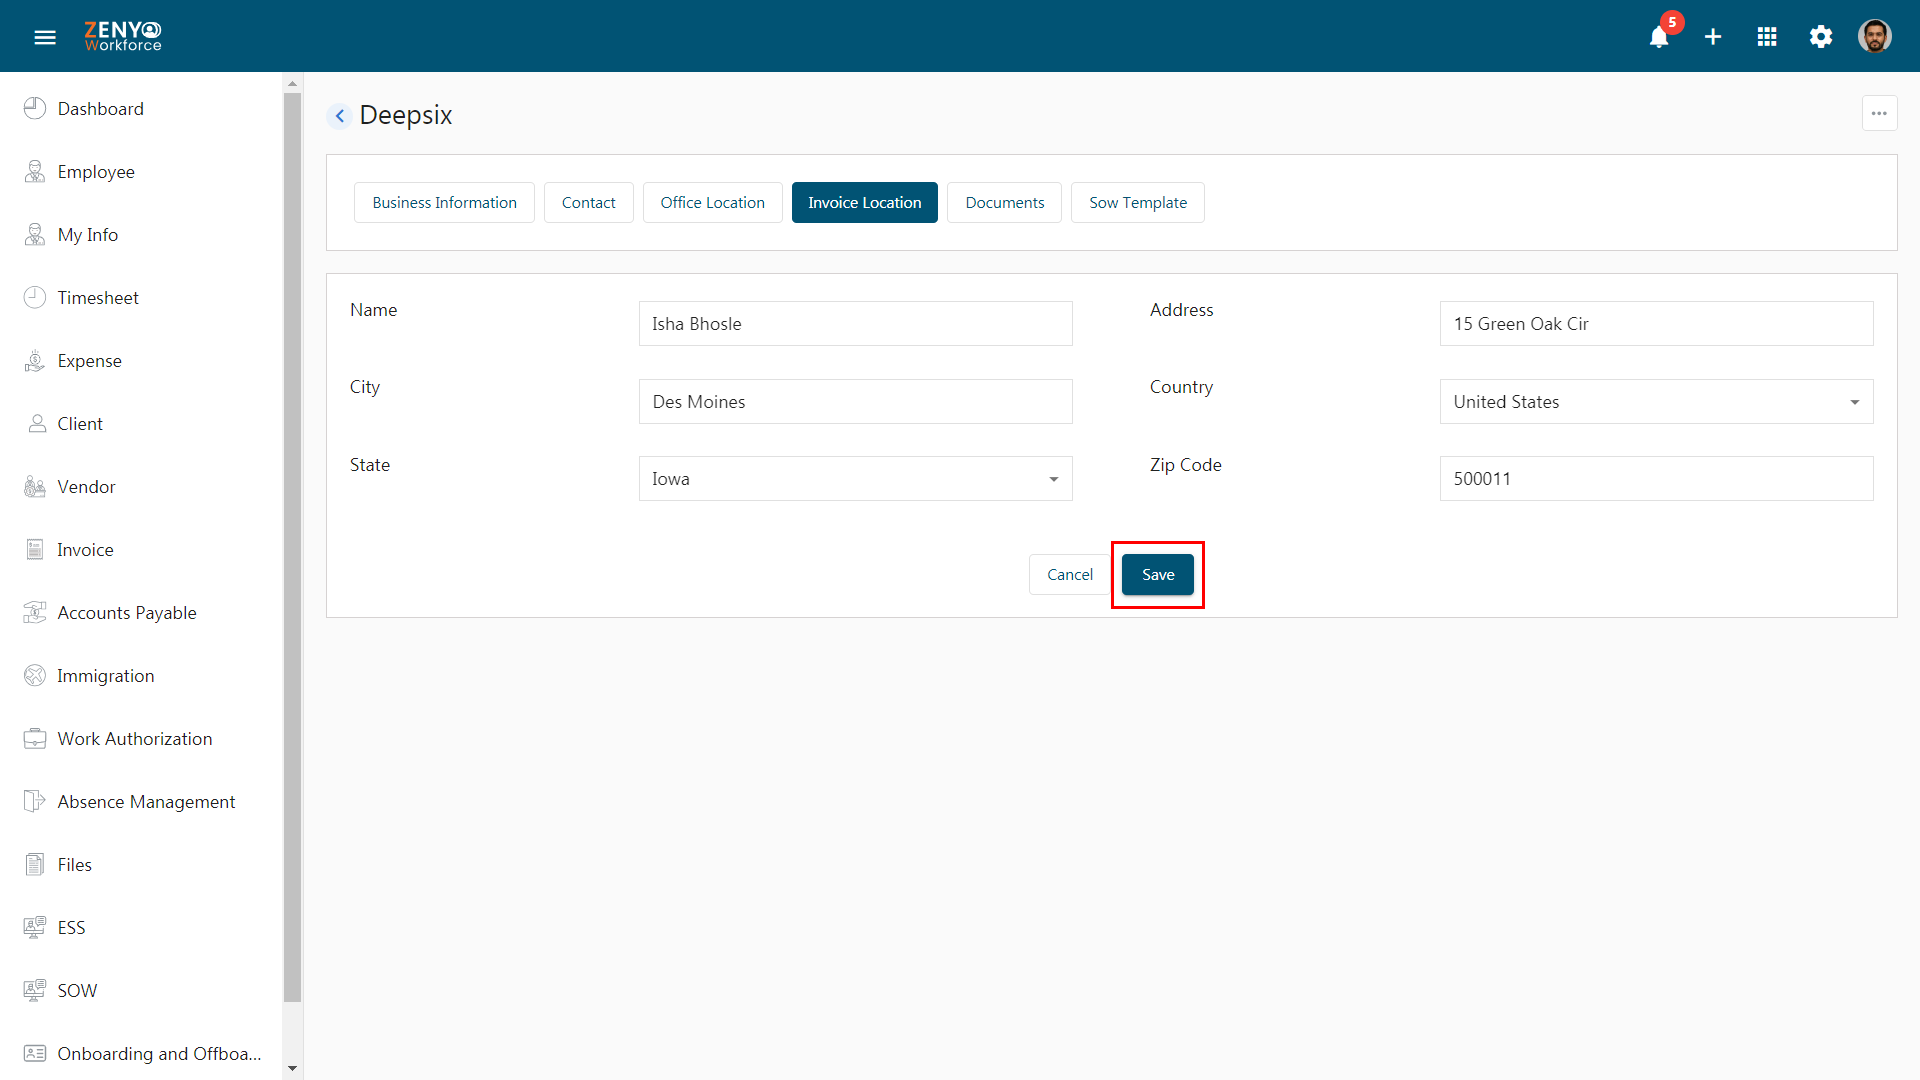
- In the Invoice Location tab, enter the details such as Name, Address, City, Country, State, and Zip Code. Once you’ve entered the information, click Save. A message will confirm that the details have been successfully saved.
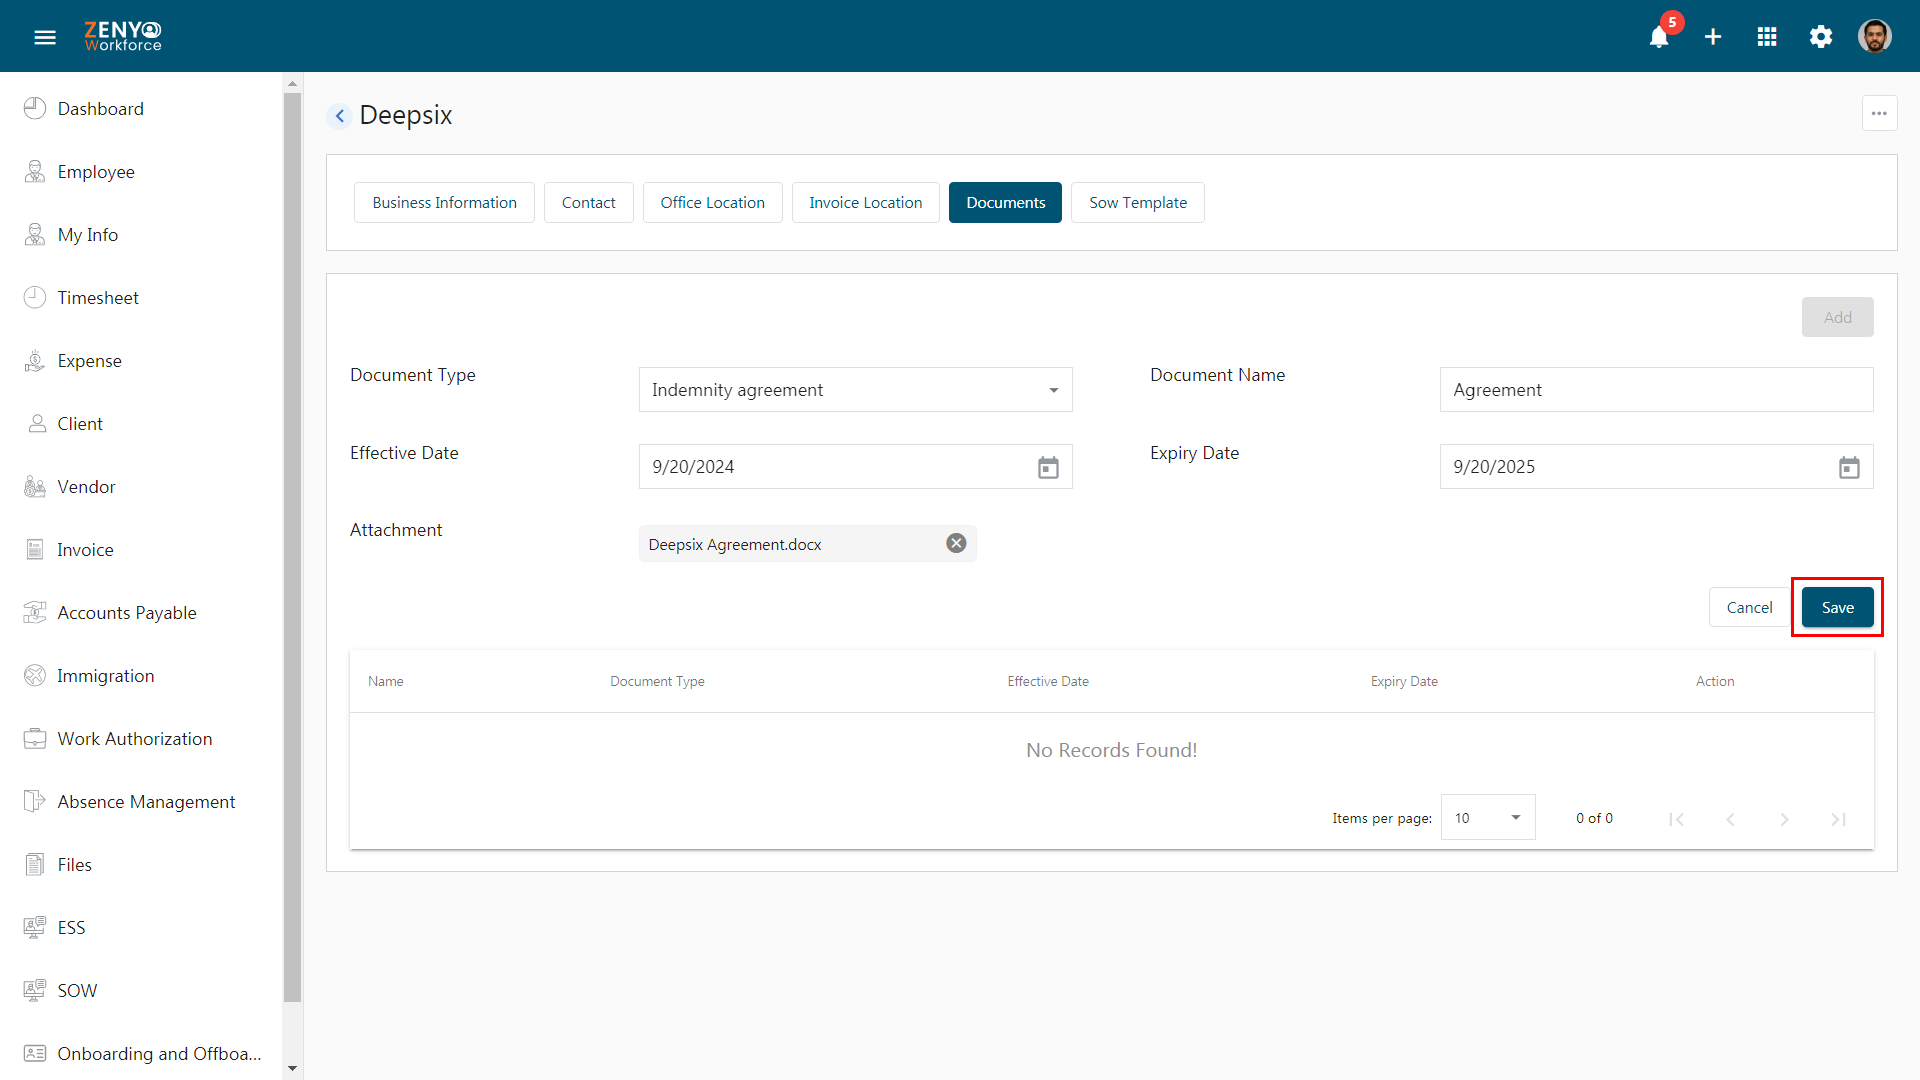
- In the Documents tab, you can provide the document details.
- Choose the Document Type from the dropdown menu. Enter the Document Name, Effective Date, and Expiry Date, and add the attachment. Then, Save the document details.
- You can download, view or delete by using the respective icons.
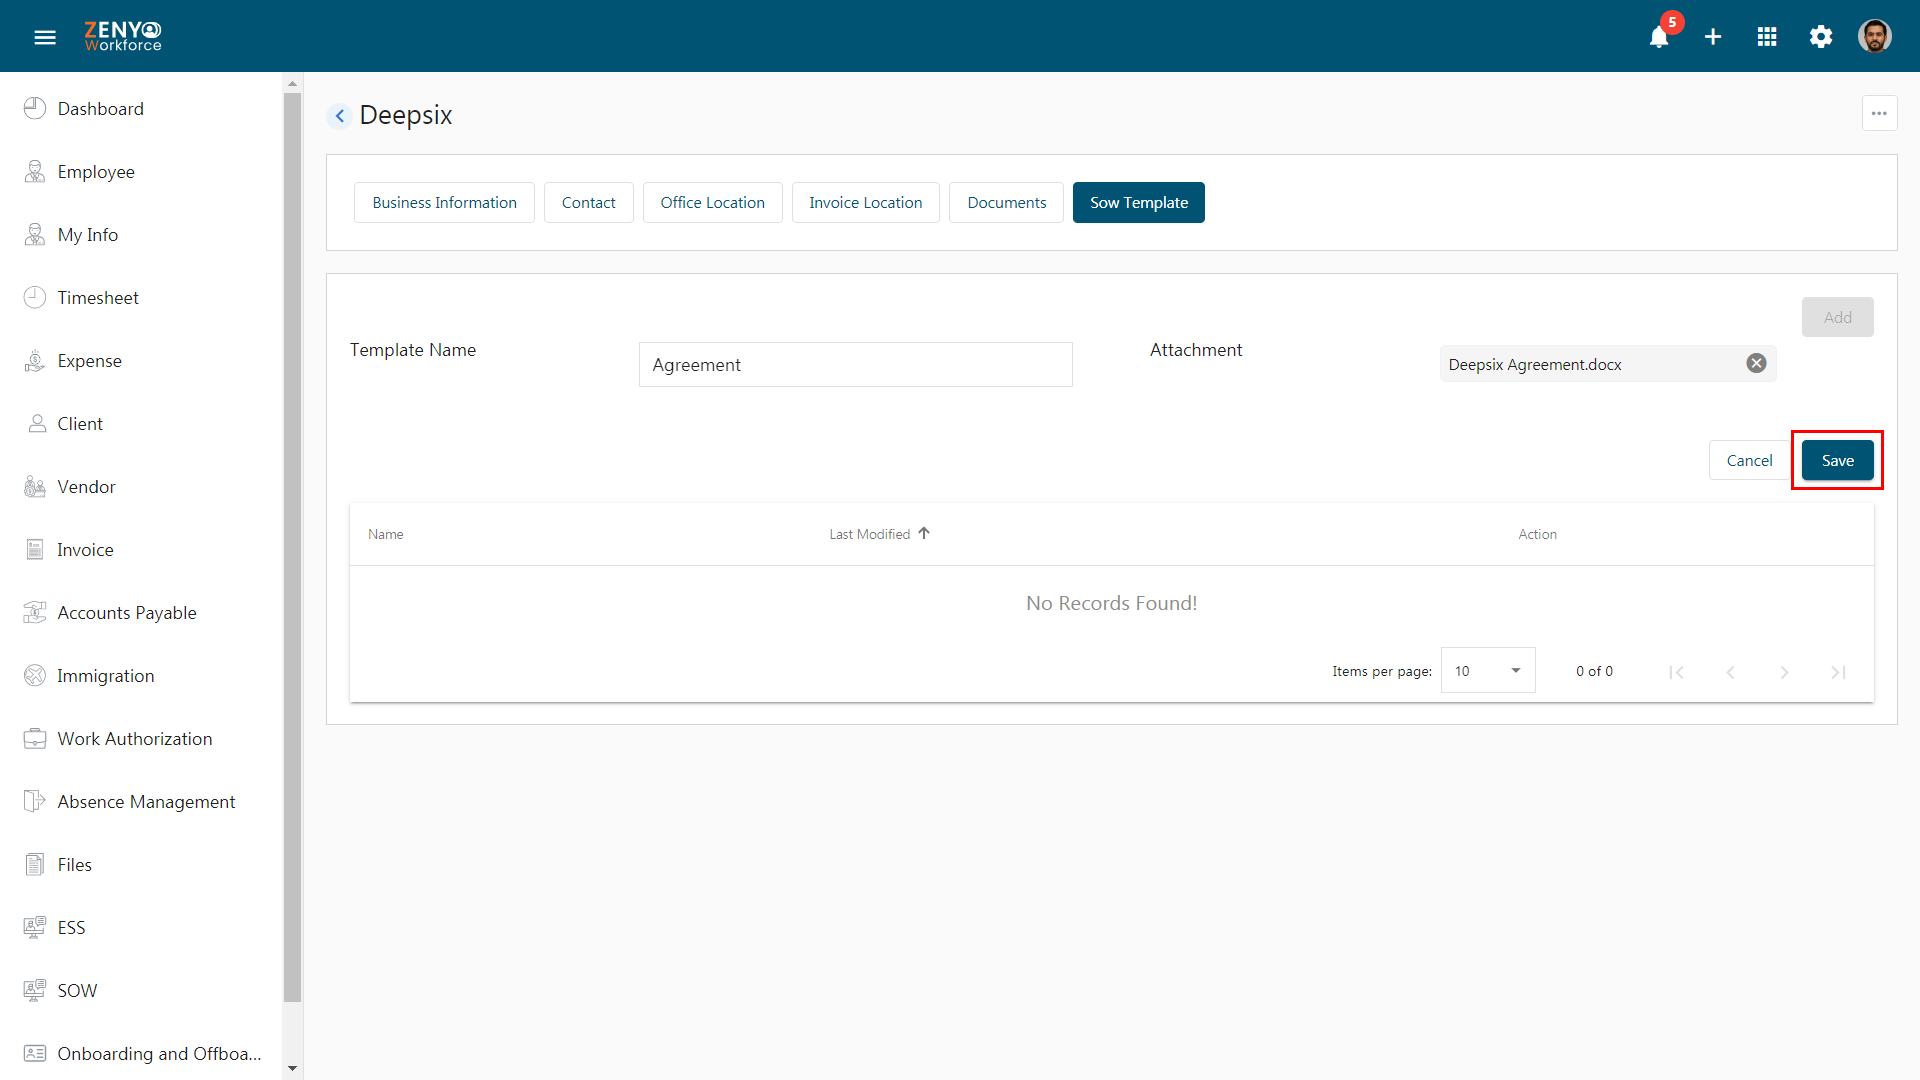
- Now, click on the SOW Template tab. In this section, you’ll see the SOW template that has already been created, displaying details such as Name, Last Modified Date, and Action.
- A Statement of Work (SOW) template is a crucial tool for defining project scope, deliverables, and milestones in client engagements. It facilitates efficient resource allocation, progress tracking, and billing while serving as a communication and legal agreement between the company and the client.
- Click the Add button to create a SOW Template. Enter a template name, and attach the relevant document by clicking on Choose File. Please note that only Word documents are allowed.
- Finally, click Save to save the template for this client.
- Once saved, you can download, view, or delete the template by clicking on the respective icons next to the template name.
- If you want to move a client to inactive status, click the More icon and select Move to Inactive.
- A pop-up message will appear, asking for confirmation.
- On clicking Yes to confirm, your client will be moved to the list of inactive clients.
- To view them, click the More icon. Two options are available - Active Clients and Inactive Clients. Now, choose the Inactive Clients to view the deactivated client.
- If you want to activate this client back, click on the Client record, click the More icon, and select Move to Active. The activated client will be visible in the list of active clients.
Import/Export Client
- Add clients in bulk using the import.
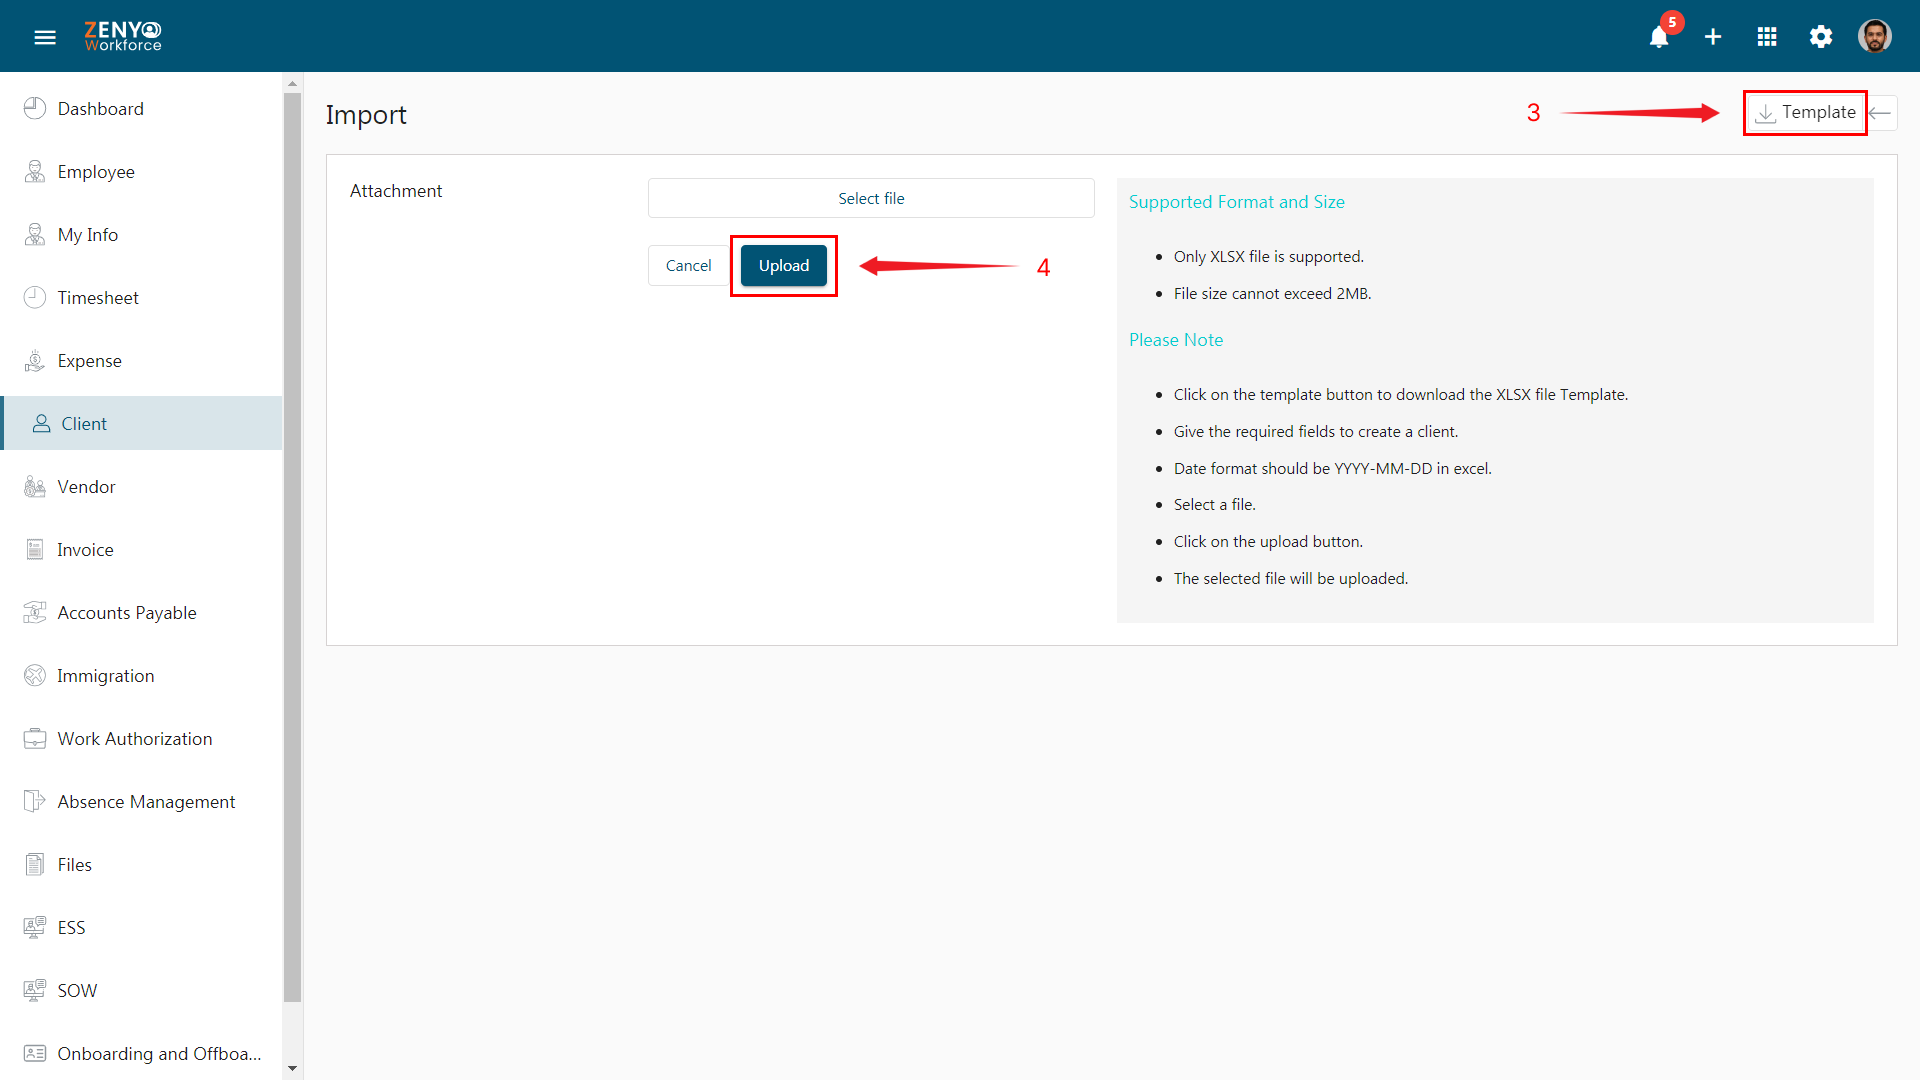
- Click the Import icon. Upload a file containing the client’s details from your local device on the Bulk import page.
- Before uploading, it’s important to ensure that the data is in the correct format for a successful import. To help with this, download an import template by clicking the Import Template button at the top of the page.
- Enter the data in the Excel template. Once you’ve entered all the required data into the template, save the file on your local device and click the Upload button to initiate the import process.
- Click the Export icon to export the client details in either XLSX or CSV format.
- Choose specific fields or export all fields associated with the clients.
- Use the advanced filter feature for more filtering options.
- Click the Export button to generate the export file in the selected format.

