Adding Work Authorization details helps easily manage and track essential employee documents related to their work eligibility, such as Work Authorization, I-94, E-Verify, and Passport details. By providing a central platform for organizing these records, the module simplifies document management, allows for easy uploads, and ensures all necessary information is always up-to-date and readily accessible for both internal use and legal compliance.
Adding work authorization details to an employee
- Navigate to the Employee main menu.
- On the Employee page, select the profile for which you need to add work authorization details.
- On the employee information page, click Work Authorization. You will see four tabs: Work Authorization, I-94, E-Verify, and Passport.
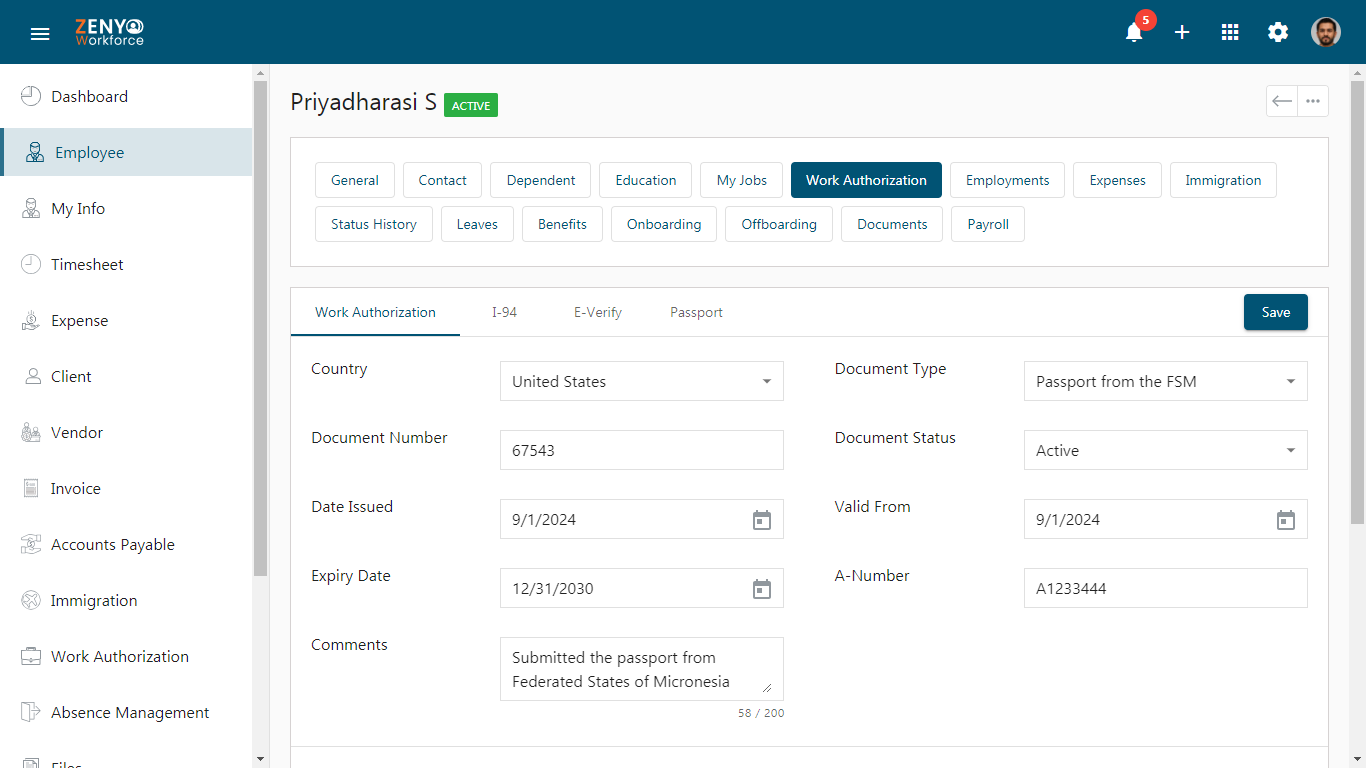
Work Authorization Tab
- Under the Work Authorization tab, select the country and then choose the document type for that country.
- Enter the document number.
- Select the document status from the provided options.
- Provide the date issued, valid date, and expiration date. Enter the A number and add comments.
Note: The A number or the Alien Registration Number is a unique number assigned to a noncitizen by the U.S. Citizenship and Immigration Services (USCIS) for identification and record-keeping. You may add additional information if any in the comments box.
- In the Attachments section, enter the document title.
- Click the Choose File button to upload the document from your device.
- To upload multiple files, use the Add button to add additional files.
- Once all the required fields are filled out, click Save to store the details.
- After saving, the work authorization record will appear in the list below.
- To edit the details, click the edit icon.
- To delete the record, click the delete icon.
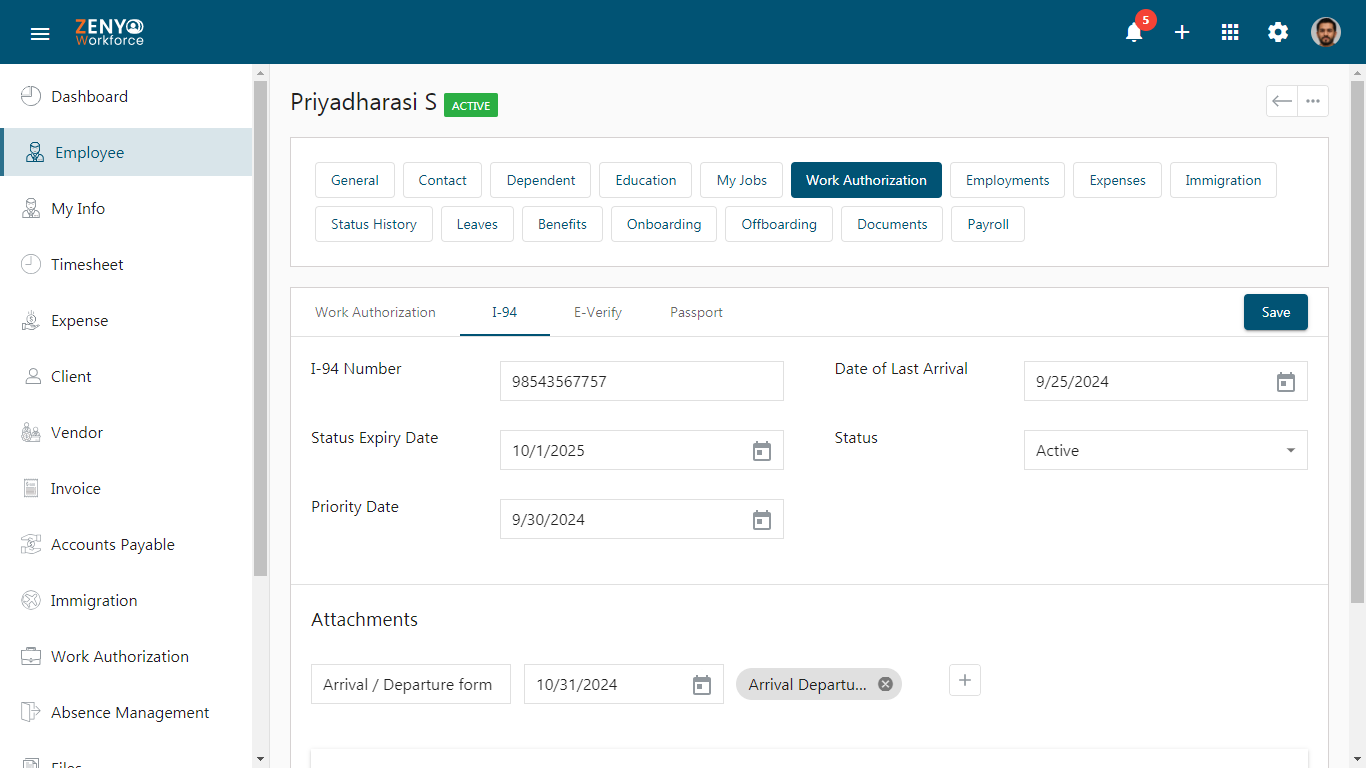
I-94 Tab
- Click on the I-94 tab. Enter the I-94 number.
- Select the last arrival date and status expiry date.
- Choose the status from the drop-down menu. Set the priority date.
- In the Attachments section, enter the document title and select the expiry date.
- Click the Choose File button to upload the related file from your device.
- After filling in all the required details, click Save to store the I-94 record.
- Once saved, the document will appear in the list below.
- You can download the document by clicking on the download icon.
- To view the documents, click the view icon.
- If you need to remove the document, click the delete icon.
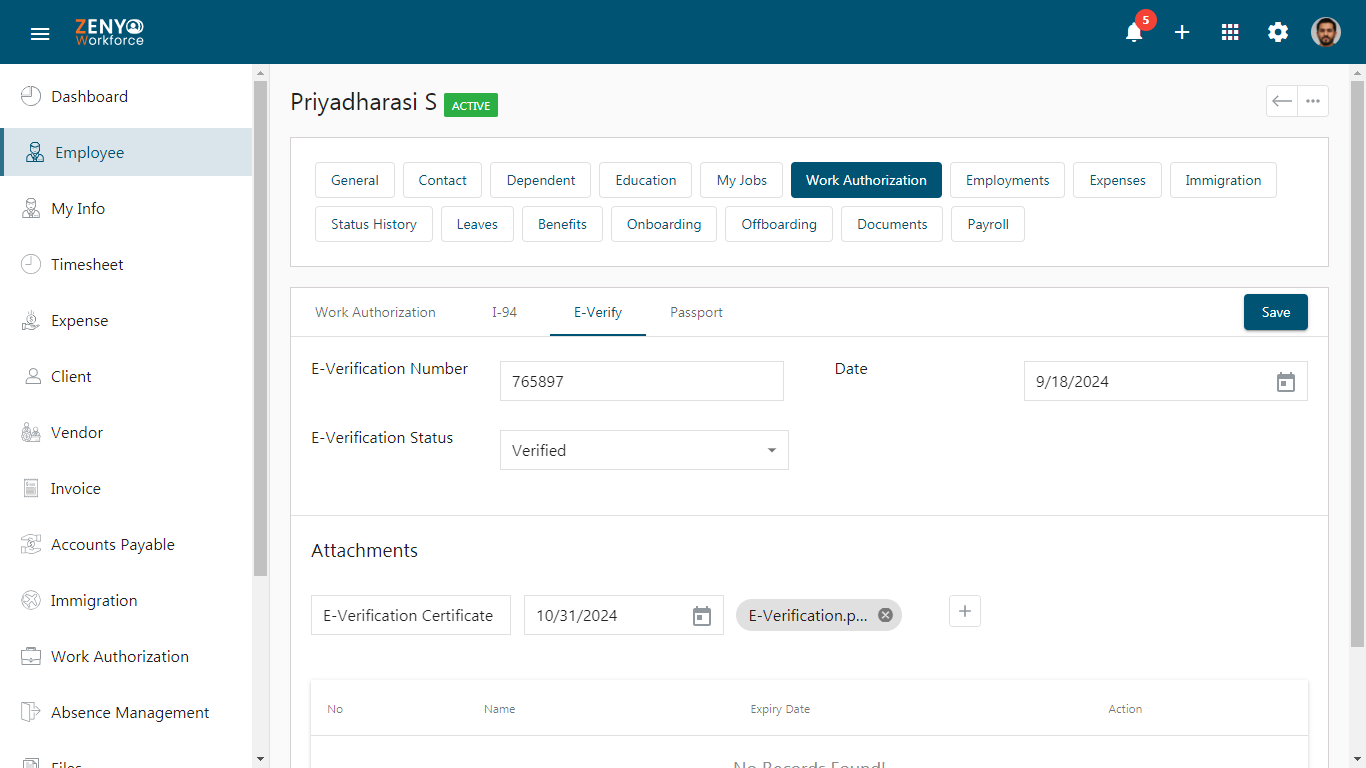
E-Verify Tab
- Click on the E-Verify tab. Enter the E-Verification number.
- Enter the Date and E-Verification status.
- In the Attachments section, enter the document title and select the expiration date.
- Click the Choose File button to upload the related file from your device.
- After filling in all the necessary details, click Save.
- The attachment will be listed in the table once saved.
- You can download the document by clicking the download icon.
- To view the document, click the view icon.
- If needed, you can delete the document by clicking the delete icon.
Passport Tab
- Click on the Passport tab. Enter the passport number.
- Select the status of the passport.
- Enter the place of issue and place of birth of the employee.
- Enter the issued date, expiration date, and issuing country of the passport.
- In the Attachments section, enter the document title.
- Select the expiration date for the document.
- Click the Choose File button to upload the related file from your device.
- After filling in all the necessary details, click Save.

- The document will appear in the list below once saved.
- You can download the document by clicking the download icon.
- To view the document, click the view icon.
- To delete the document, click the delete icon.
