Files is designed to help you manage and organize documents with ease. It allows you to effortlessly create folders, organize files into nested structures, and upload various types of documents, making management more efficient.
How to Add Folder?
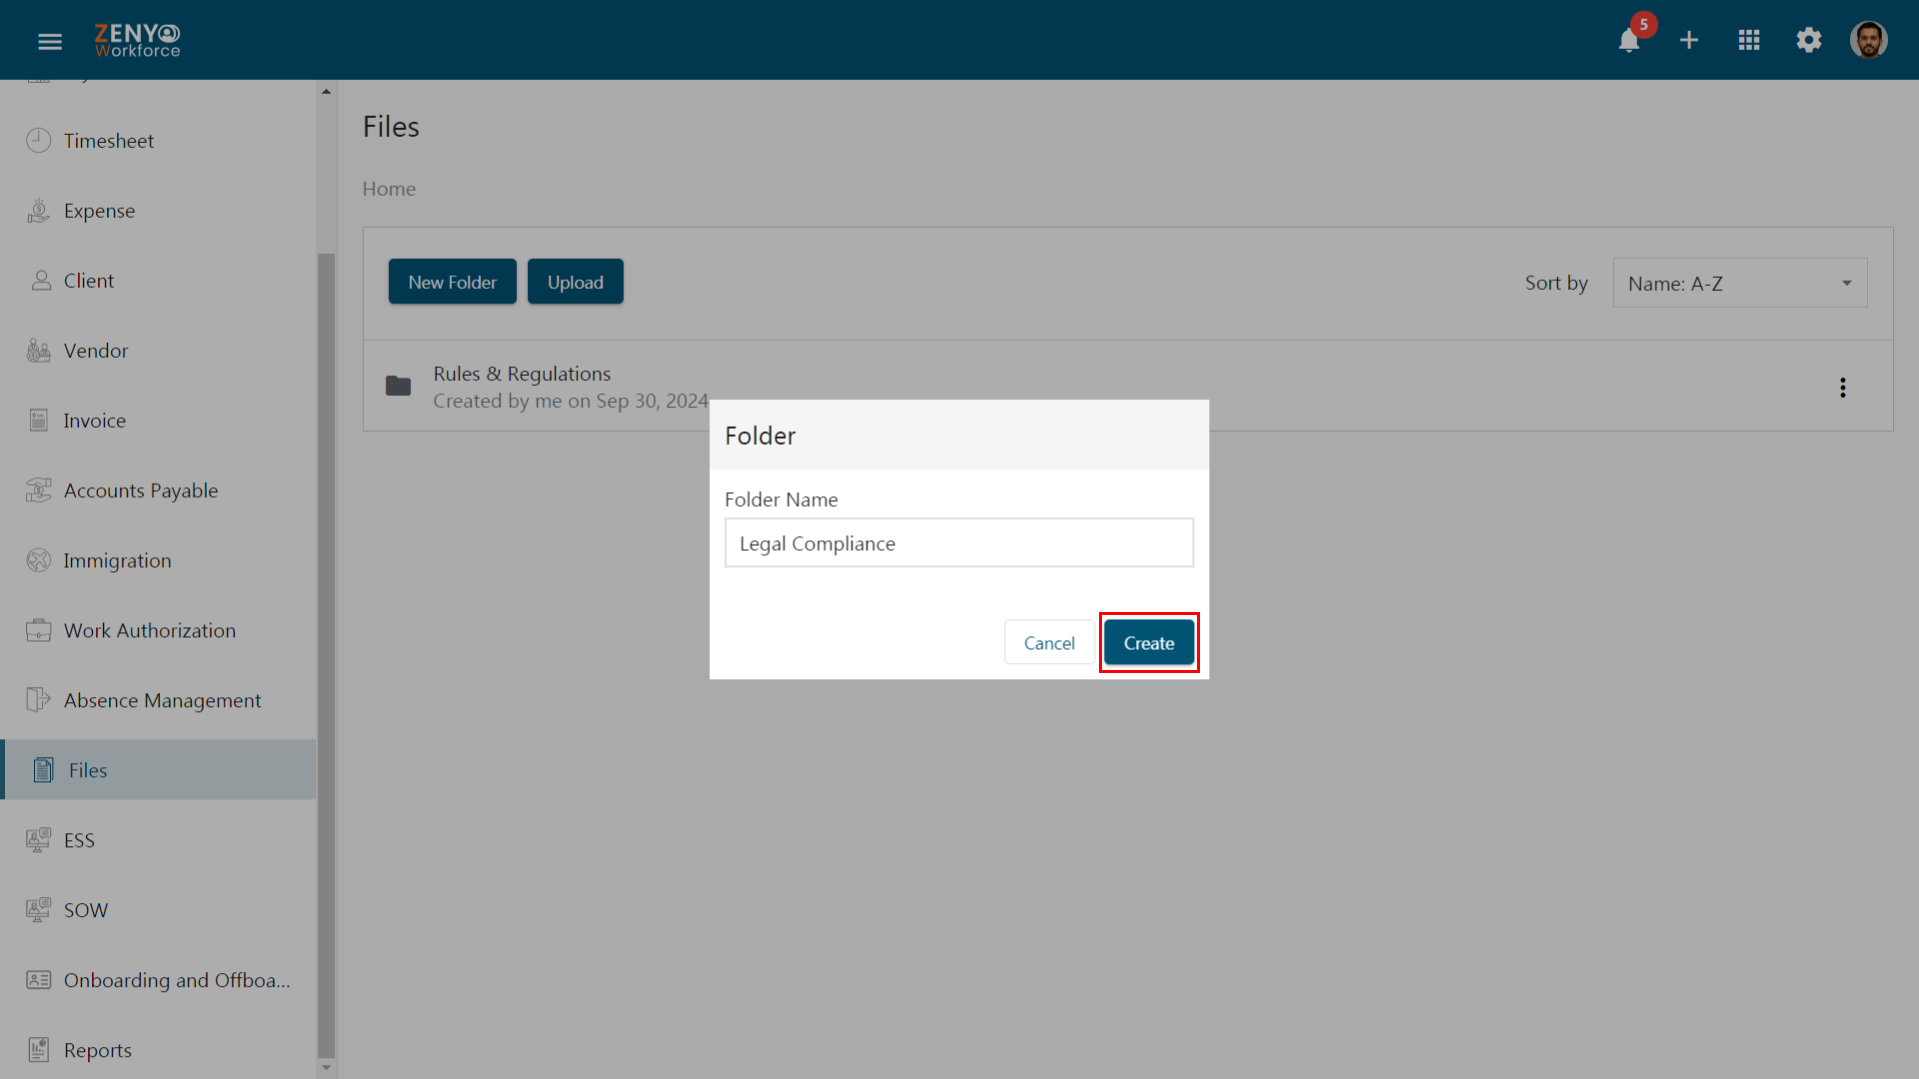
- Navigate to the Files menu and click the New Folder button.

- A dialog box will appear, enter the name of the new folder and click Create. A new folder will be created.
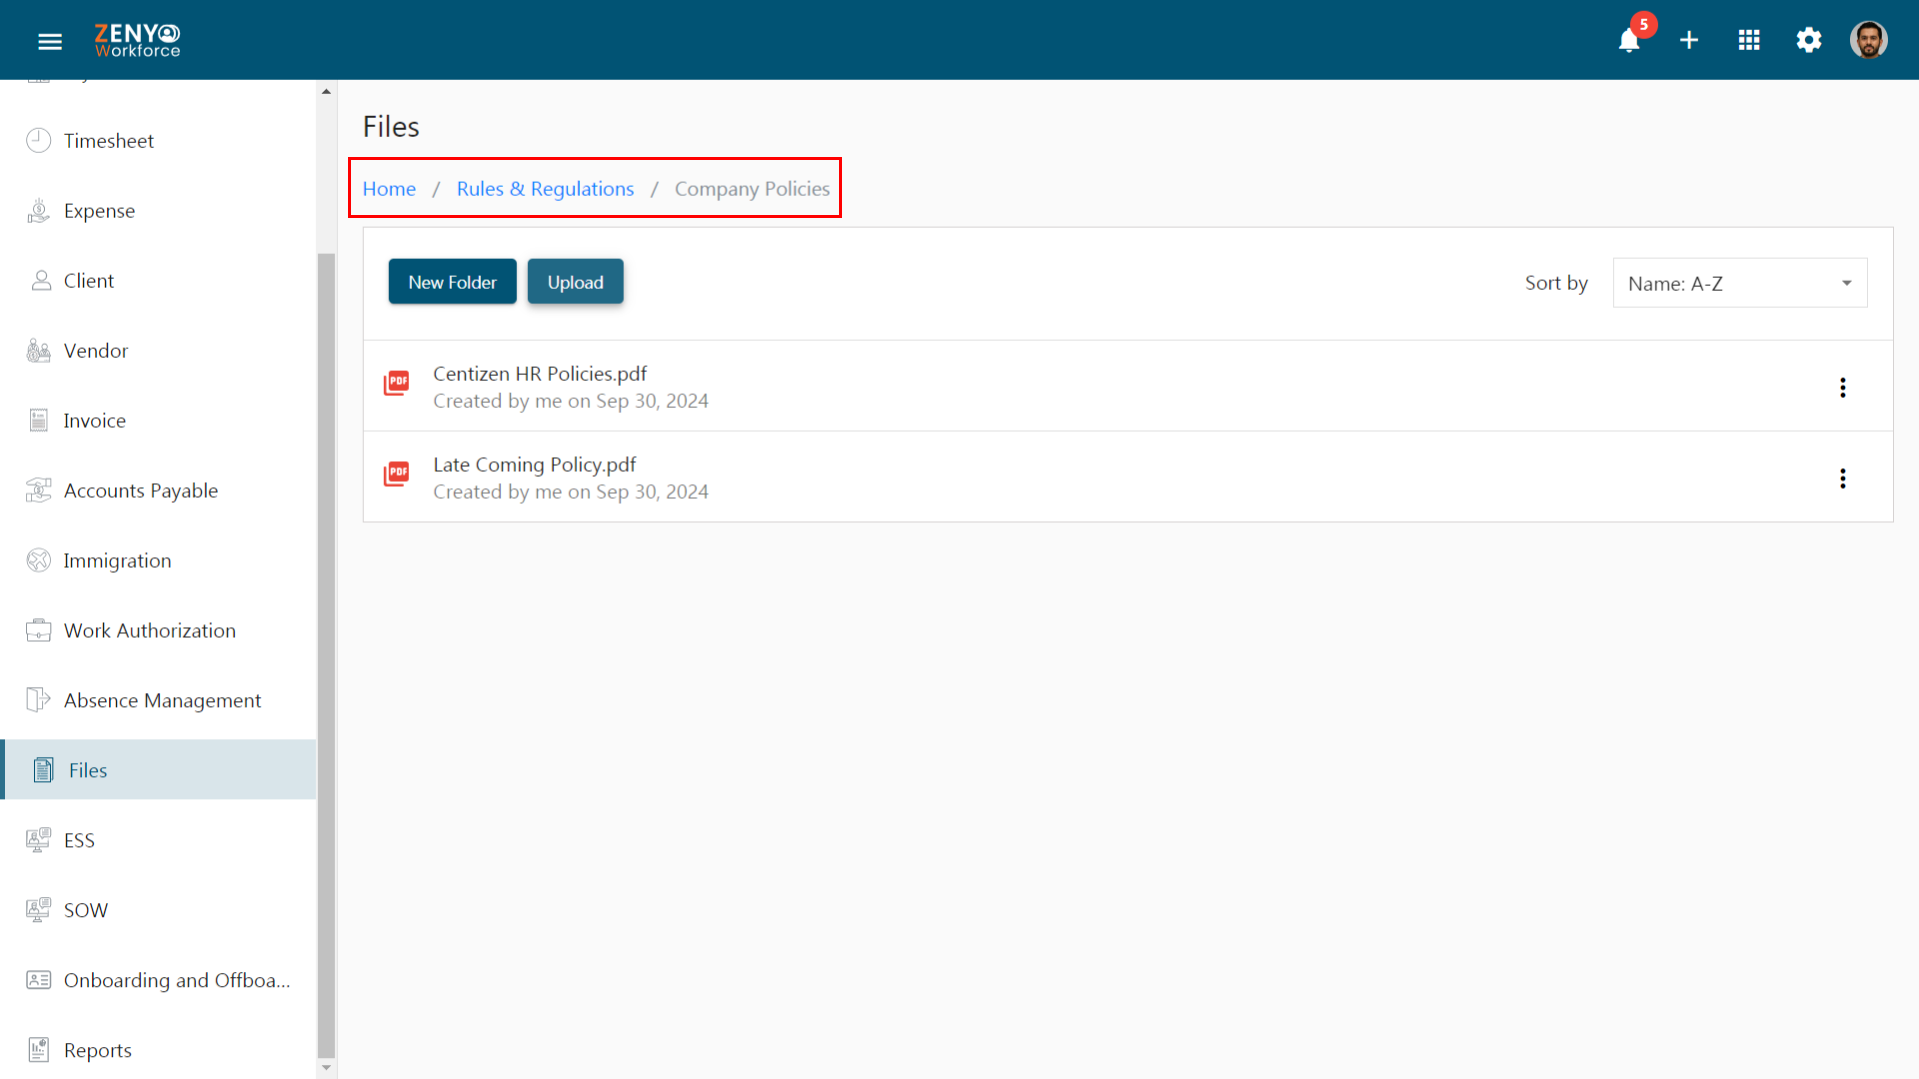
- To create nested folders, click on the newly created folder. Click the New Folder button to create a subfolder. Repeat this process to create additional subfolders within your subfolders.
- As subfolders are created, a breadcrumb trail will appear at the top. This helps to identify the folder location within the folder hierarchy.
- Click the More icon against the folder, It has three options.
- Open - The Open option allows you to view the files or folders contained within that folder.
- Share - Click the Share option to find out who has folder access. Check the checkbox to share the folder with all employees. Alternatively, share the folder with specific individuals by using the dropdown menu. Click Save to apply the changes. A shared icon will appear next to the folder name, indicating a shared folder.
- Remove - By clicking the Remove option, a confirmation pop-up will appear. Click Yes to remove the selected item.
Note: When sharing, set permissions for viewing or editing the content. Anyone with Edit access can view, delete, download, email, or share the files whereas anyone with View access can neither delete nor share the file but can only view and download the file.
How to Upload a File?
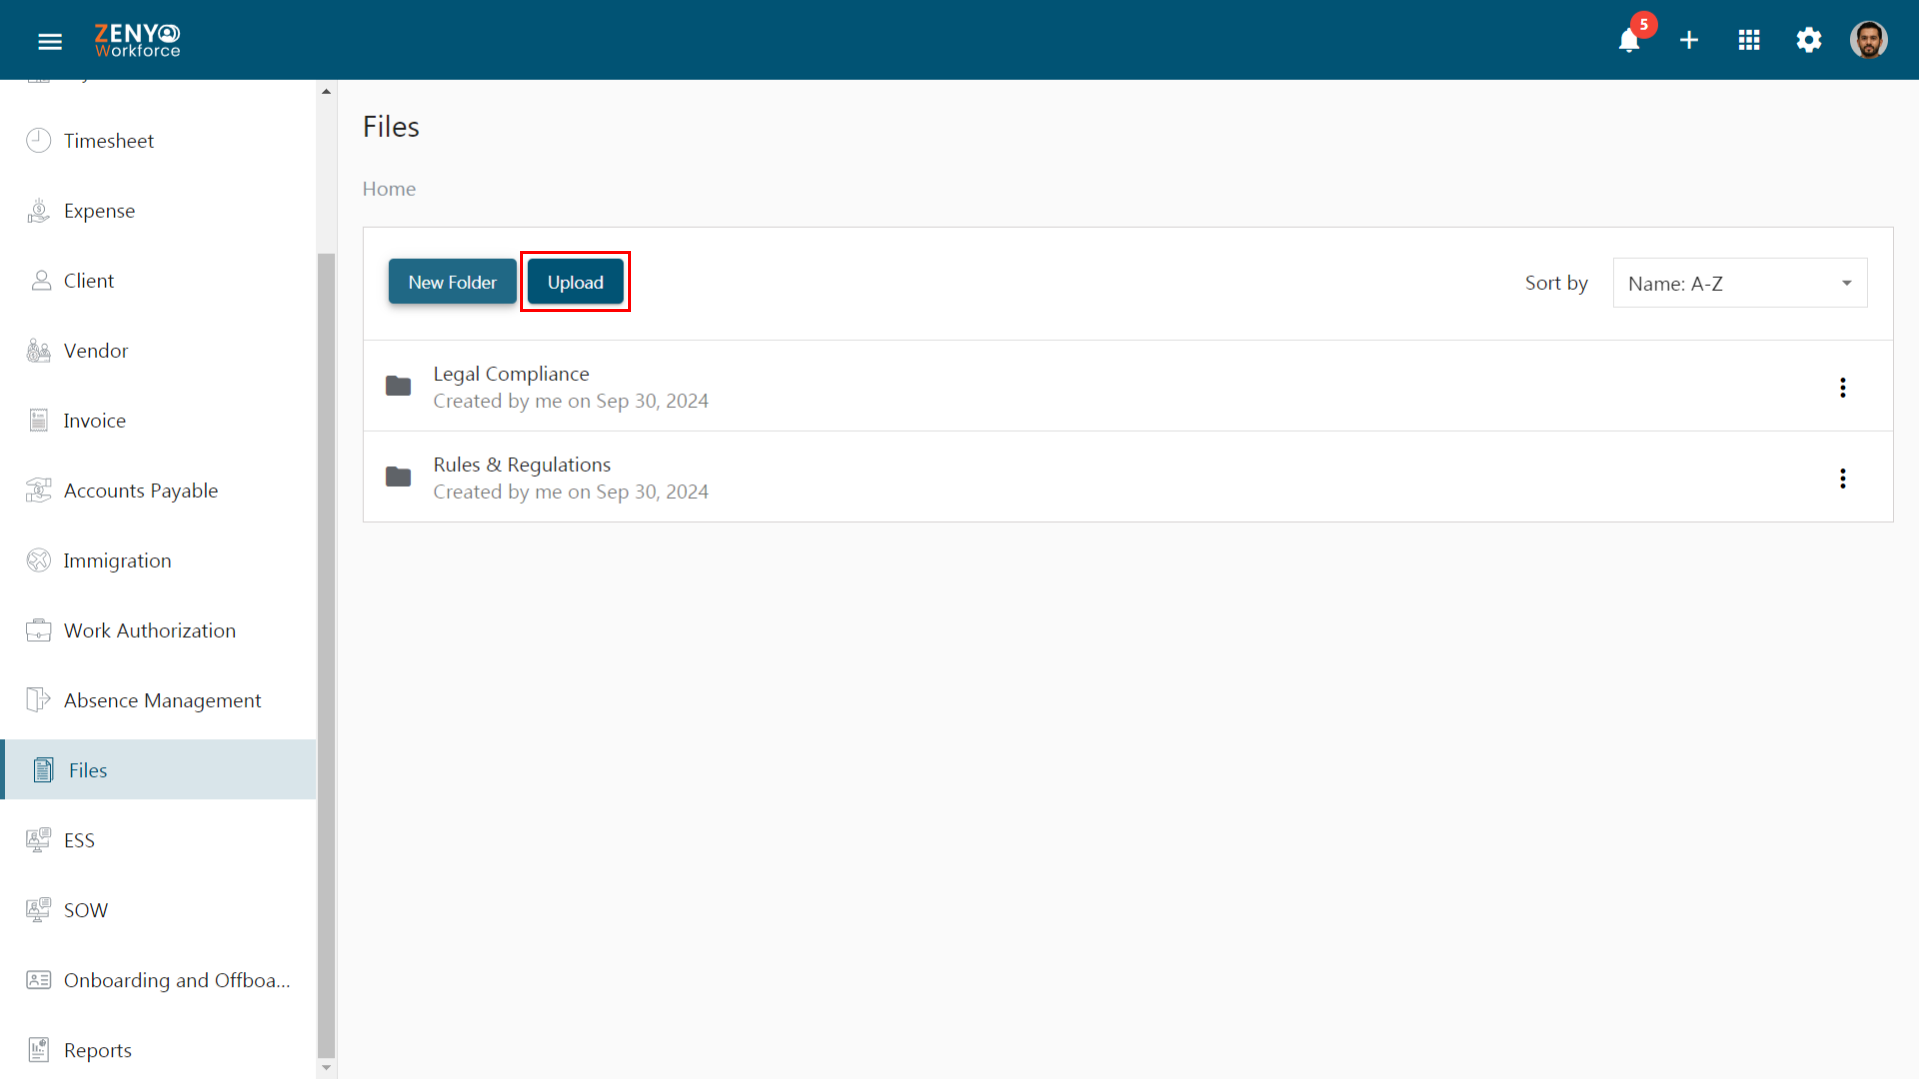
- Click the Upload button.
- An Upload File dialog box appears. Click the Add icon on the right side.
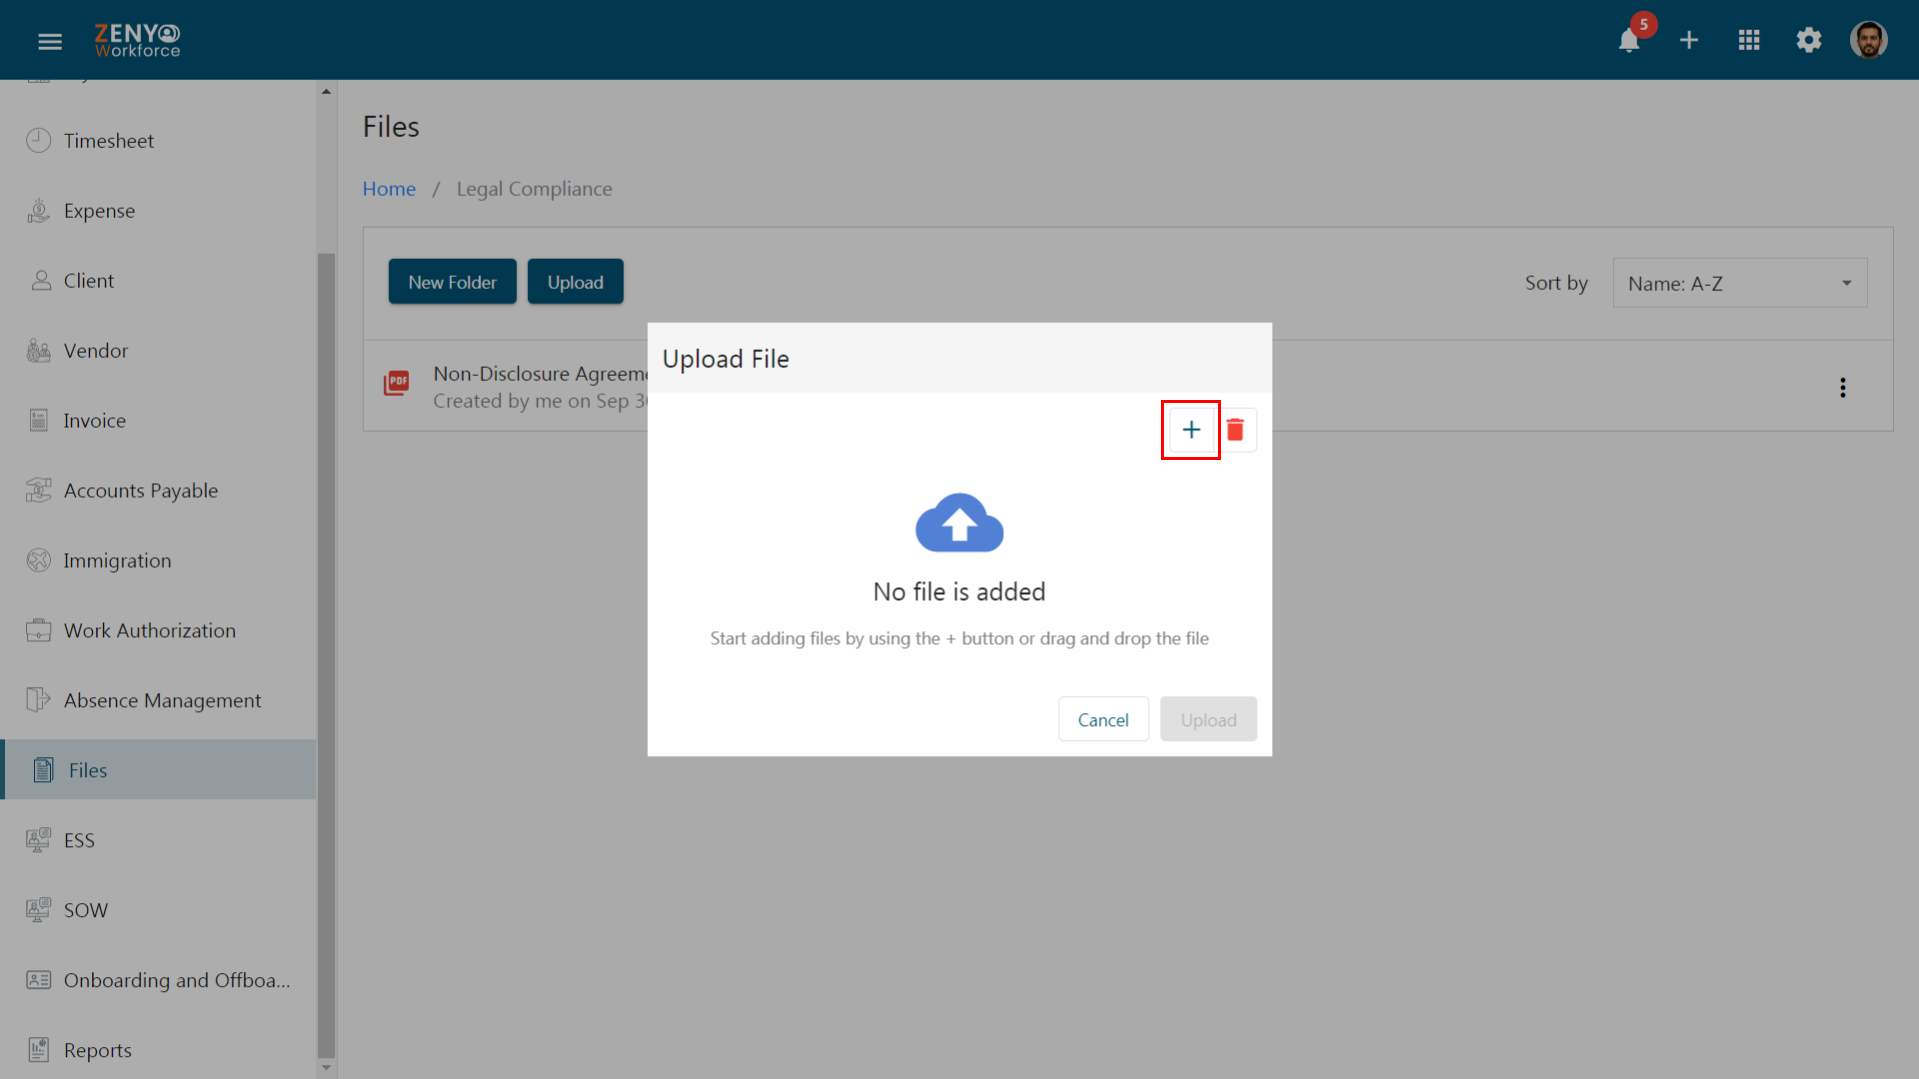
- Choose the specific files to upload, and it is possible to upload multiple files at once. Click Upload.
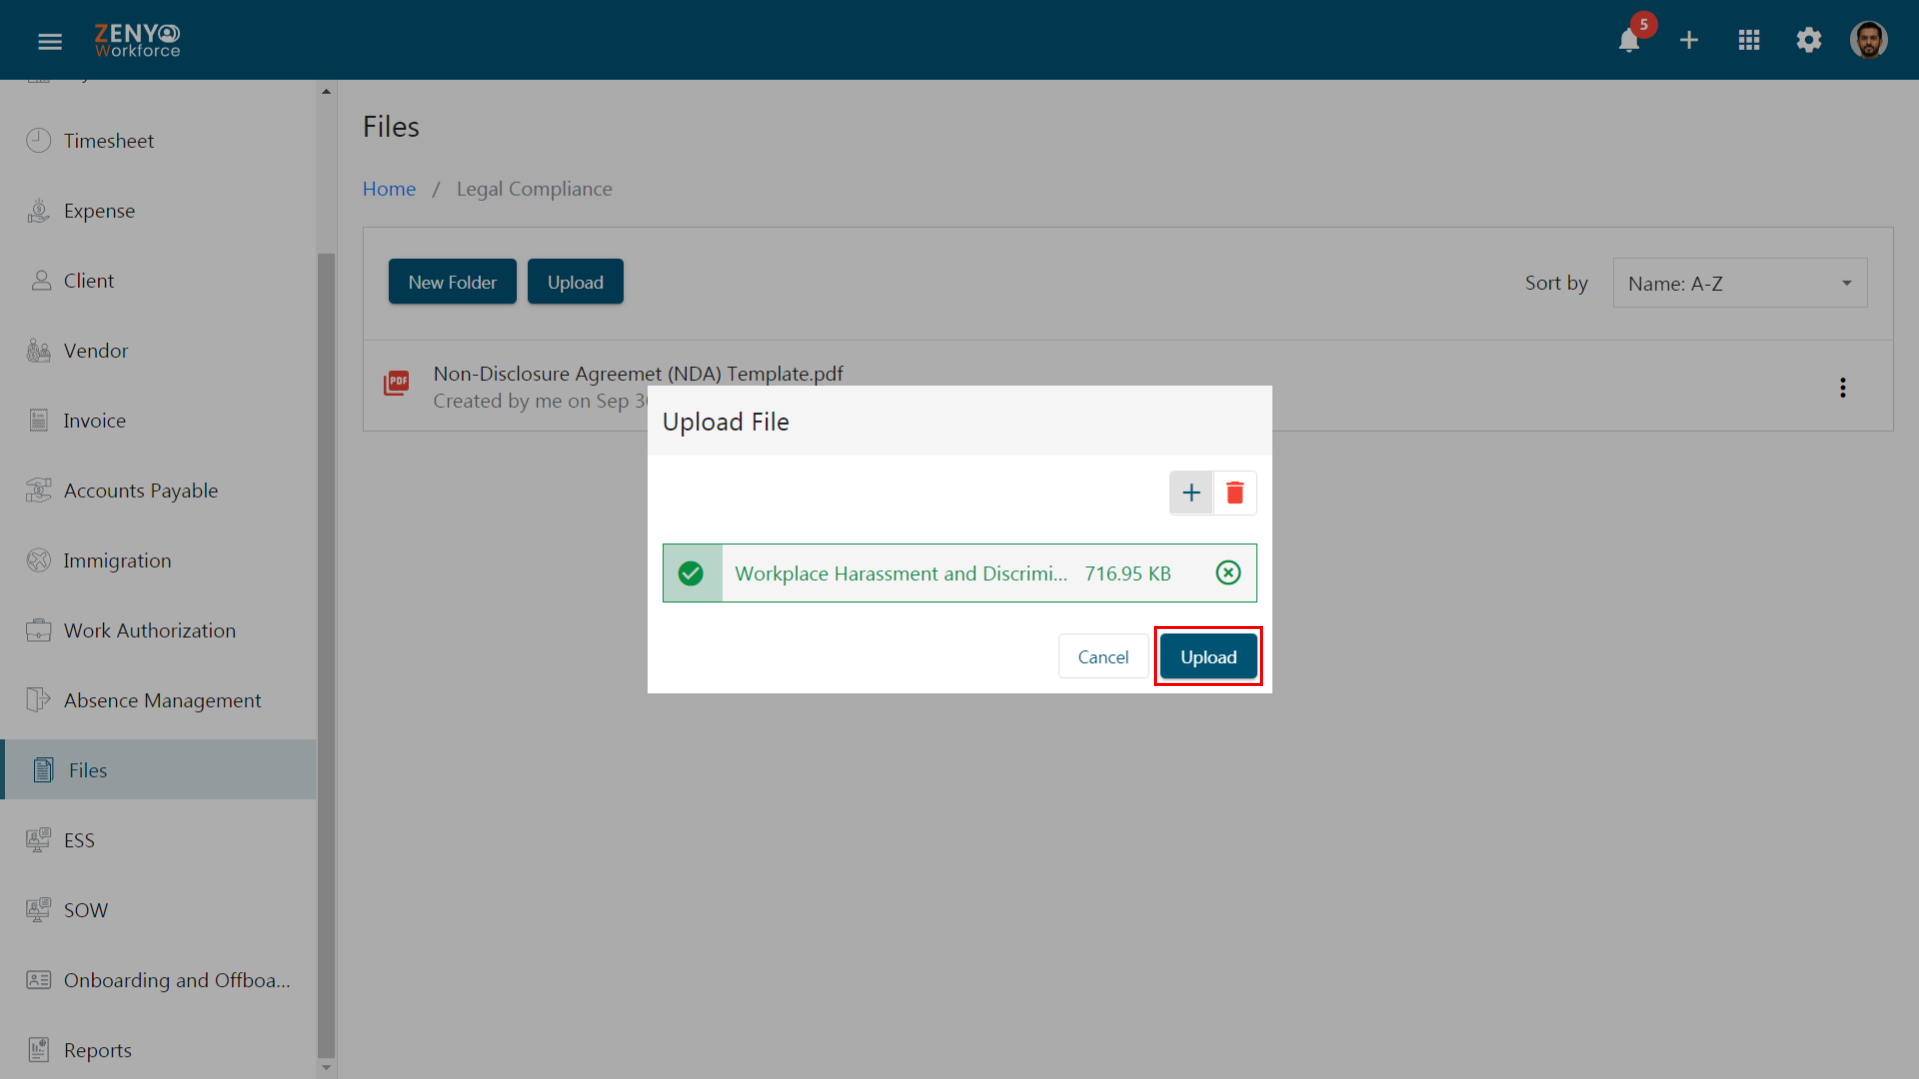 Note: Ensure the selected files do not exceed 2MB in size and are in supported file formats like DOC, DOCX, XLS, XLSX, PPT, PPTX, PDF, JPG, JPEG, or PNG file, otherwise, an error will occur.
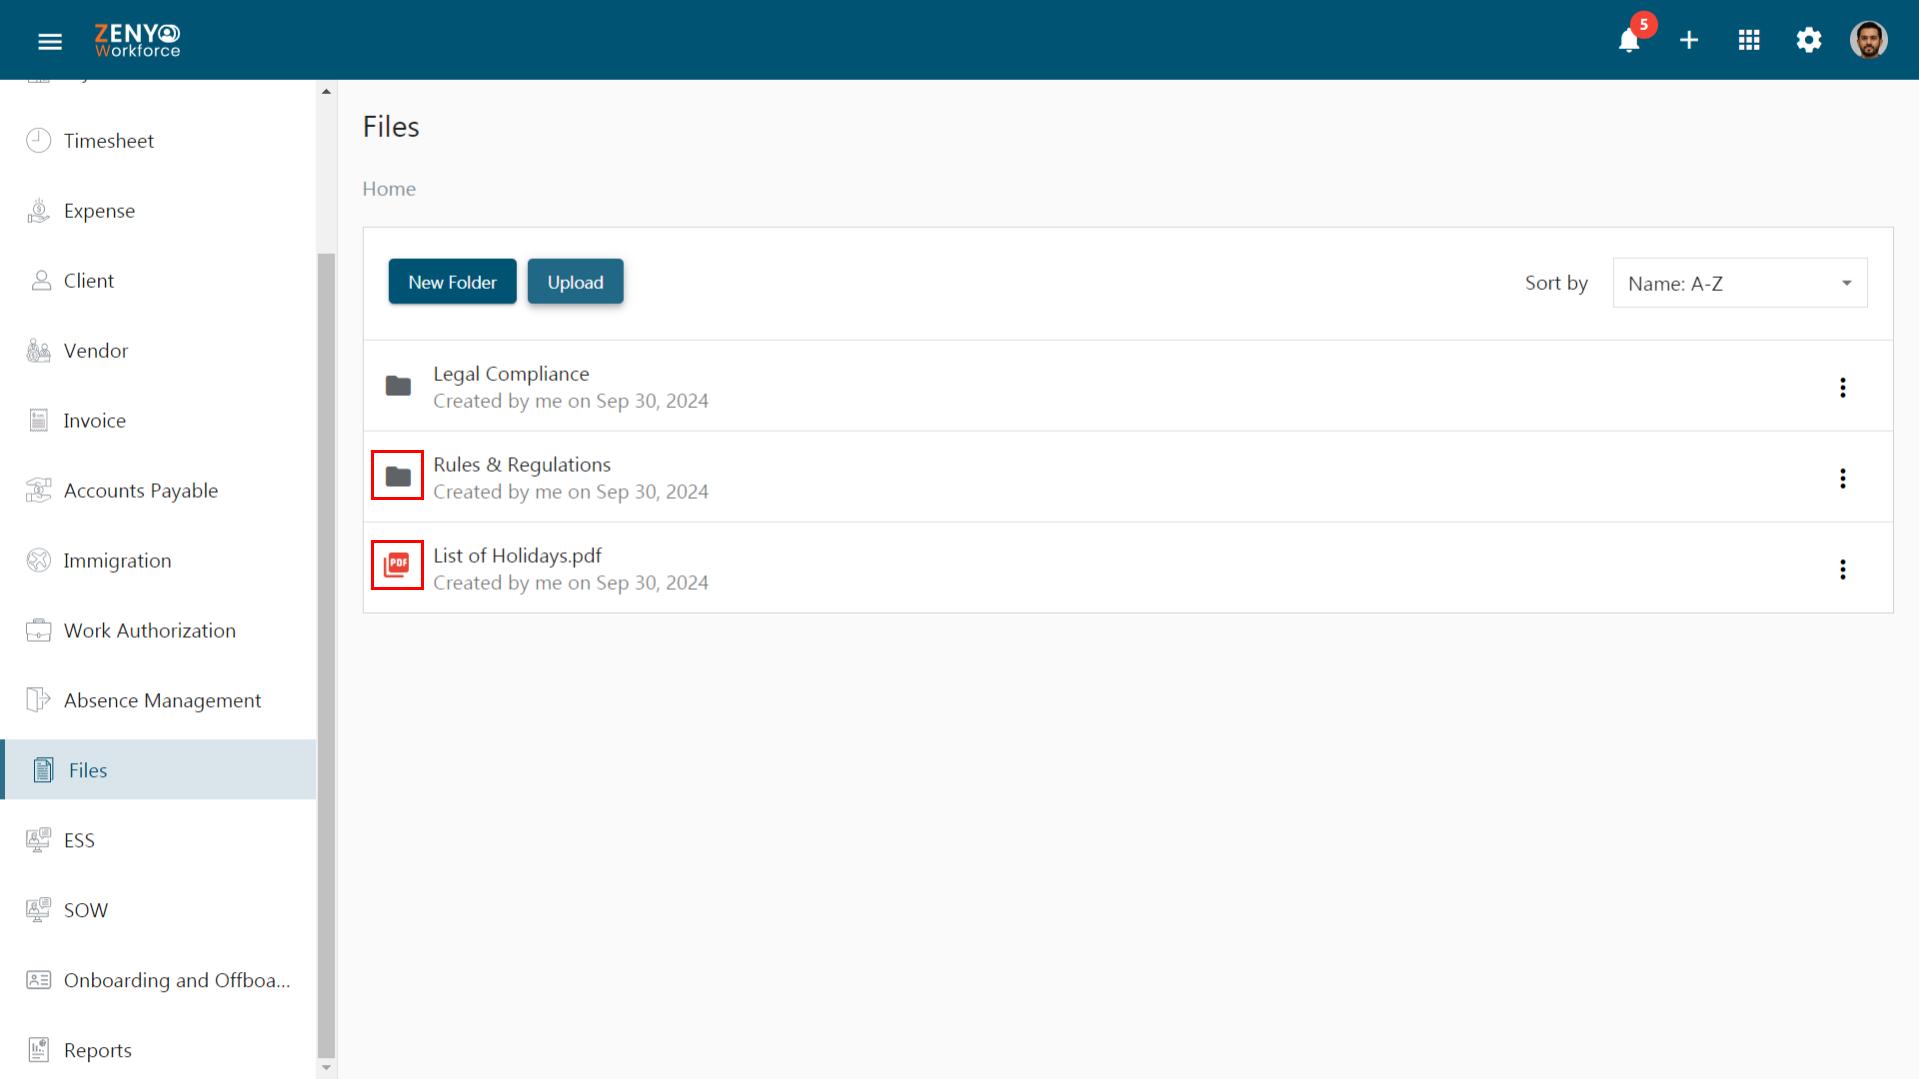
 - If a folder is created, the folder icon will be displayed. If any other file is uploaded, the icon corresponding to the extension of the files will be displayed.
- Once a file is uploaded, then it will show the following options.
- Open - The Open option lets you view the file’s content.
- Share - The Share option grants access to the file for all employees or specific ones.
- Email - The Email option allows you to send the file via email. A Mail Preview dialog box will appear. Enter the recipient’s mail id, and subject, and view the file before clicking Submit.
- Remove - To remove a file, click the Remove option, and a confirmation dialog box will appear. Click Yes to confirm the deletion.
- Download - To download a file, click Download.
- Sort out the files easily by using the Sort by option.
