Immigration expenses are the costs a company pays when bringing foreign workers into a new country to work legally. This can include fees for visas, legal services, travel expenses, and other costs related to the immigration process.
Immigration Expense Category
- Click on the Settings icon and navigate to Expense in the main menu. Select Expenses Category.
- To add a new Immigration Expense Category, click the Add button.
- Enter the Name, check the Immigration checkbox, and click Save.
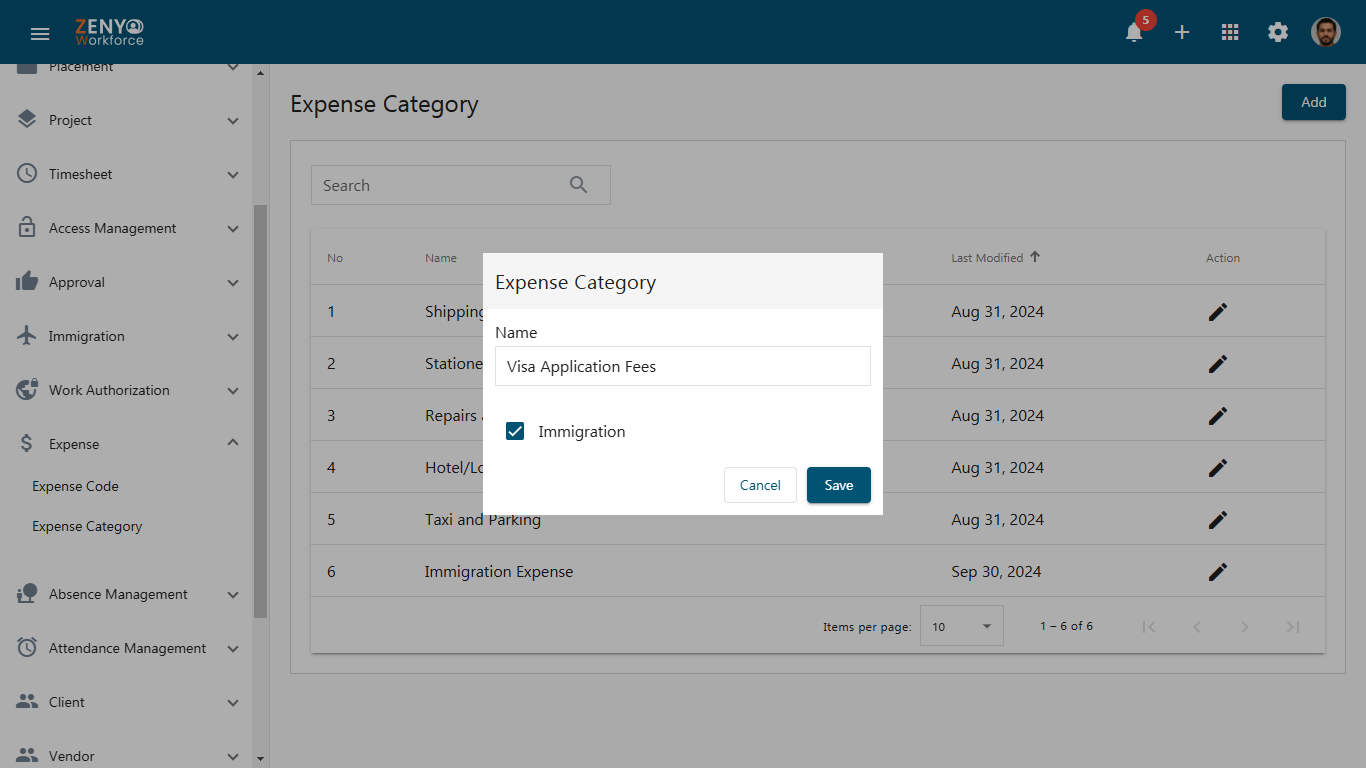 Note: Immigration services will be accessible only if you have acquired the add-on for the standard plan.
 - To edit the name of an immigration expense category, click the Edit icon under the Action field.
- After making your changes, click the Update button to save them.
Adding a New Immigration Expense
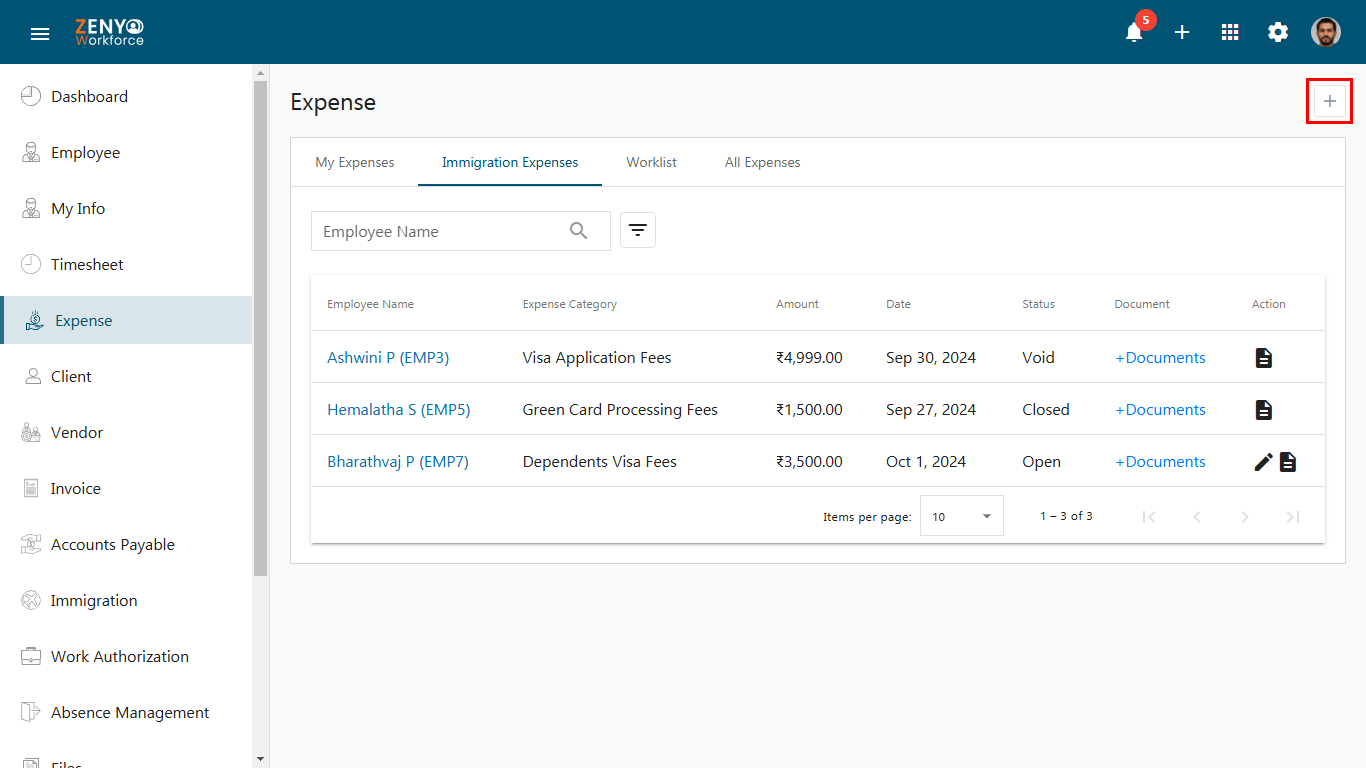
- Go to the Dashboard and click on Expense from the main menu.
- On the Expense page, click on the Immigration Expenses tab.
- Click the Add icon to add a new immigration expense.
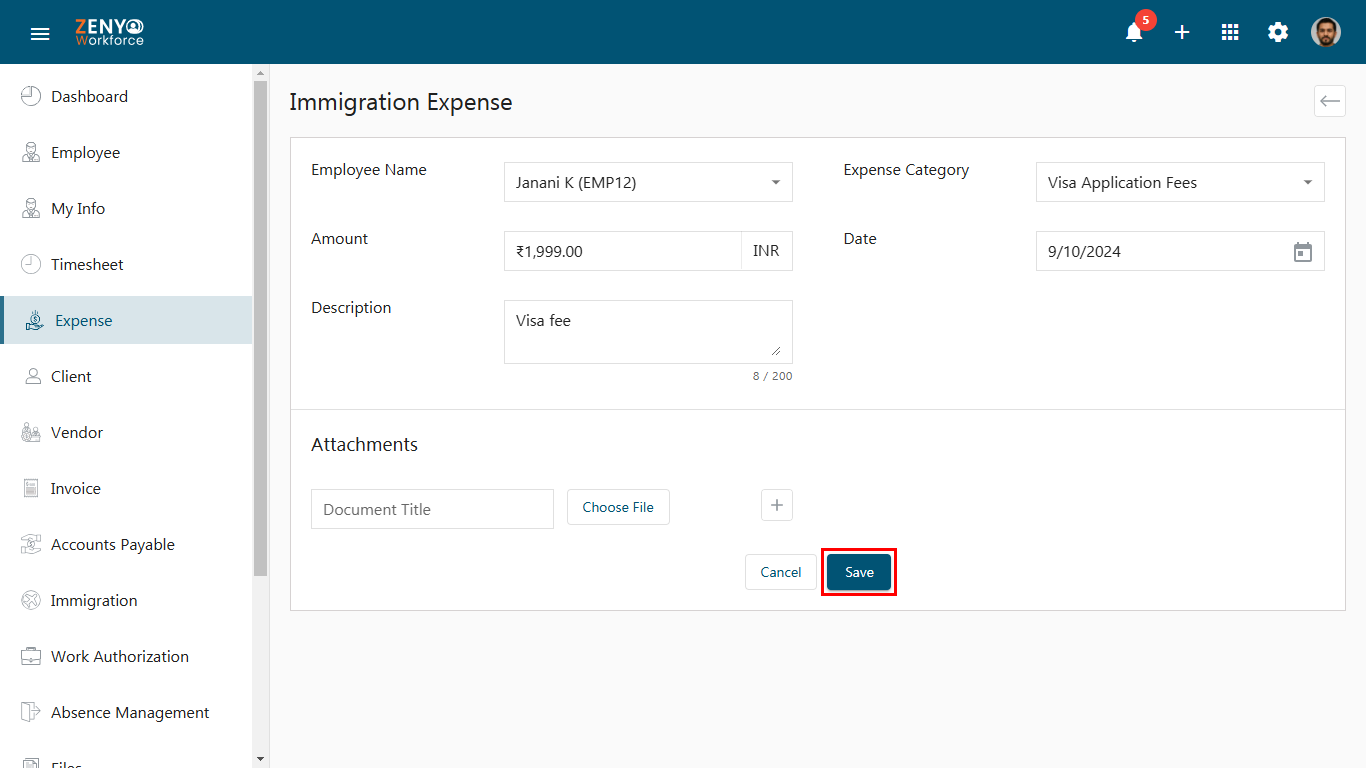
- Choose the Employee Name and Expense Category. To add a new category, click Add Item in the dropdown.
- Enter the Amount and select the desired currency.
- Add the Date and a Description of the expense.
- Attach any relevant documents, such as receipts, in the Attachments section.
- Click Save to add the immigration expense.
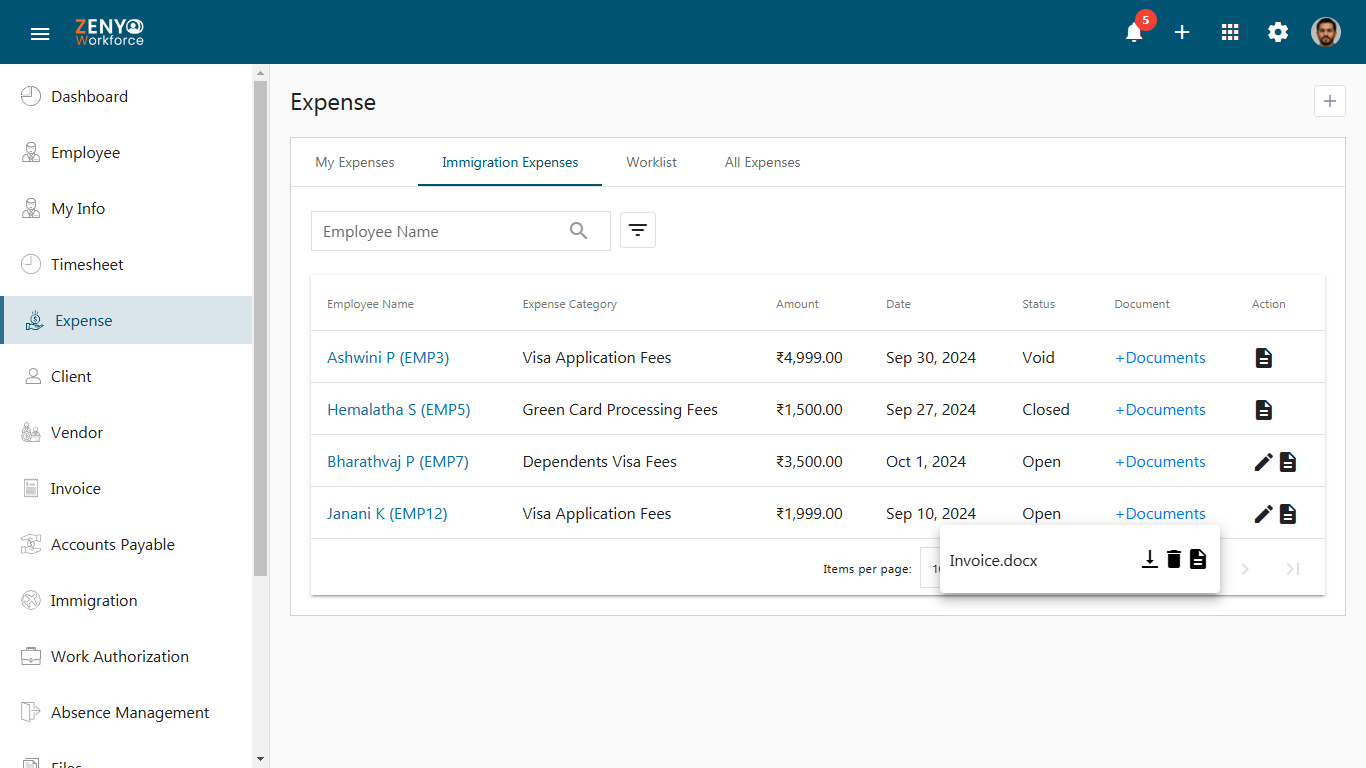
- After saving, the immigration expense will be listed along with details such as Employee Name, Expense Category, Amount, Date, Status, Document, and Action under the Immigration Expenses tab.
- It will be listed with a status Open, indicating the amount is to be deducted from the employee.
- You can search for a particular immigration expense using the search box by entering the Employee name.
- Alternatively, you can filter immigration expenses using the advanced filter option by entering the Expense Category and Status. Click the Apply button.
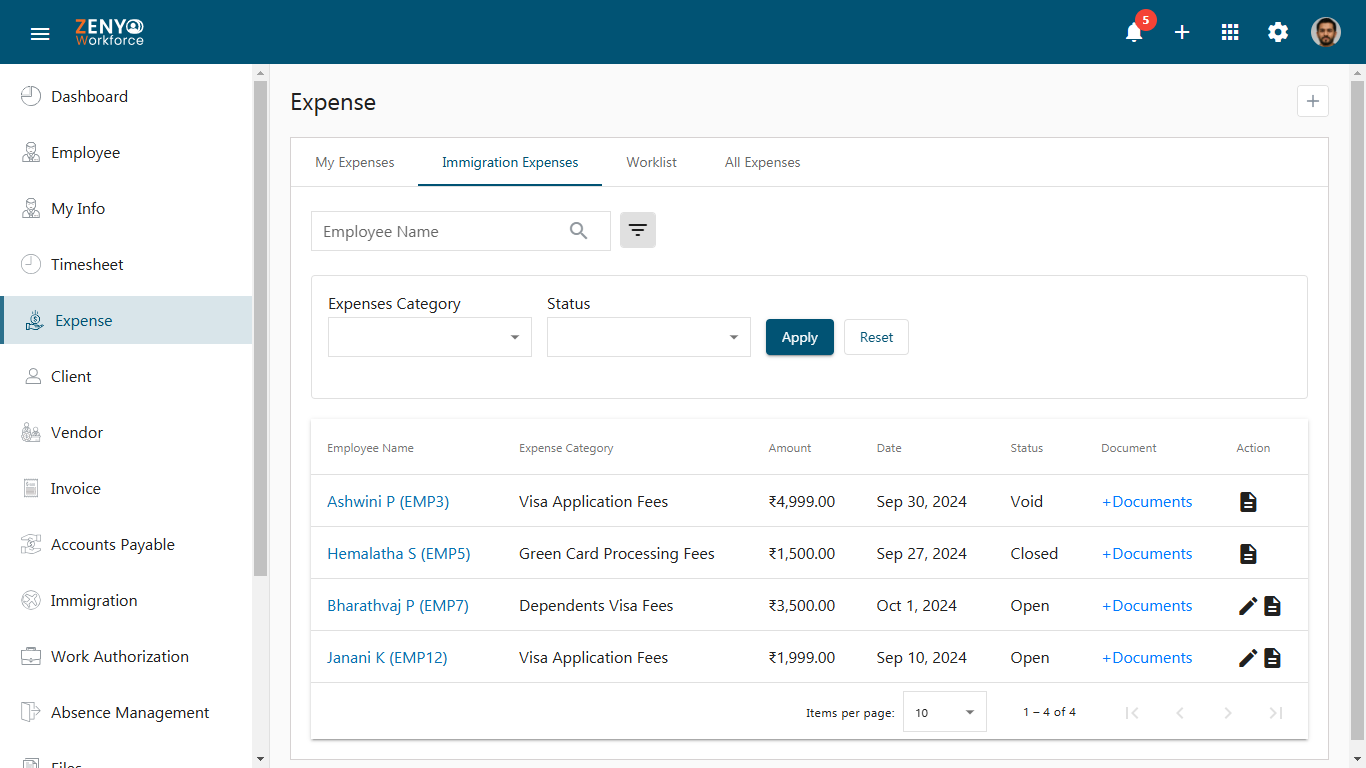
- You can edit the expense by clicking the Edit icon as long as it remains in the Open status. To view details, click the View icon.
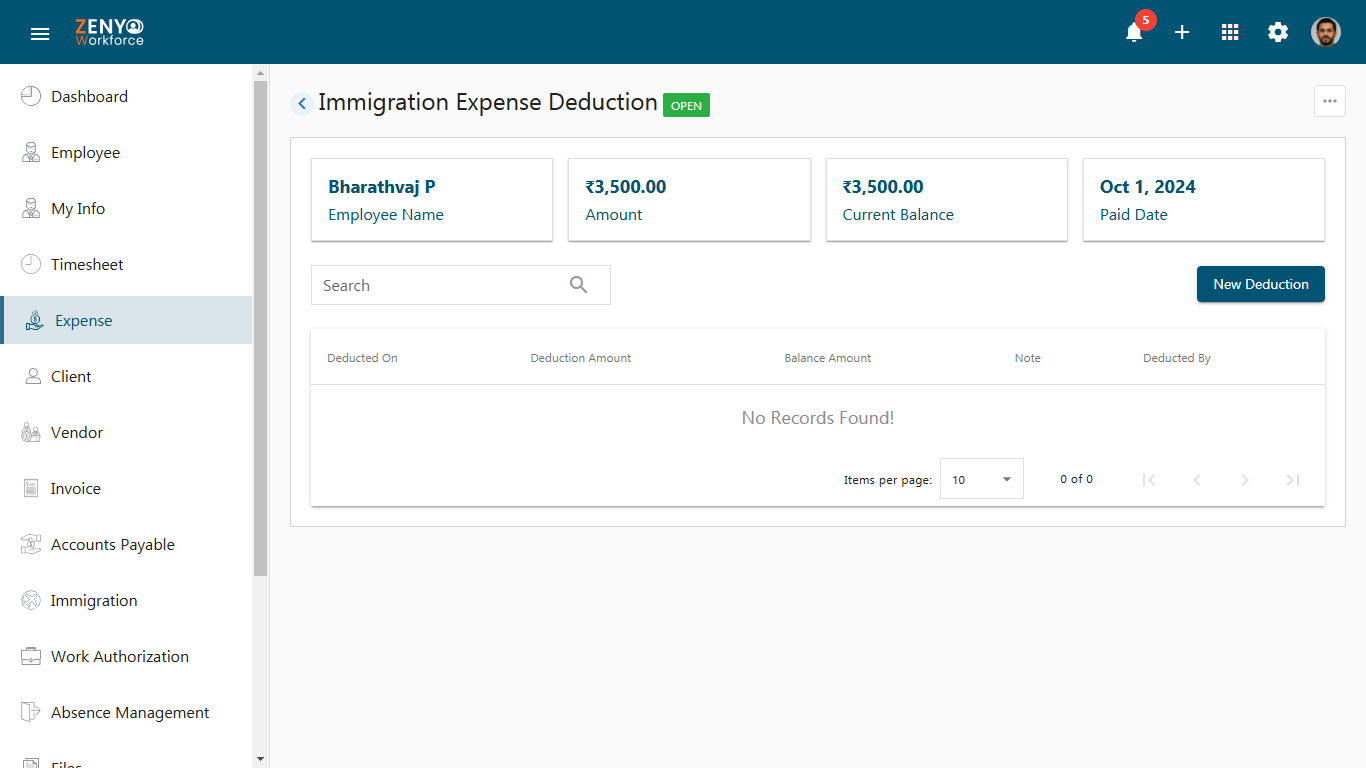
- Click on the employee’s name to navigate to the Immigration Expense Deduction page, where you can record the amount deducted from the employee.
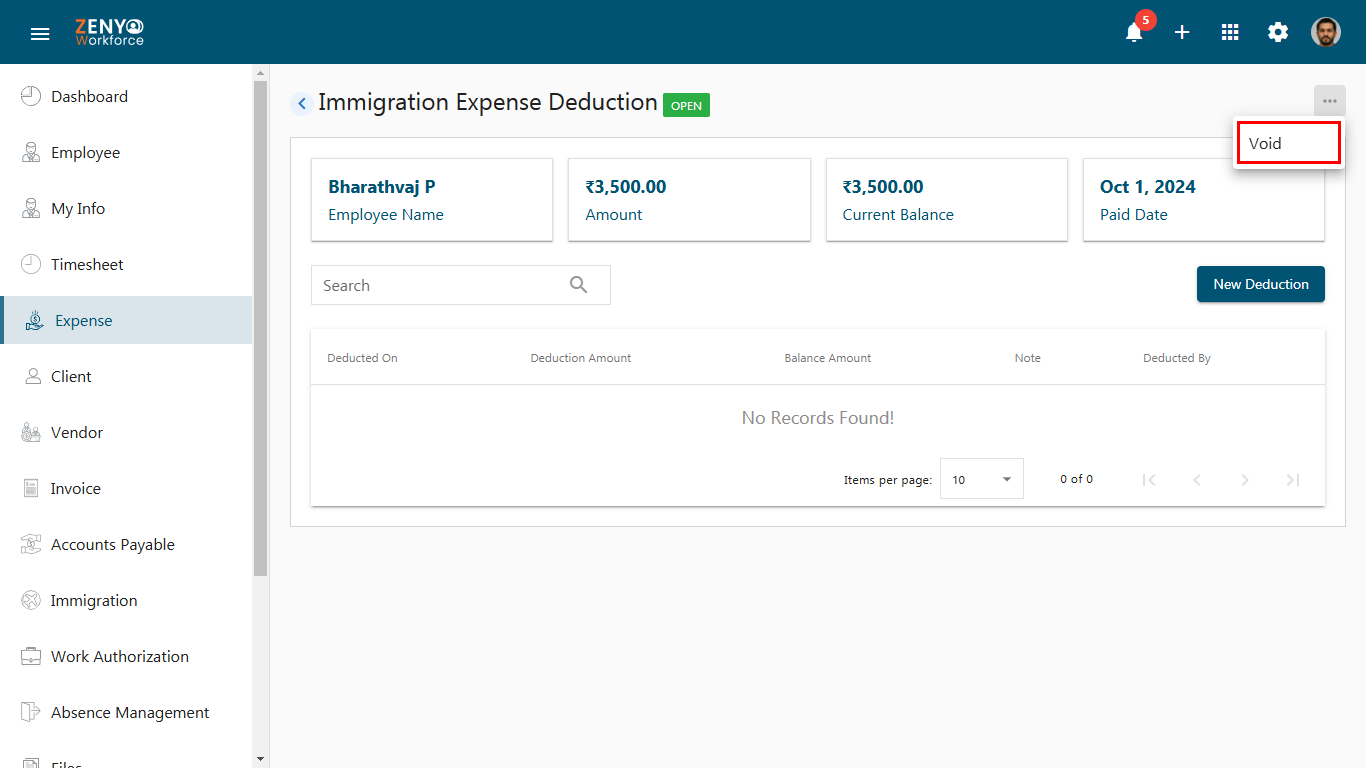
- To move the expense to void state, click the More Options button on the top right and select Void.
- To deduct the amount from the employee, partially or fully, click the New Deduction button and enter the amount deducted.
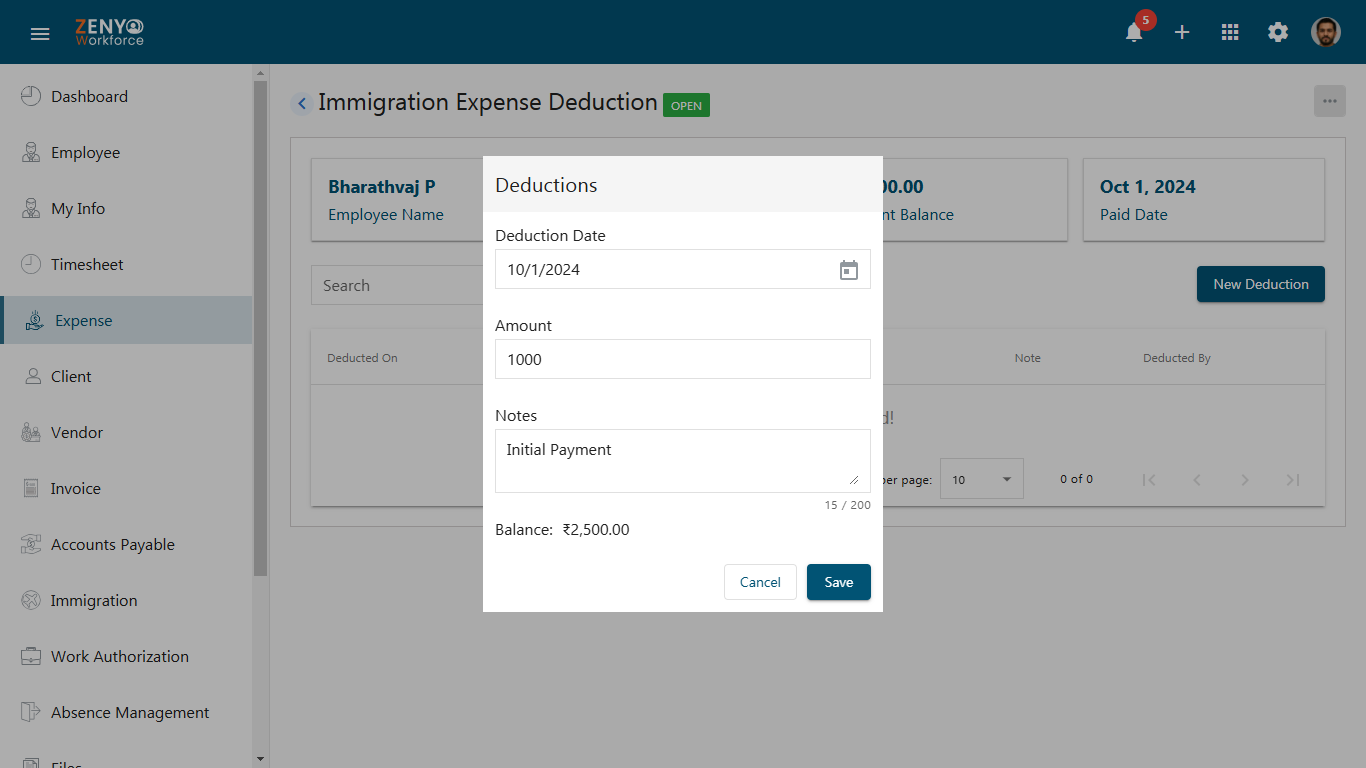
- In the Deductions dialog box, choose the Deduction Date, enter the amount paid by the employee (e.g., the full amount), and leave a note.
- The remaining balance will be displayed. Click Save to confirm.
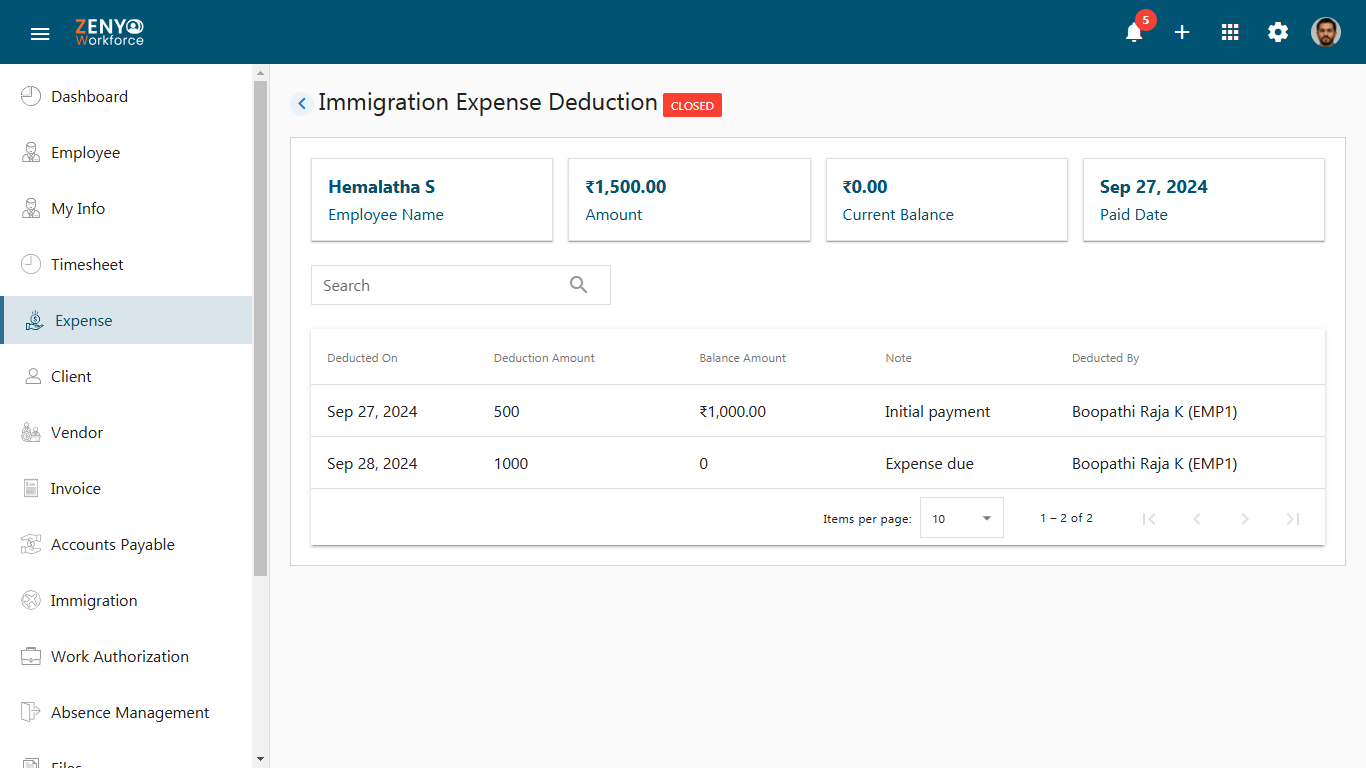
- If the full amount is paid, the status will be shown as Closed, and you will only be able to view the details.
- Under the Document field, you can download, delete, or view the attached documents.
- Use the View icon to see details of each expense in Void and Closed statuses, and edit or view immigration expenses in Open status under the Action field.
