The Project Module provides an intuitive interface for managing and tracking project details within your organization. This feature enables HR teams and managers to easily create, assign, and monitor projects across different teams or departments, ensuring seamless workforce and task management.
How to Manage Document Type?
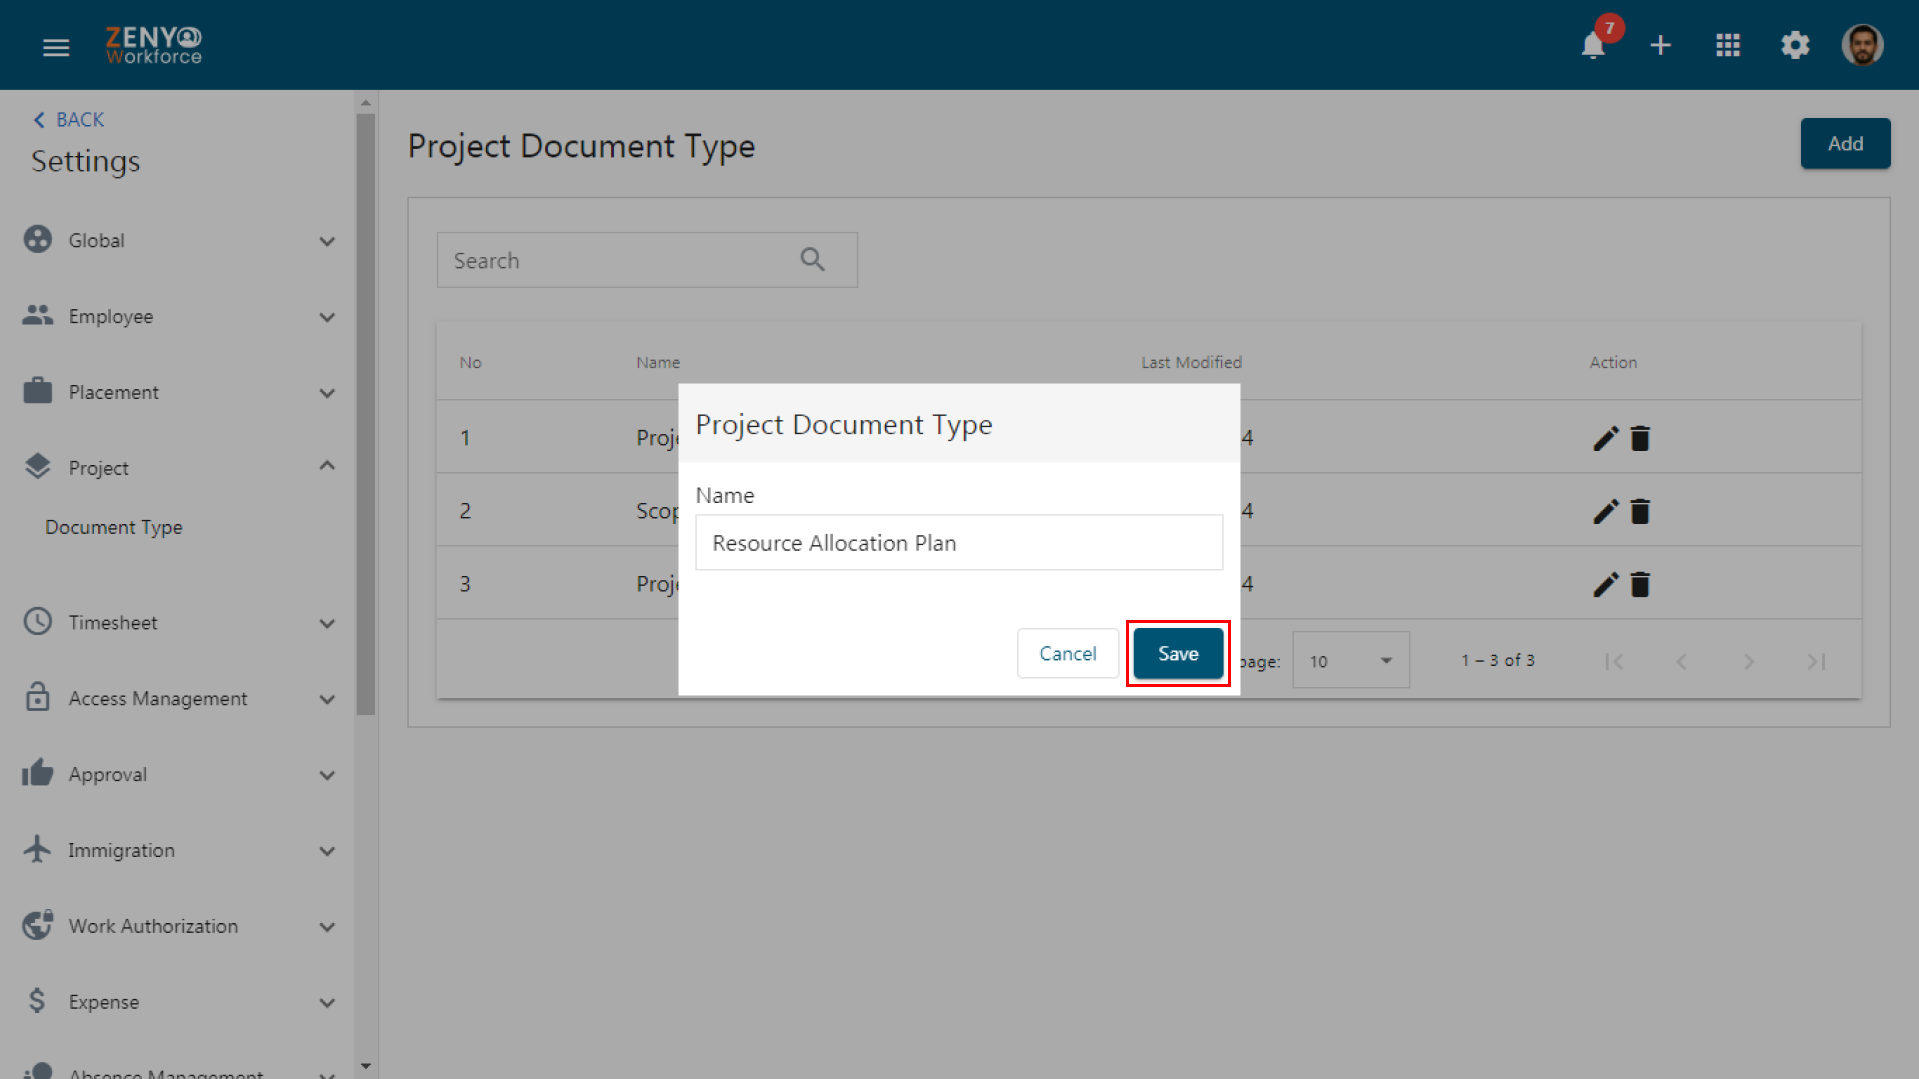
- Click the Settings icon, navigate to the Project menu, and select Document type.
- A list of Project Document Types will be displayed, showing their Name, Last Modified Date, and Action.
- Edit or Delete the Document Type under Action.
- Click the Add button to create a new document type, enter the document type, and click Save.
How to Assign a Project?
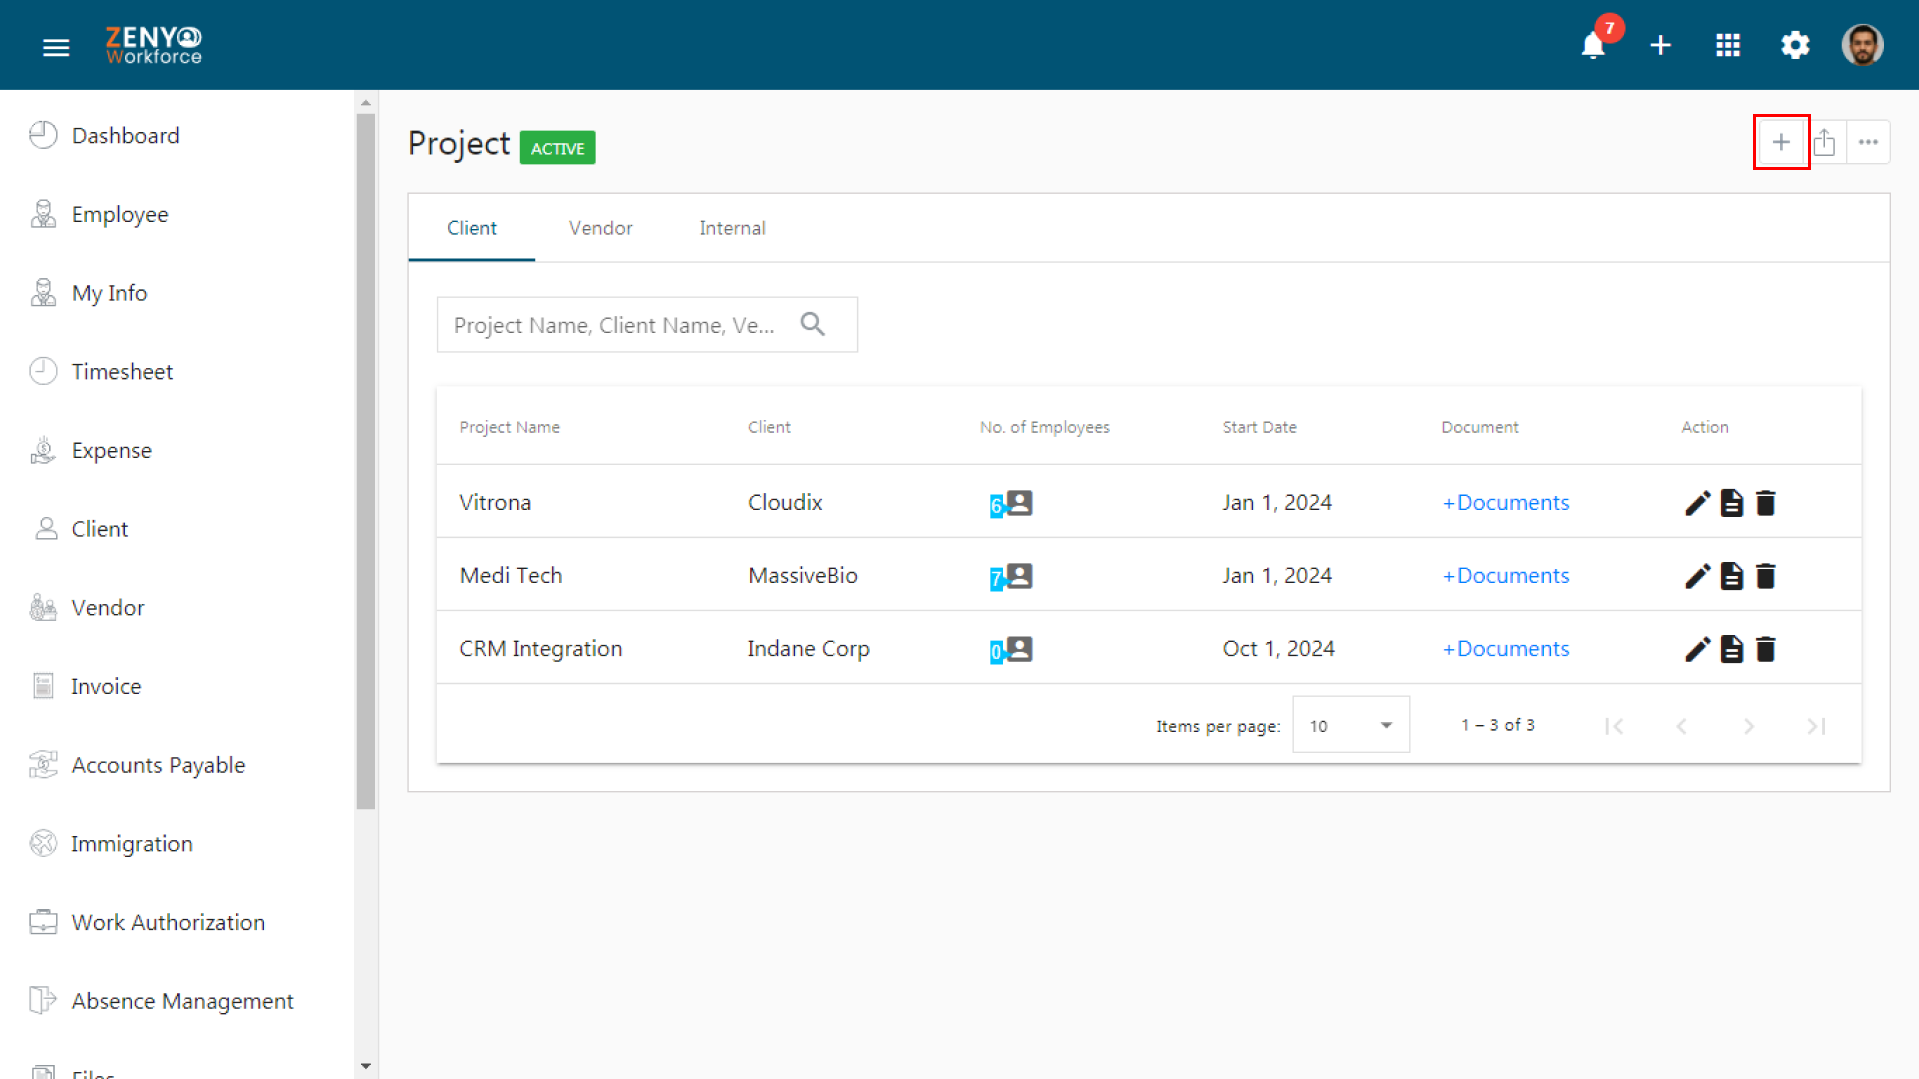
- Click the App icon in the navigation bar and select Project.
- Active Project details appear under the Client, Vendor, and Internal tabs.
- Click the Add icon to add a project.
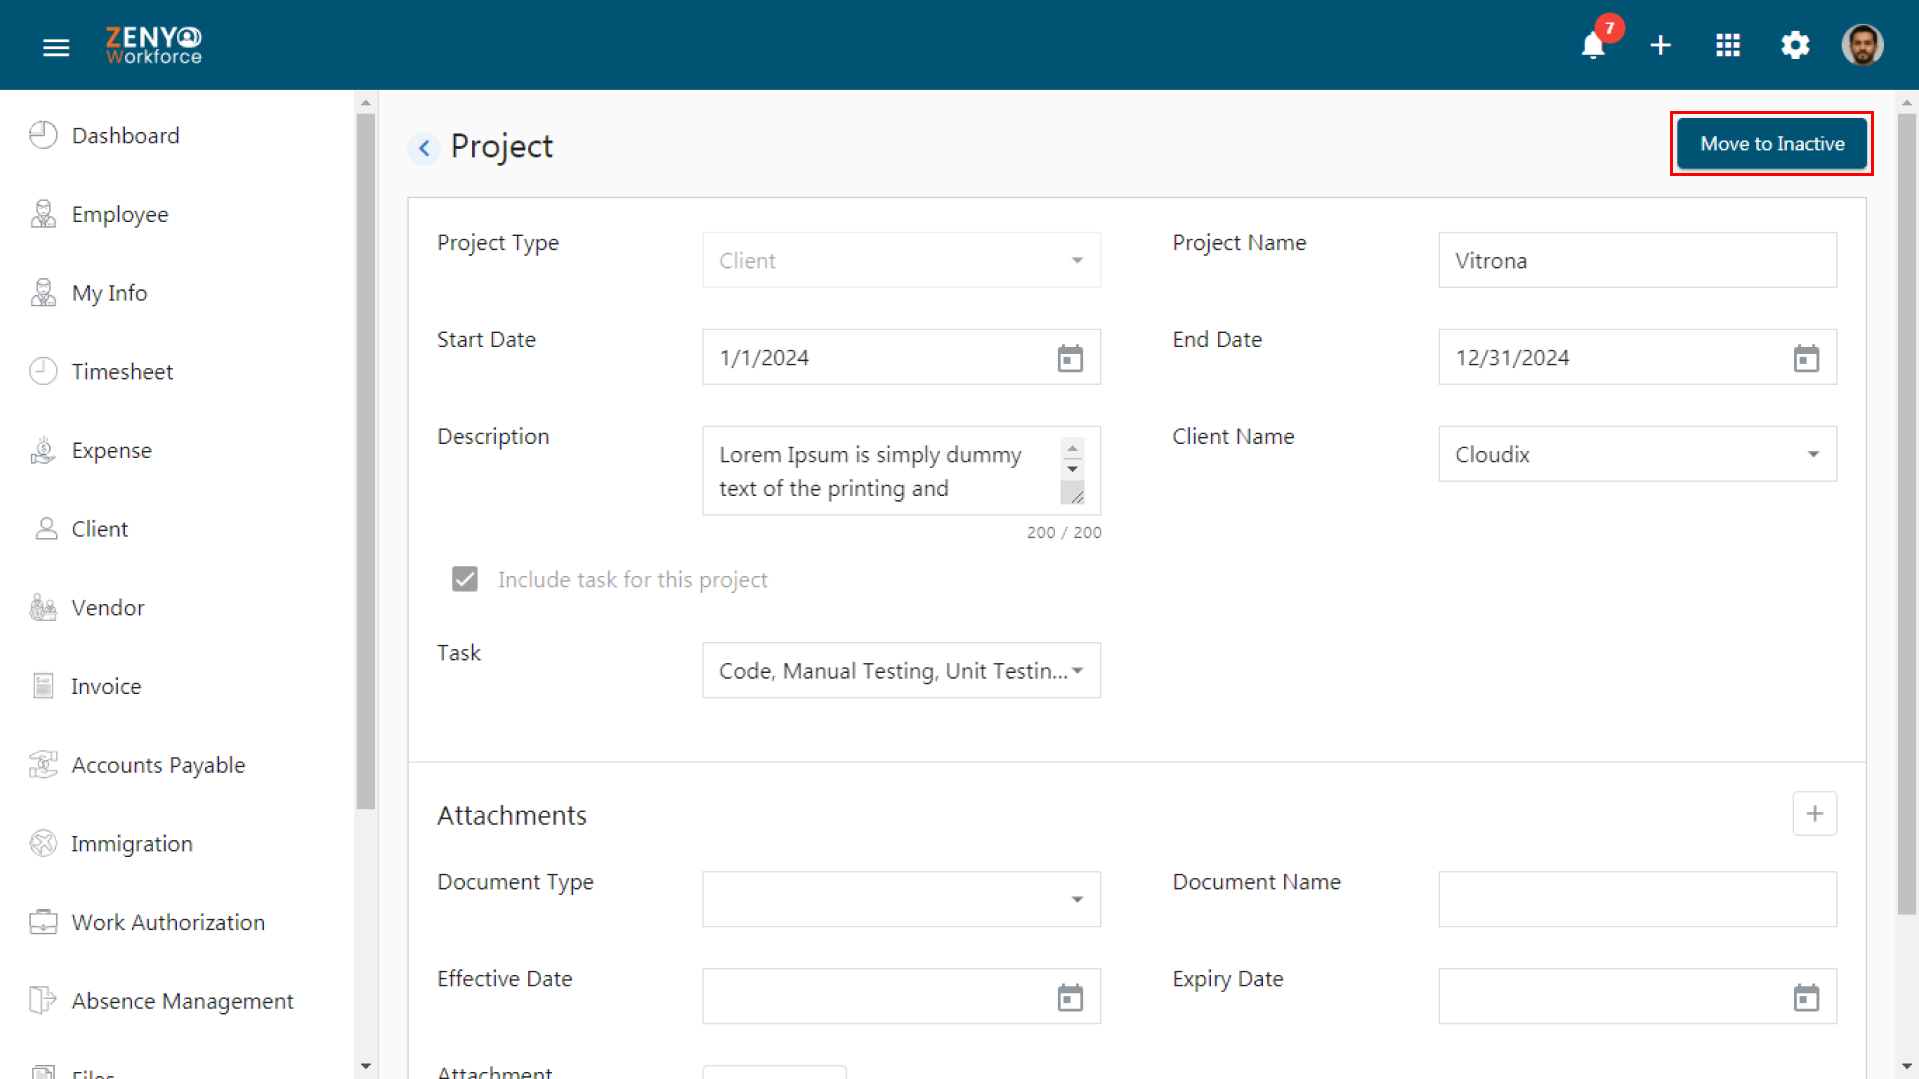
- Choose the Project Type. It can be Client, Vendor, or Internal. Now enter the Project Name, Start Date, End Date, and Description.
- If you choose Client as the Project Type, choose the Client Name. If you choose Vendor as the Project Type, choose the Vendor Name from the dropdown.
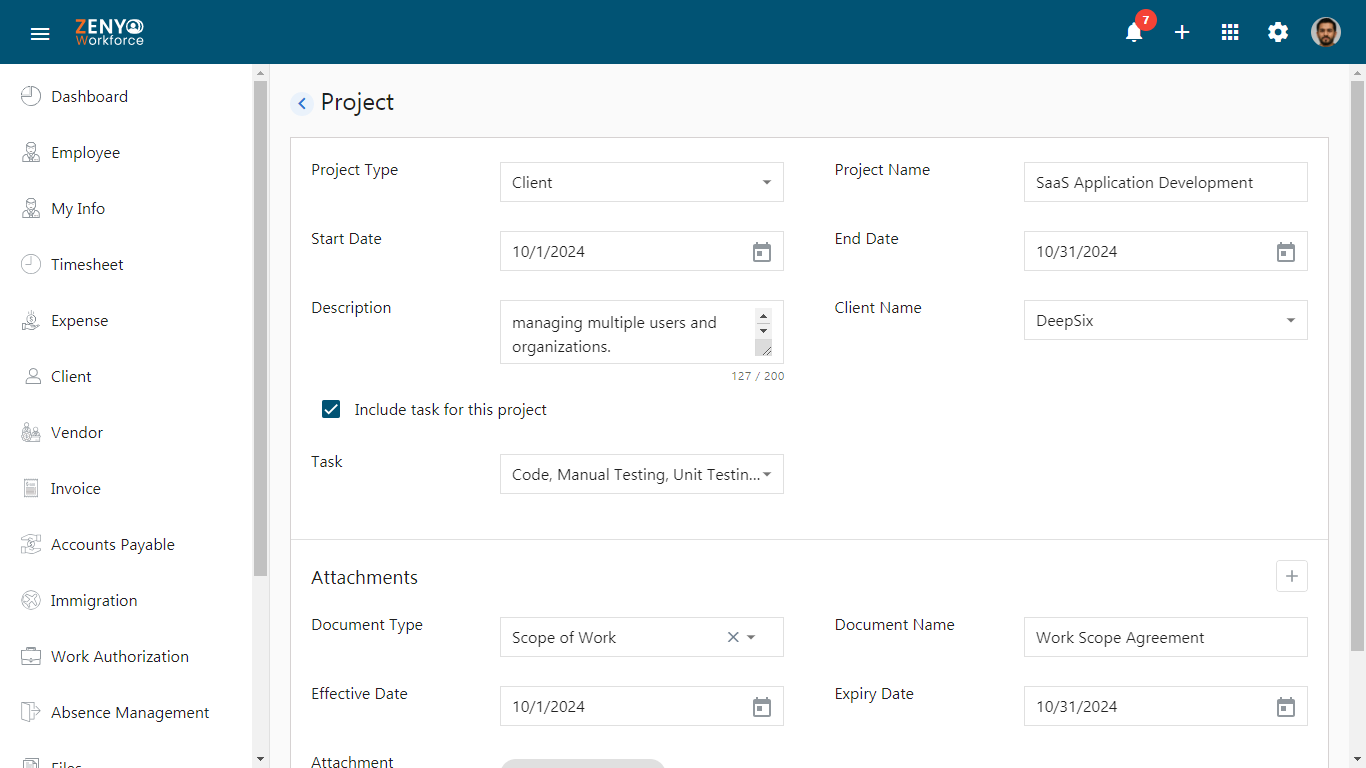
- To include tasks for this project, check the corresponding checkbox and choose the task details. You can easily add new tasks using the +Add Item in the dropdown. Enter the task name and click Save.
- In the Attachments Section, add document details by entering the Document type, Document Name, Effective Date, Expiry Date, and choosing a file. You can add multiple documents by clicking the Add icon.
- Click Save.
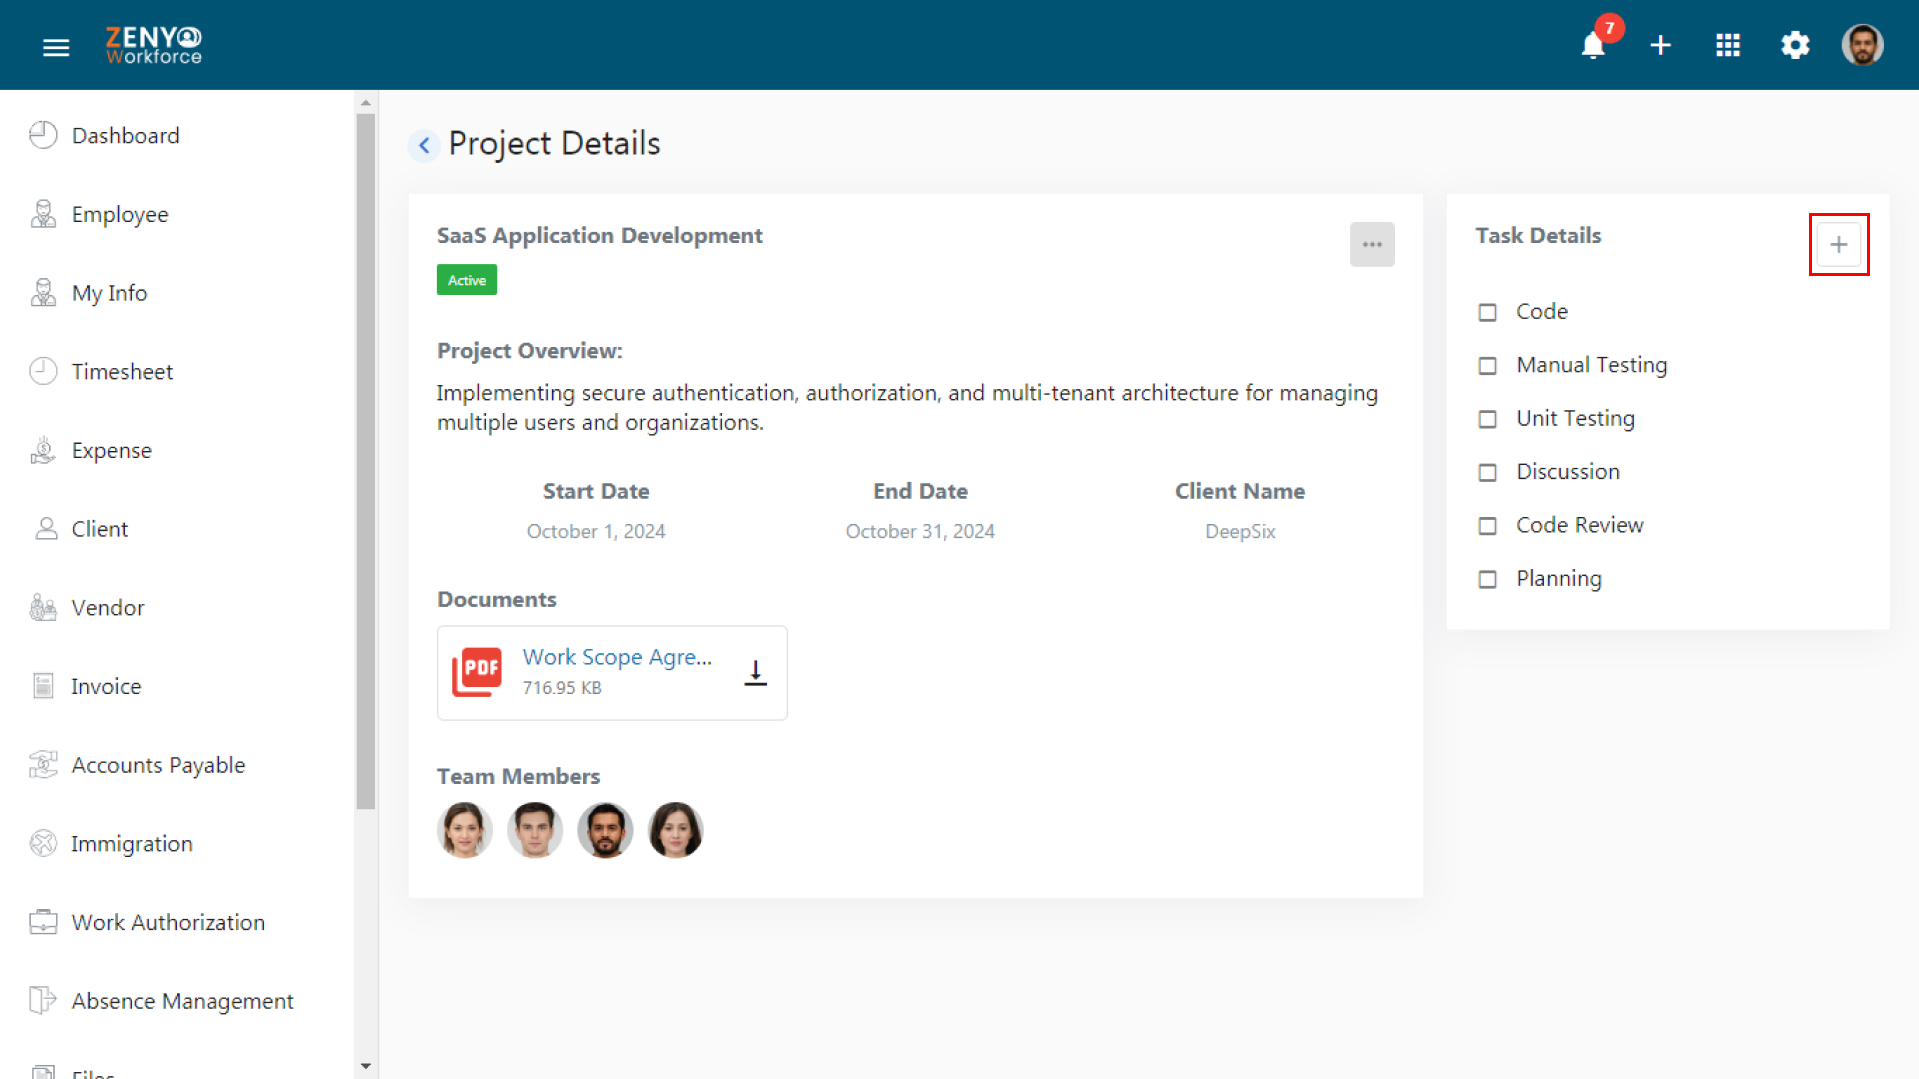
- Click the record to view the Project Details - Active/Inactive status, Start Date, End Date, Client Name/Vendor Name, Team members list, and Task Details.
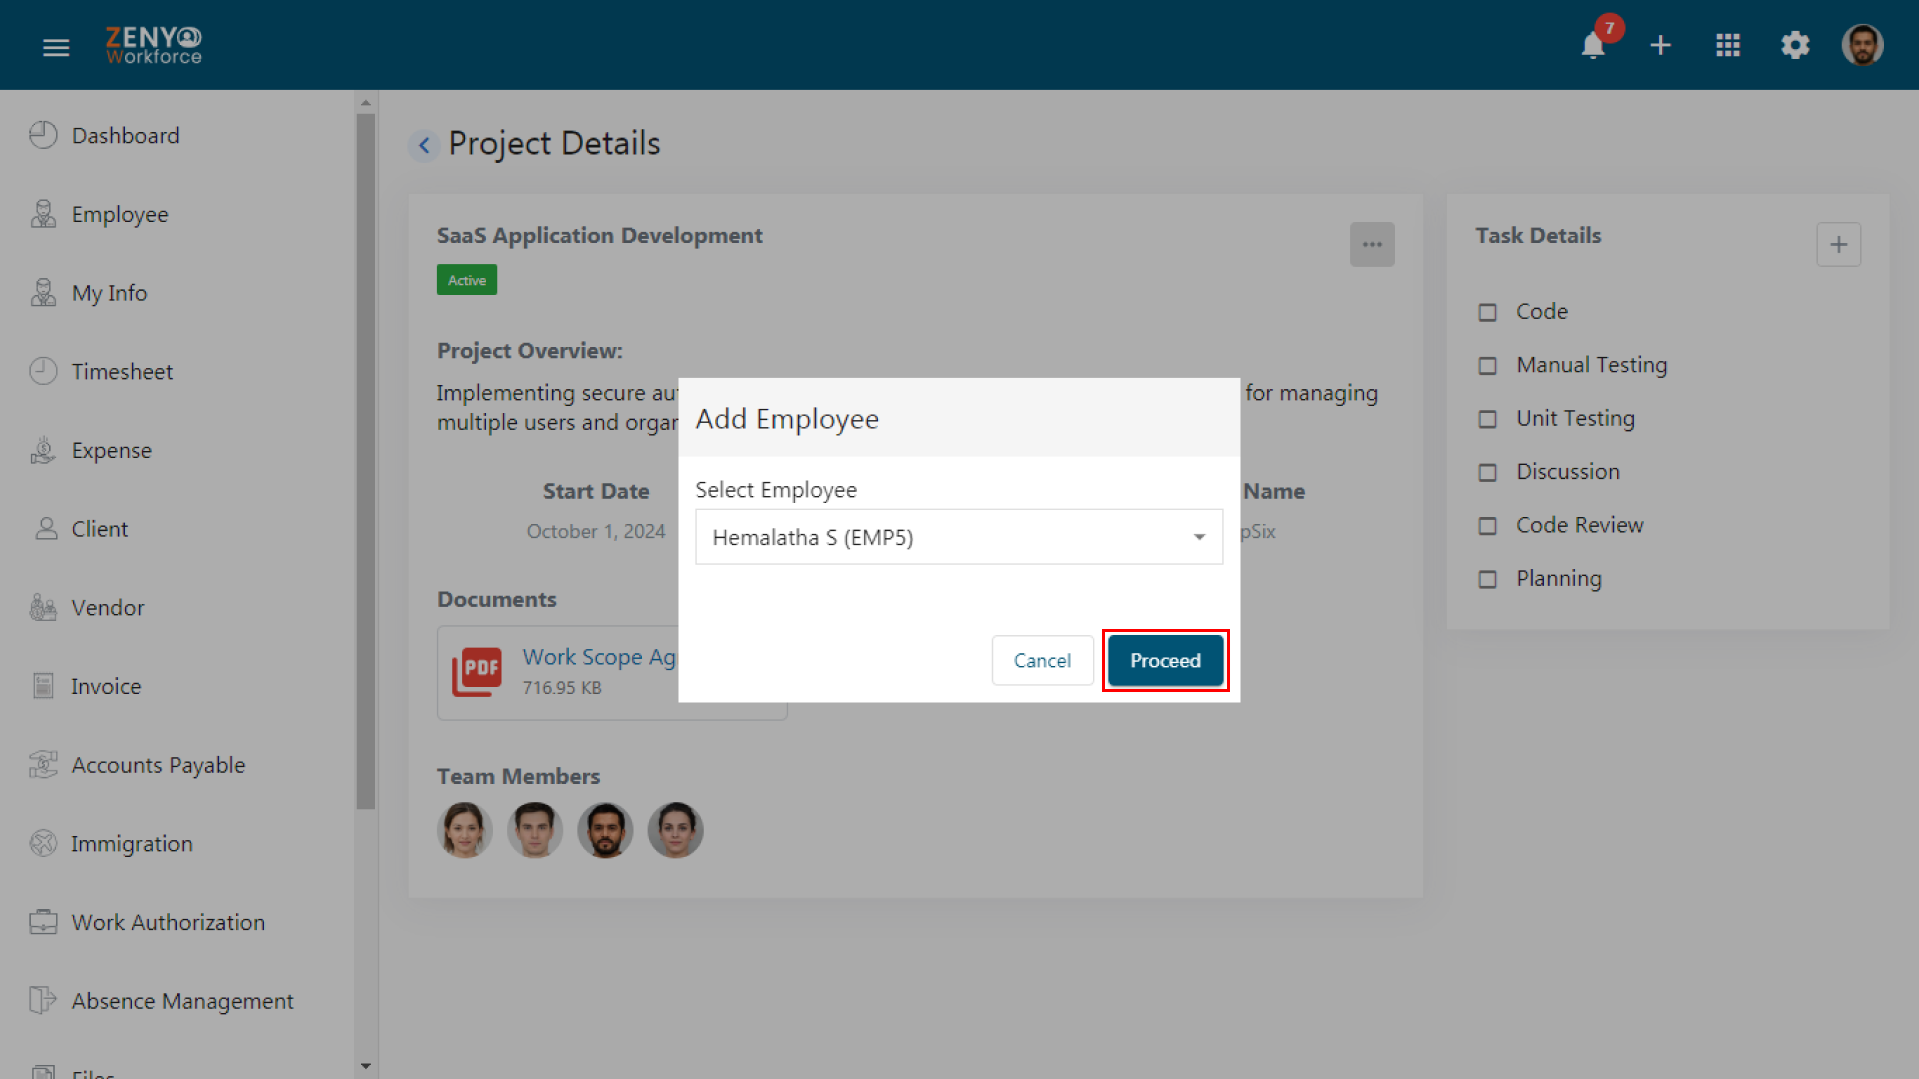
- Click the More icon to Add an Employee, Remove an Employee, or Move to Inactive status.
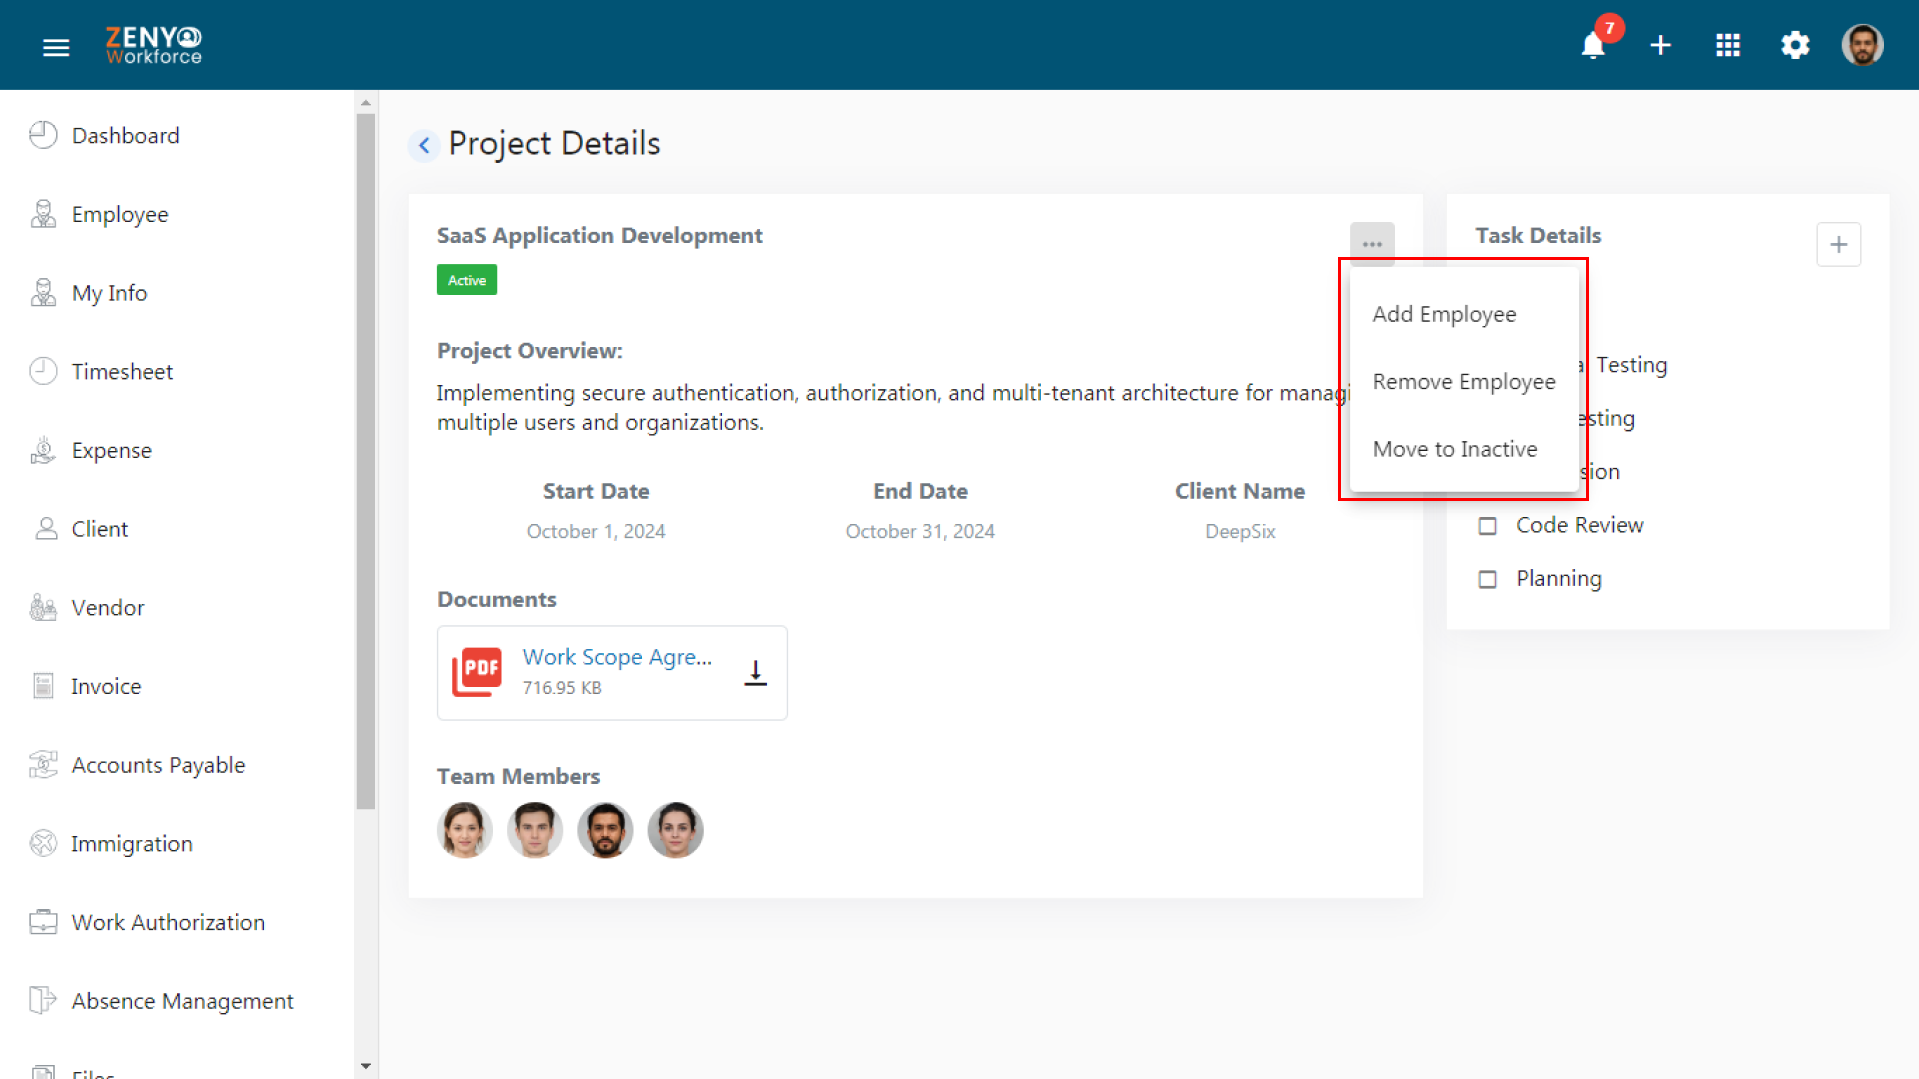
- To add an employee select an employee from the dropdown and click Proceed.
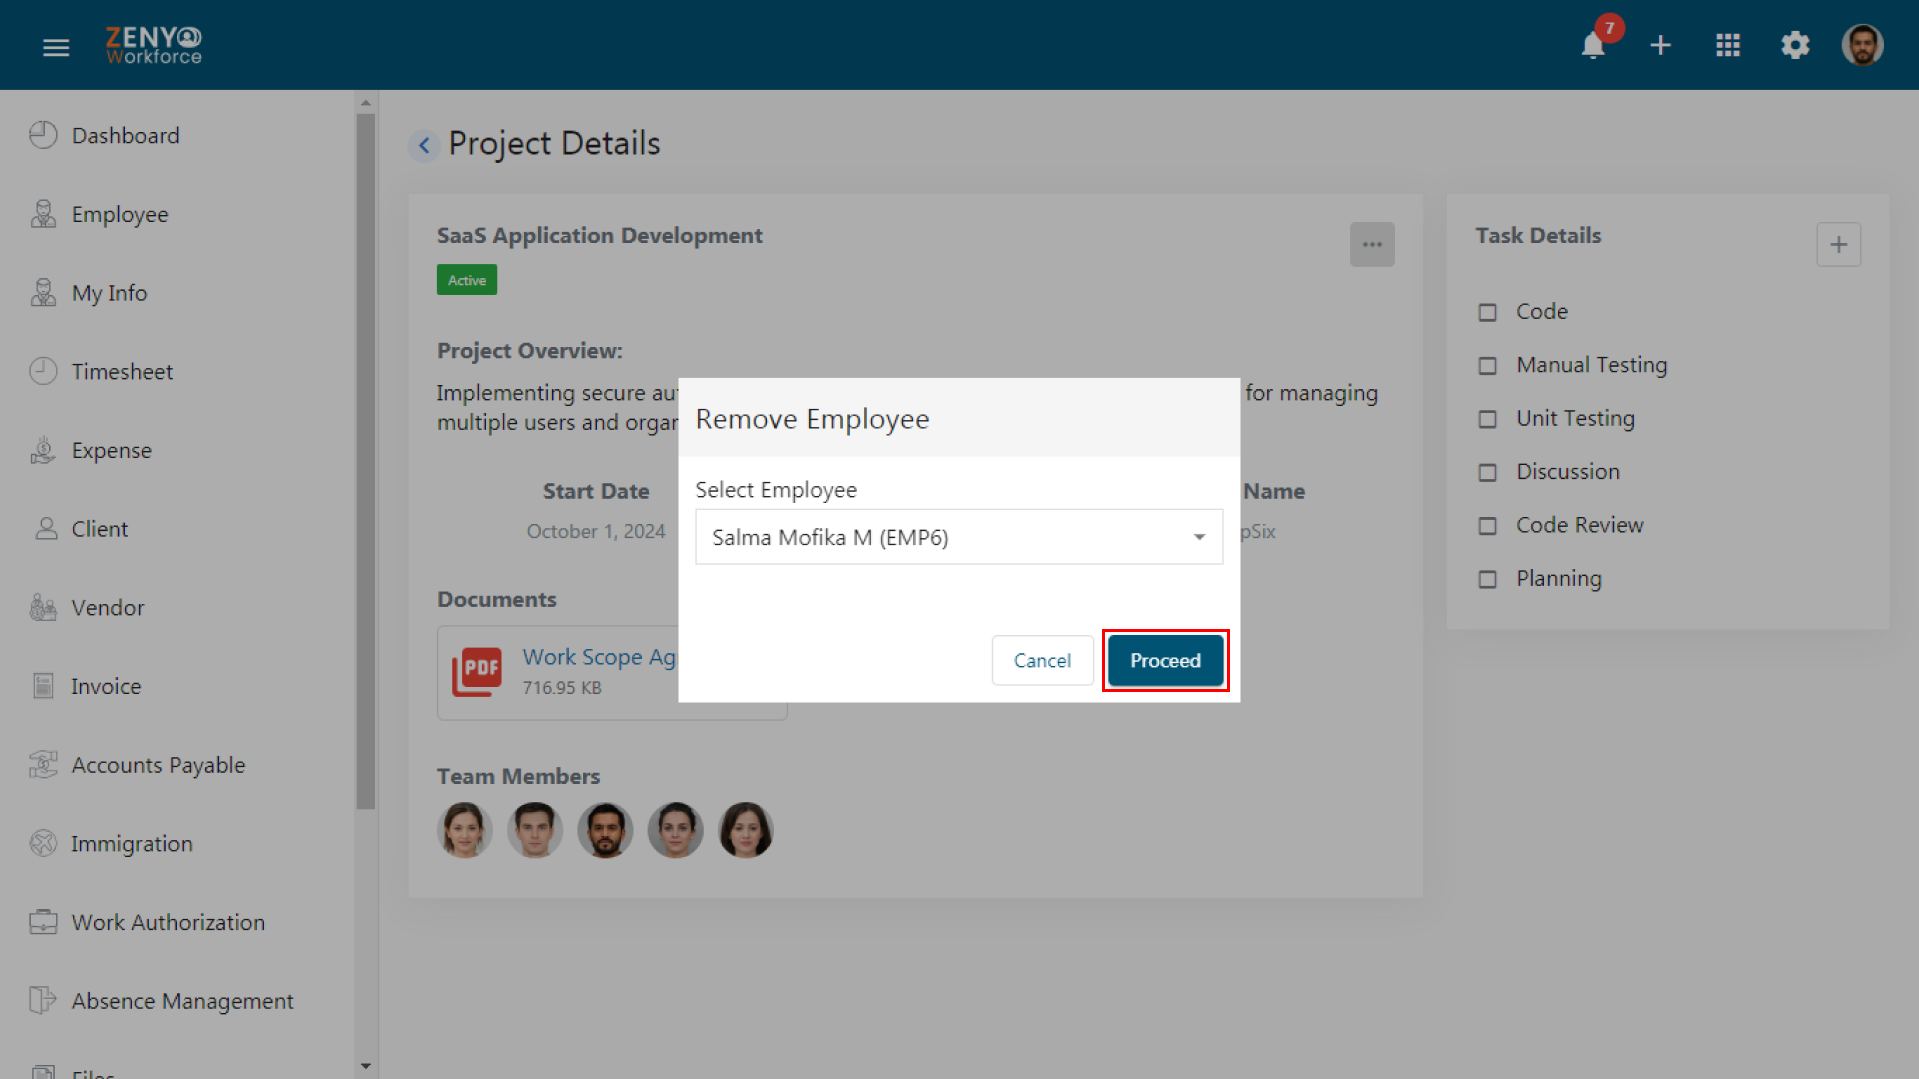
- To remove an employee, click the Remove Employee, select an Employee from the dropdown, and click Proceed.
- To move this project to an inactive state, click on Move to Inactive and confirm.
Note: Project Associated with Placement / SOW cannot be moved to Inactive state.
- Add more tasks associated with the project by clicking the Add icon in the Task Details section.
- Under the Client tab, you’ll find the Project Name, Client Name, No. of Employees under the Project, Start Date, Document, and Action details displayed.
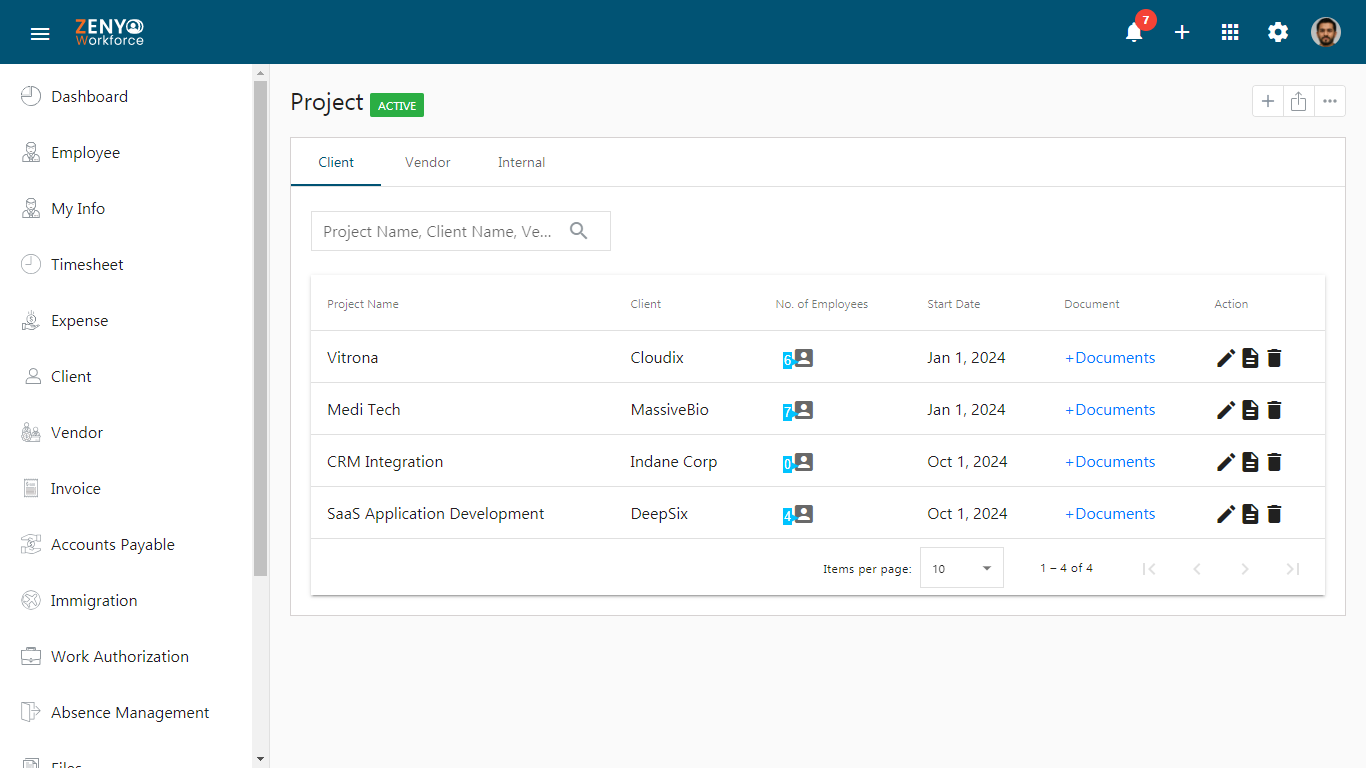
- Search for a specific project using the Project Name or Client Name.
- Edit, View, or Delete the project under the Action field.
- Click the Edit icon to edit the project details after making changes, click Update.
Note: Project Type can’t be changed, and tasks can’t be included.
- Click the Move to Inactive button to deactivate the project. After the project status is updated successfully, click the More icon and choose Inactive Project.
- Inactive projects are listed here. To reactivate the project, click the record and then click the More icon, and finally, click the Move to Active option.
- Click on the View icon to see the project details. Use the Delete icon to delete the project.

- Click the Export icon to export the client project list in XLSX or CSV format. Select the desired format, either XLSX or CSV. Choose the fields that you want to include in the exported file. Add filters, if needed, to refine the data according to your requirements. Finally, click Export.
- Under the Vendor tab, you’ll find the Project Name, Vendor Name, No. of Employees under the Project, Start Date, Document, and Action details displayed.
- Search for a specific project using the Project Name or Vendor Name.
- Edit, View, or Delete the project under the Action field.
- Click the Edit icon to edit the project details after making changes, click Update.
Note: Project Type can’t be changed, and tasks can’t be included.
- Click the Move to Inactive button to deactivate the project. After the project status is updated successfully, click the More icon and choose Inactive Projects.
- Inactive projects are listed here. To reactivate the project, click the record and then click the More icon, and finally, click the Move to Active option.
- Click on the View icon to see the project details. Use the Delete icon to delete the project.
- Click the Export icon to export the vendor project list in XLSX or CSV format. Select the desired format, either XLSX or CSV. Choose the fields that you want to include in the exported file. Add filters, if needed, to refine the data according to your requirements. Finally, click Export.
- Under the Internal tab, you’ll find the Project Name, No. of Employees under the Project, Start Date, Document, and Action details displayed.
- Search for a specific project using the Project Name.
- Edit, View, or Delete the project under the Action field.
- Click the Edit icon to edit the project details after making changes, click Update.
Note: Project Type can’t be changed, and tasks can’t be included.
- Click the Move to Inactive button to deactivate the project. After the project status is updated successfully, click the More icon and choose Inactive Projects.
- Inactive projects are listed here. To reactivate the project, click the record and then click the More icon, and finally, click the Move to Active option.
- Click on the View icon to see the project details. Use the Delete icon to delete the project.
- Click the Export icon to export the internal project list in XLSX or CSV format. Select the desired format, either XLSX or CSV. Choose the fields that you want to include in the exported file. Add filters, if needed, to refine the data according to your requirements. Finally, click Export.
