After successfully signing up, it’s time to configure your account settings to get your platform up and running.
Follow the steps below to complete your account setup.
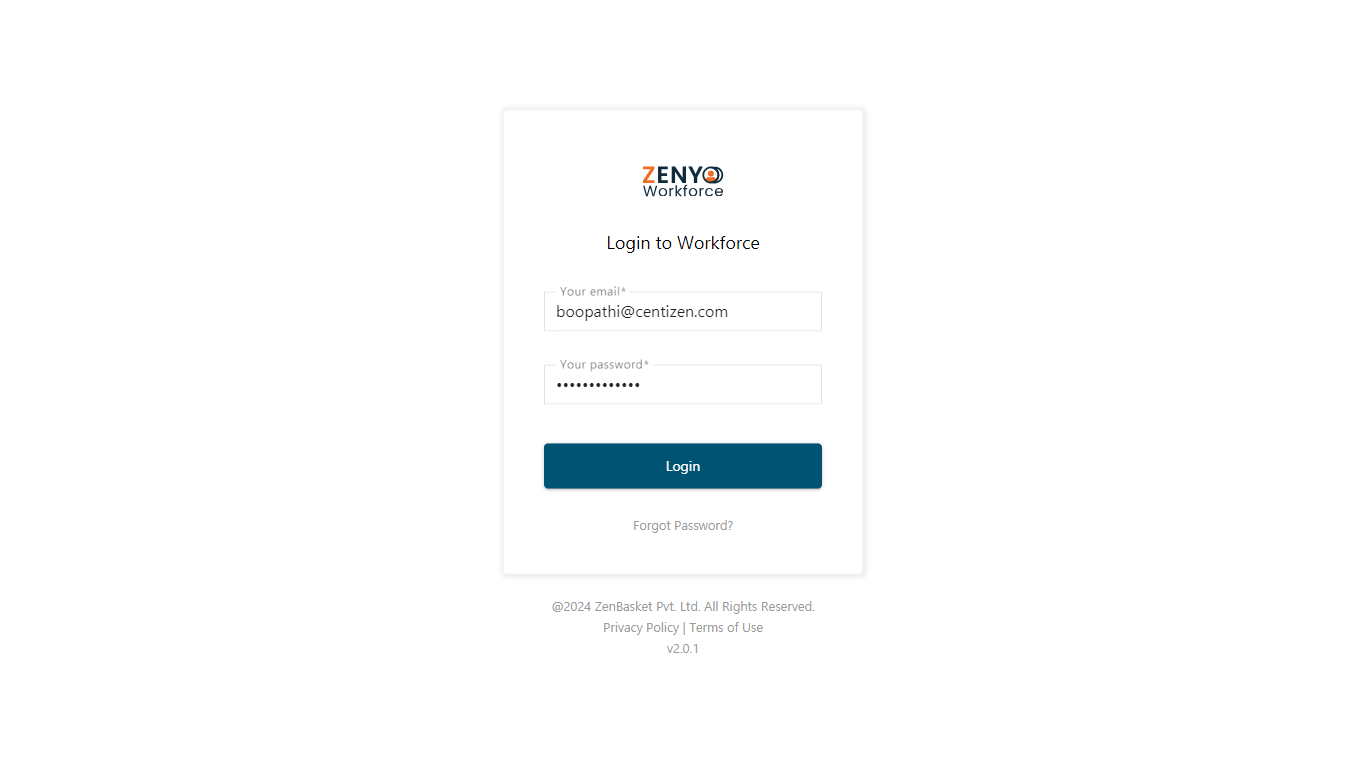
1. Log In
Use the email address and password you provided during signup to log in. Once logged in, you will be directed to the Account Setup page.
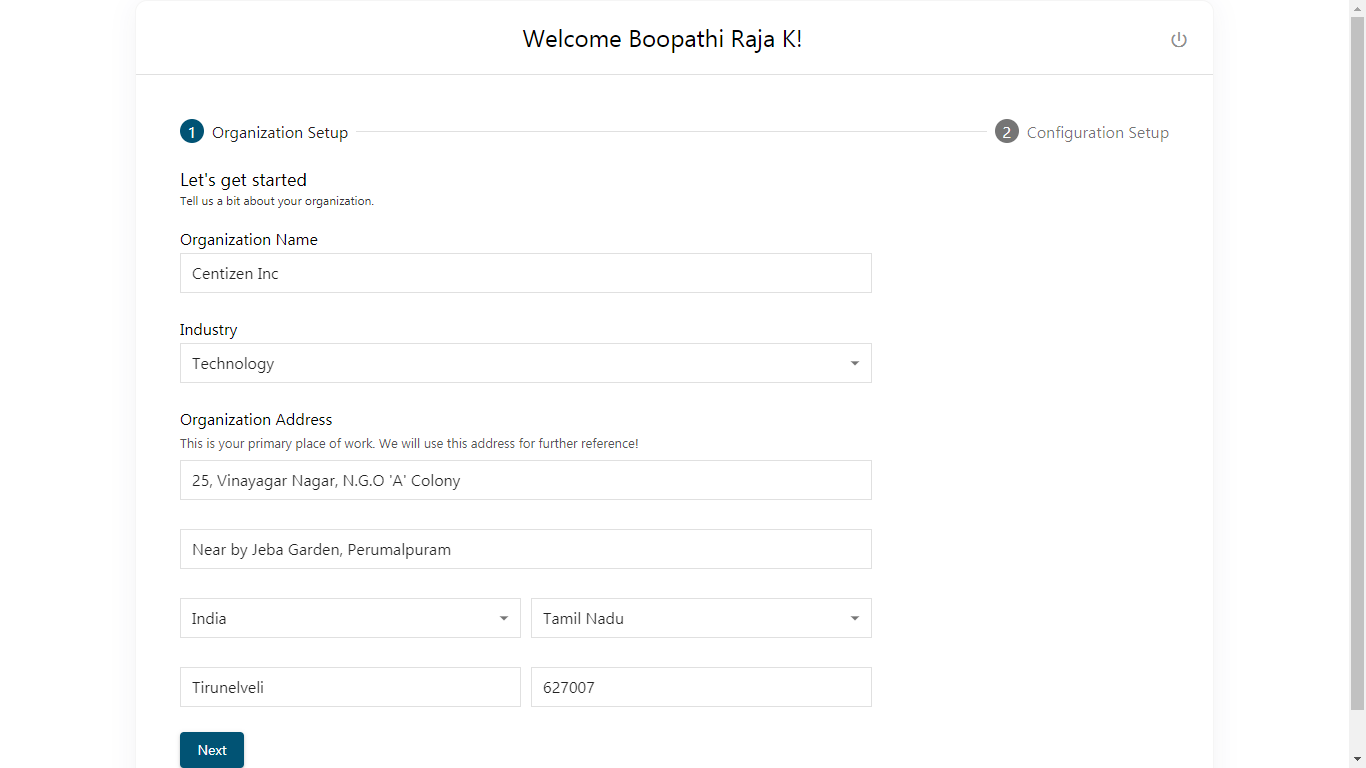
2. Organization Setup
Begin to your organization’s details:
- Your organization name and industry will be pre-filled based on the signup information. If needed, you can update the industry by selecting from the drop-down menu.
Next, input your organization’s primary address:
- Click on the Address field and enter your organization’s primary location.
- Once the address is entered, click Next to proceed to the configuration setup.
Note: You can edit your organization’s details later by clicking the Edit icon.
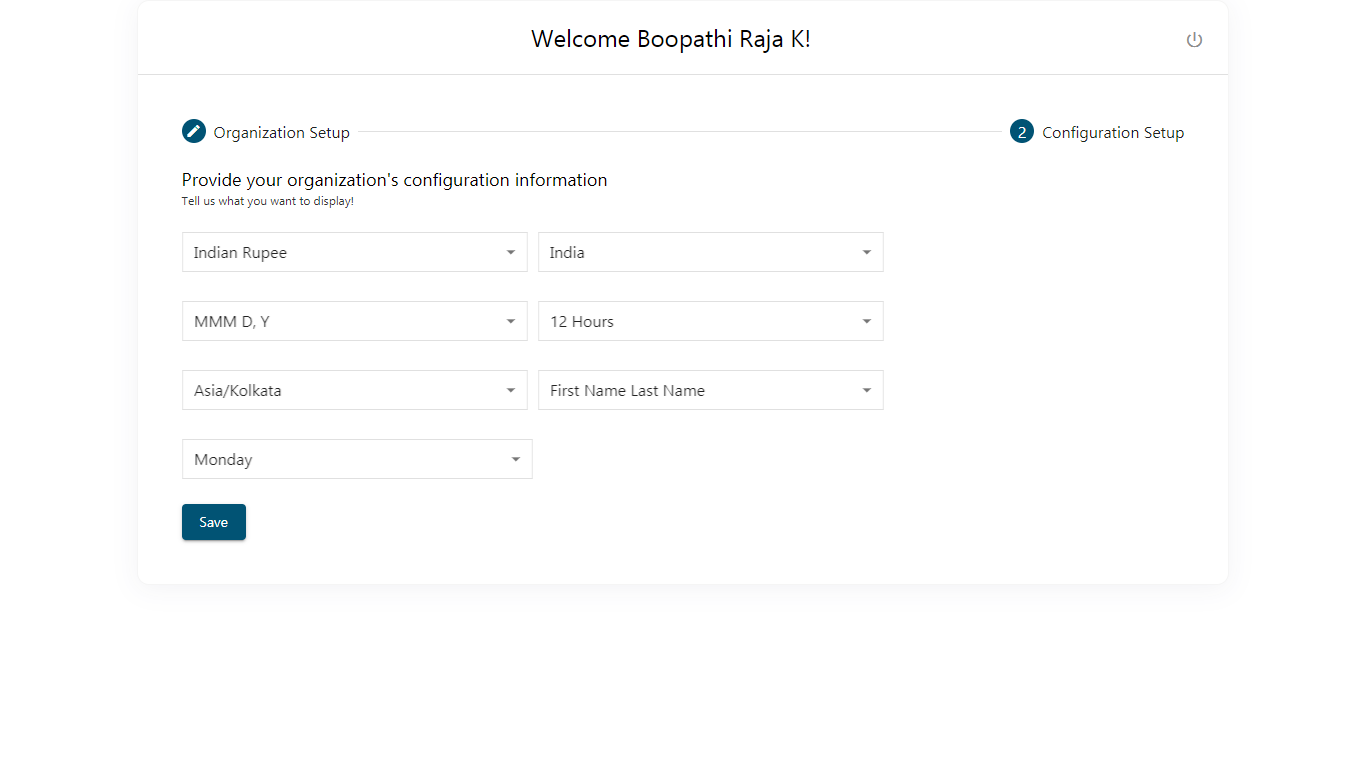
3. Configuration Setup
In the configuration setup, you’ll customize various settings to suit your organization’s preferences:
- Currency and Country: Select your preferred currency and country from the drop-down menu.
- Date Format: Choose the format in which dates will be displayed (e.g., DD/MM/YYYY or MM/DD/YYYY).
- Time Format: Choose between a 12-hour or 24-hour format.
- Time Zone: Select your organization’s time zone.
- Name Display Format: Choose how you’d like names to be displayed (e.g., First Name Last Name, or Last Name First Name).
- Week Start Day: Indicate which day of the week you consider the start (e.g., Sunday or Monday). After making these selections, click Save to apply your preferences.
4. Completion
Once you’ve saved your settings, your Zenyo Workforce account setup is complete, and you’re ready to start managing your workforce.
