The Dashboard is a centralized feature that streamlines employee management within the organization. It provides personalized sections for specific tasks and benefits, alongside key metrics for tracking new hires and departures. Dynamic widgets offer detailed job information and facilitate important announcements. The dashboard also manages time and attendance efficiently, while handling time-off requests and team members. These powerful features enhance productivity and transparency across the company.
Dashboard components
- Upon successful login, you will be directed to the Dashboard. In the top right corner, you will find a set of navigation icons, including the Notification icon, Quick Link icon, App icon, Settings icon, and Profile image.
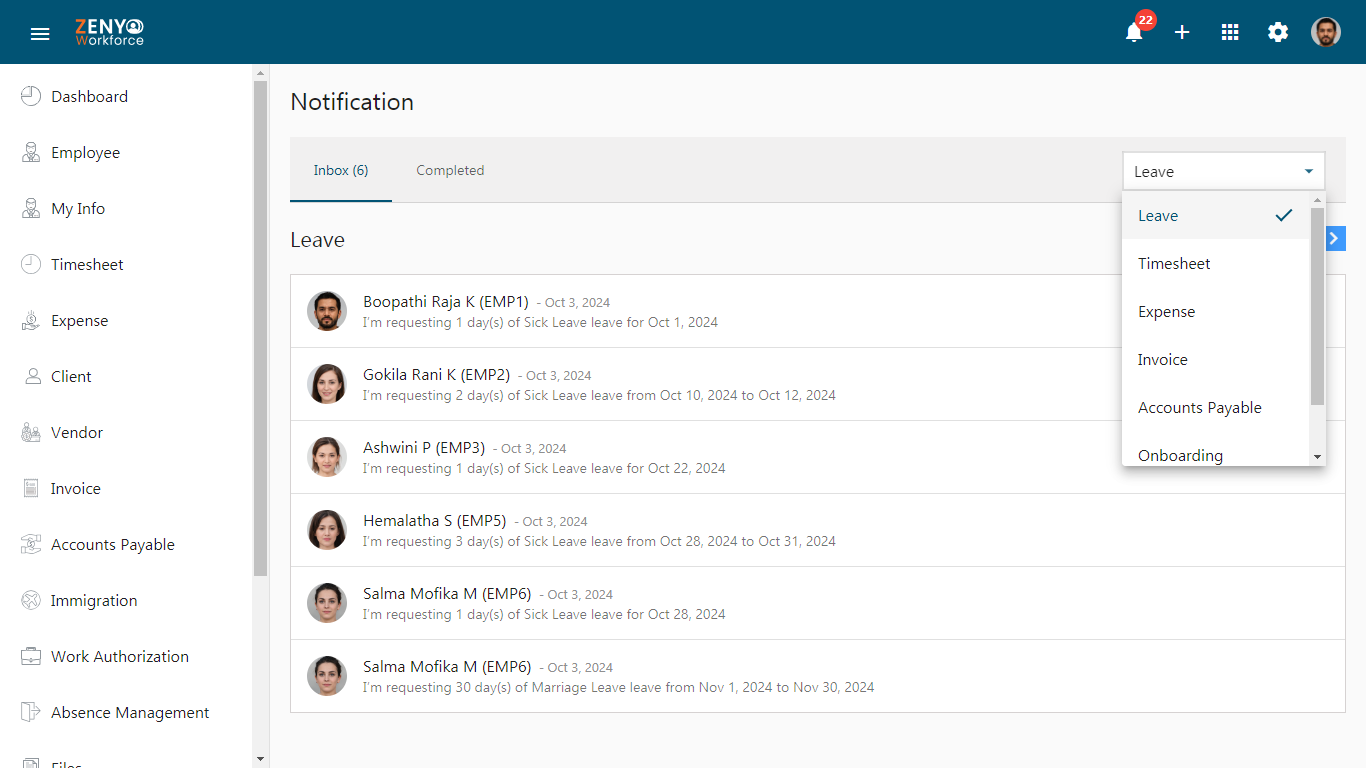
- Click the Notification icon to view employee requests related to leave, timesheets, expenses, invoices, accounts payable, onboarding, and offboarding.
Note: You must be an approver to access this information.
- In the Notification icon, you will find two tabs: Inbox and Completed. The Inbox tab shows all the requests awaiting for your approval, while the Completed tab displays the already completed requests.
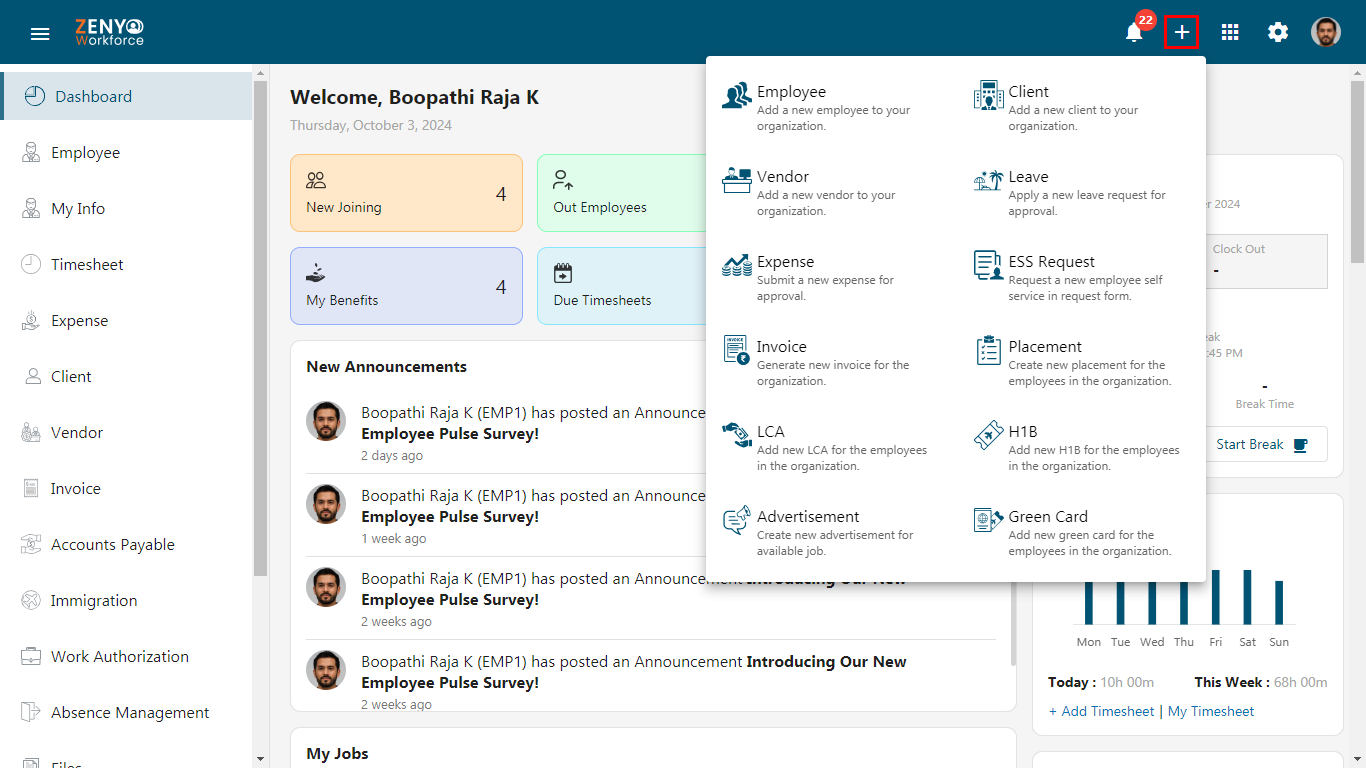
- The Quick Link allows users to easily access pages they frequently visit.
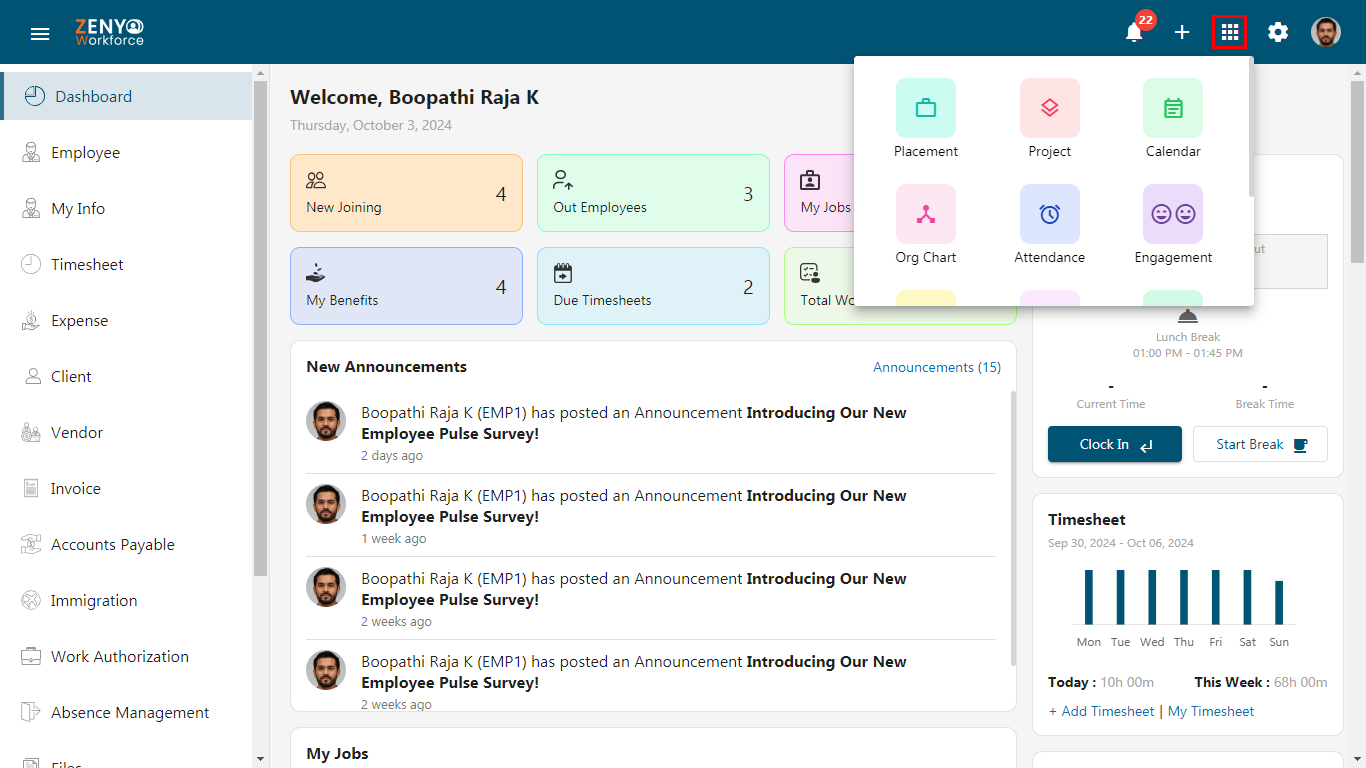
- Click on the App icon to view options such as Placement, Project, Calendar, Org Chart, Attendance, Engagement, Feedback, 1:1 Meeting, Skill Matrix, and Performance. By selecting any of these, you will be directed to that respective page.
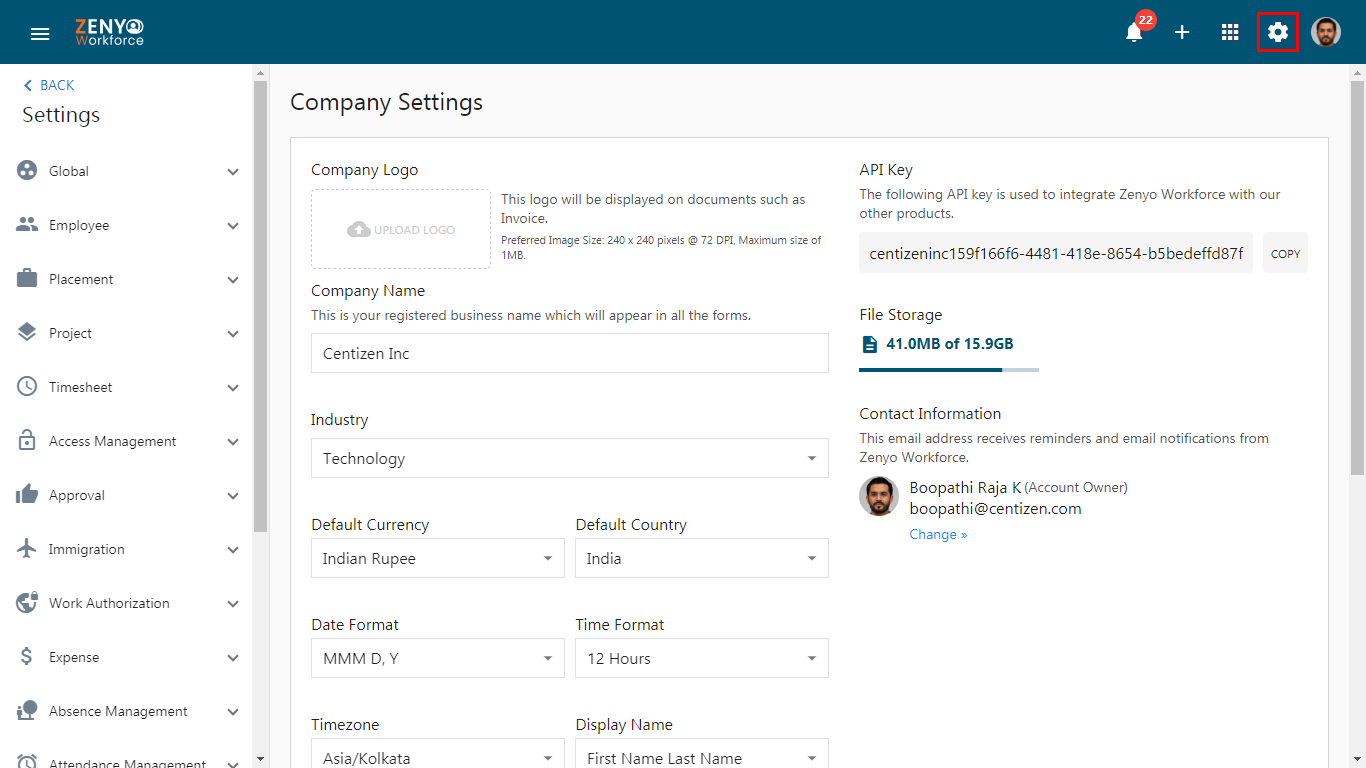
- Clicking on the Settings icon will direct you to the company settings page.
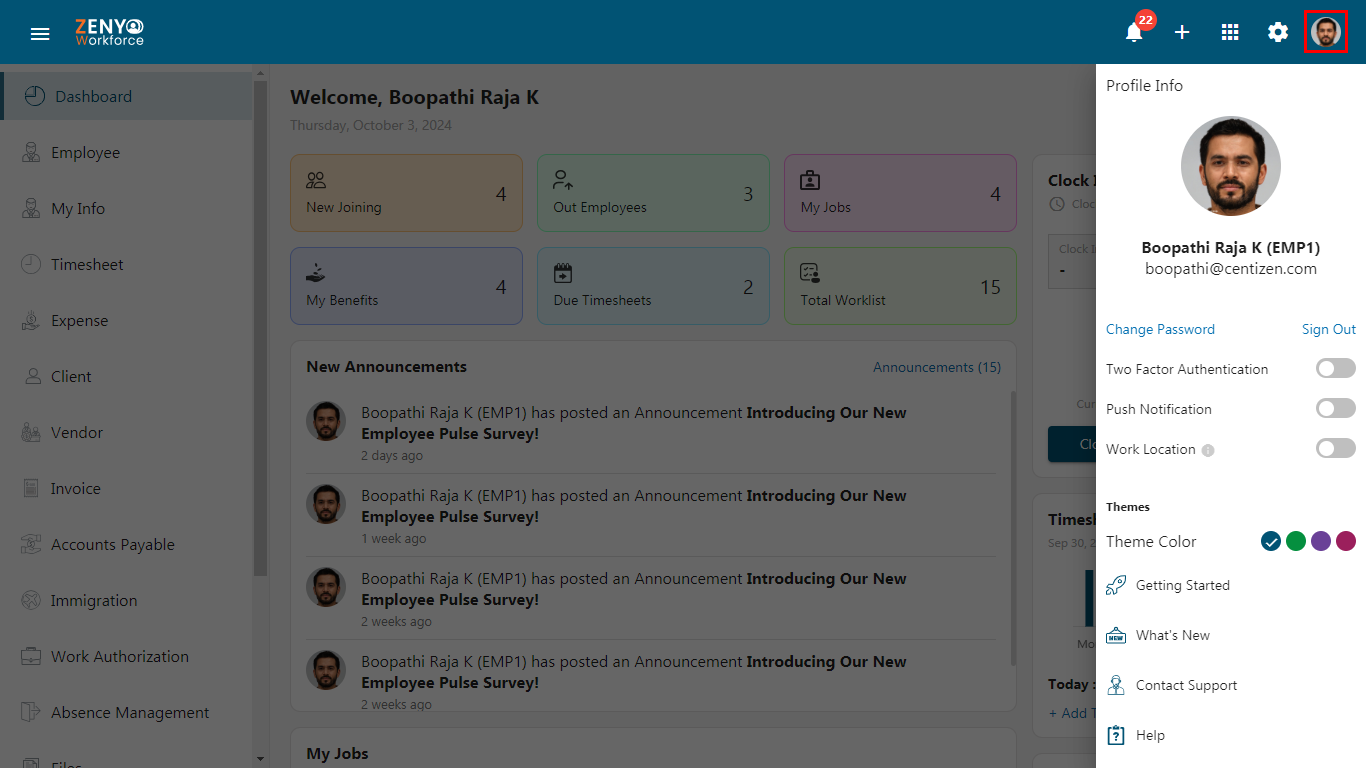
- Click on the Profile image to view your profile information. Here, you can add or edit your profile picture, and view details such as your name, employee ID, and email ID. You also have the option to change your password and sign out. Additionally, you can set up two-factor authentication, enable push notifications for updates, specify your work location detection, and customize the theme color.
- You can complete your profile by following the Getting Started link. The What’s New section highlights recent product updates in Zenyo Workforce. Additionally, you can access Support by viewing contact details or sending a message directly from this section. Clicking on the Help link will take you to the help portal.
Note: The Theme Color, Getting Started link, and Contact Support options are available only to the respective account owner.
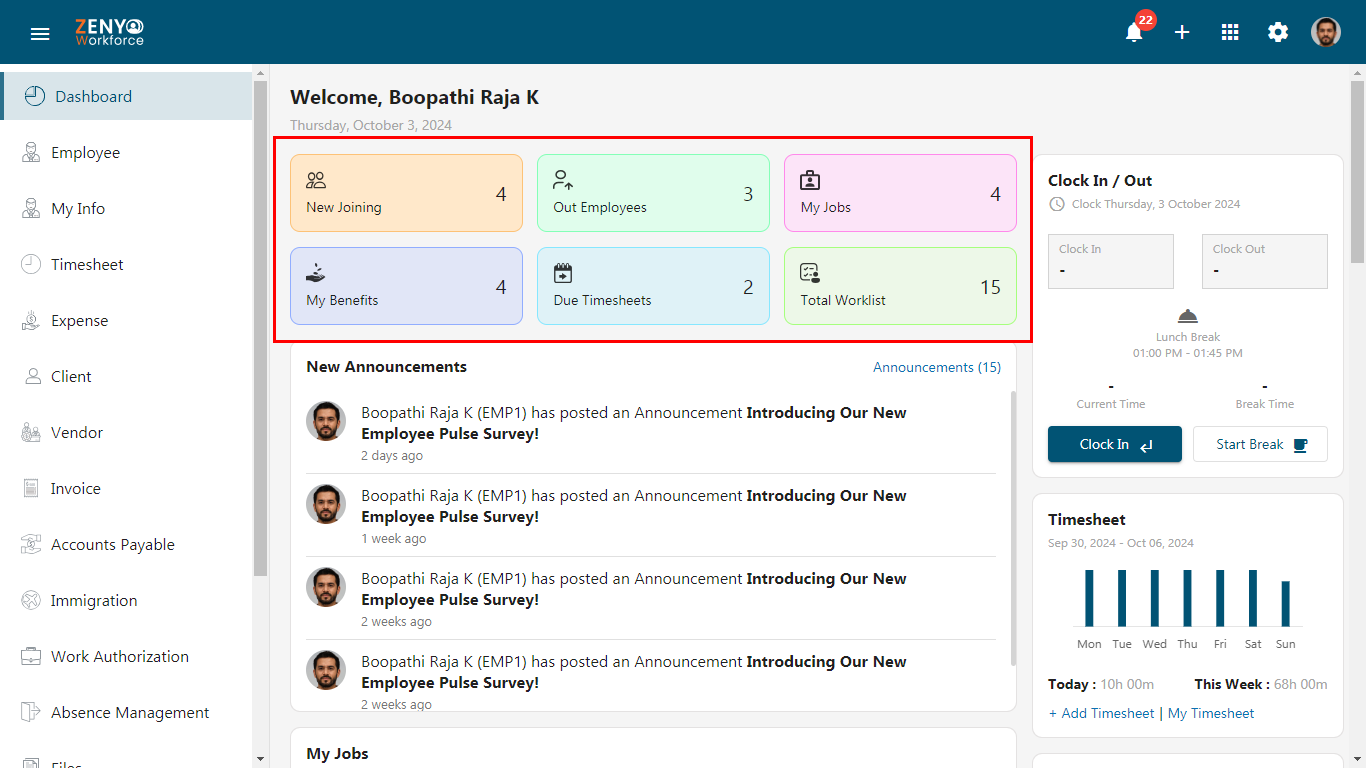
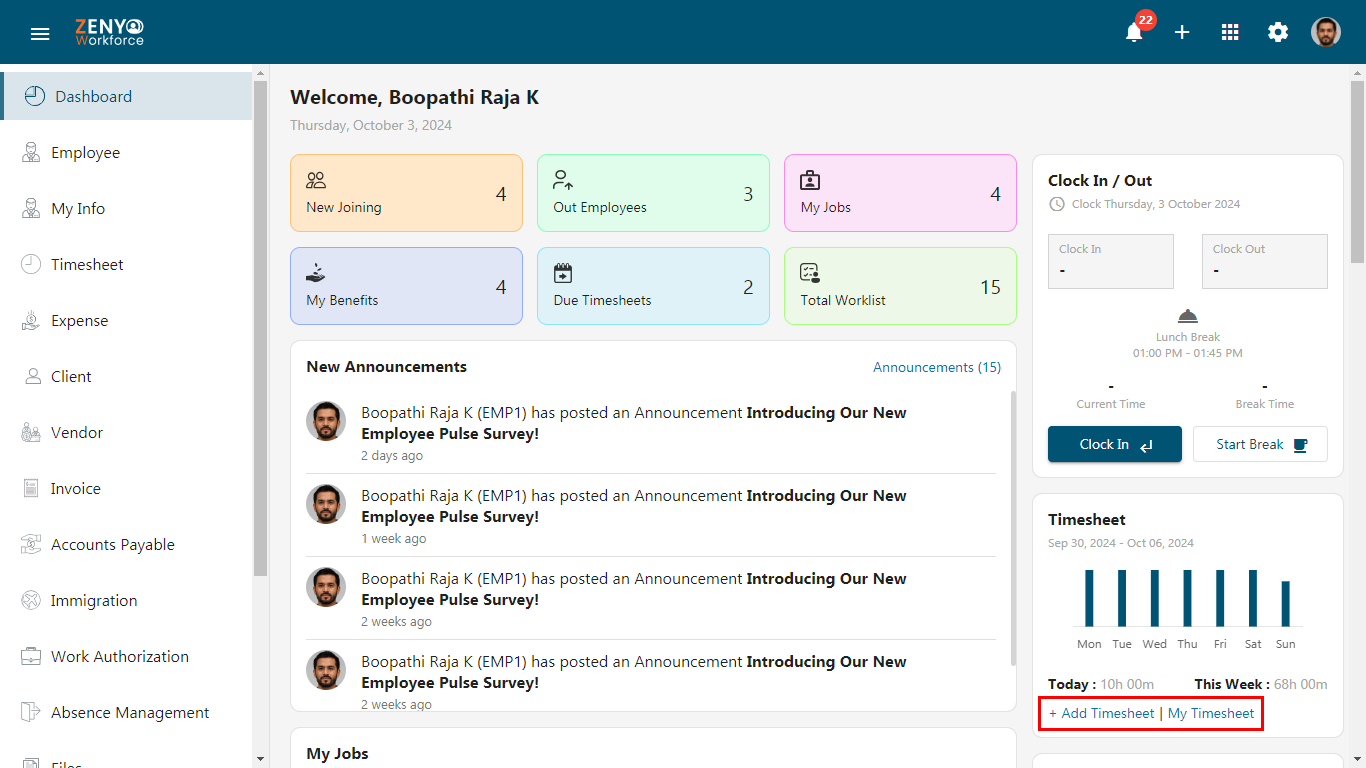
- At the top of the Dashboard, your name is prominently displayed, and you can view key details, including New Joining, Out Employees, My Jobs, My Benefits, Due Timesheets, and the Total Worklist.
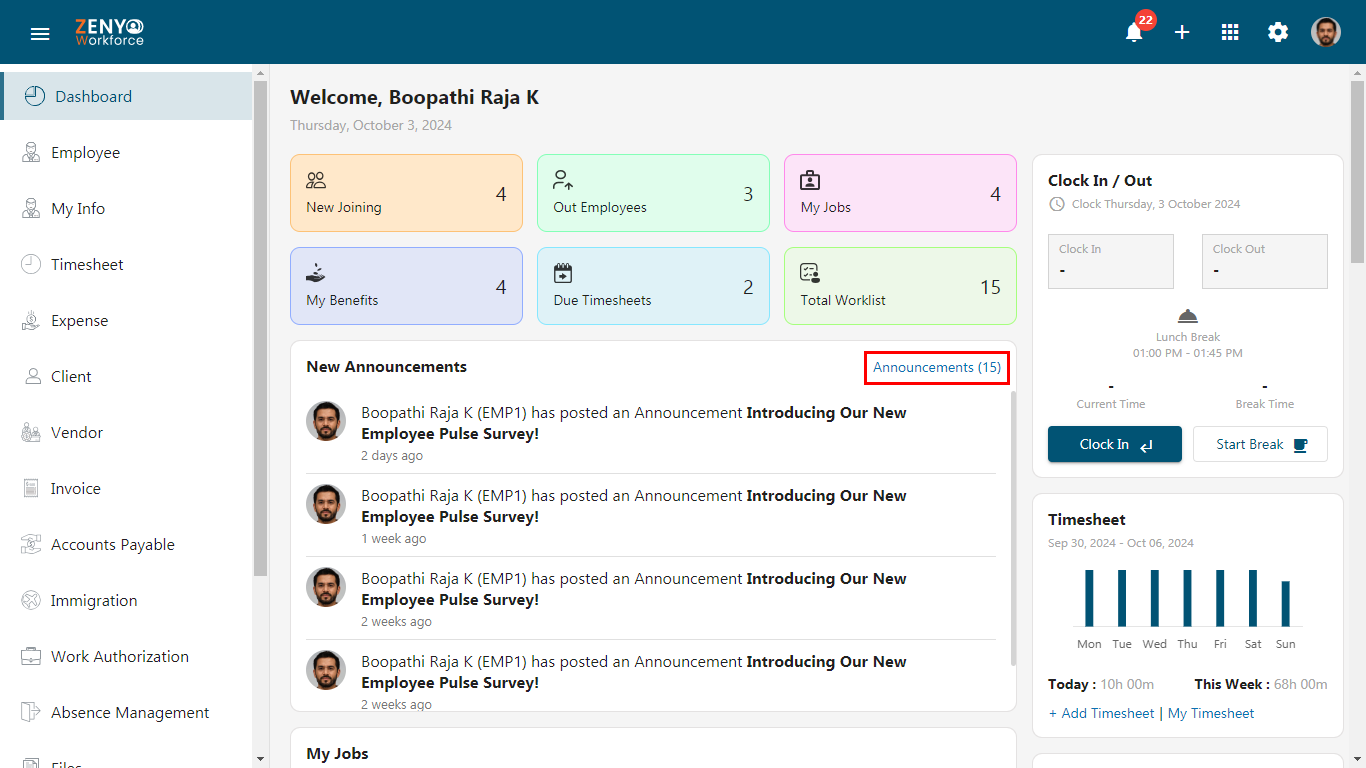
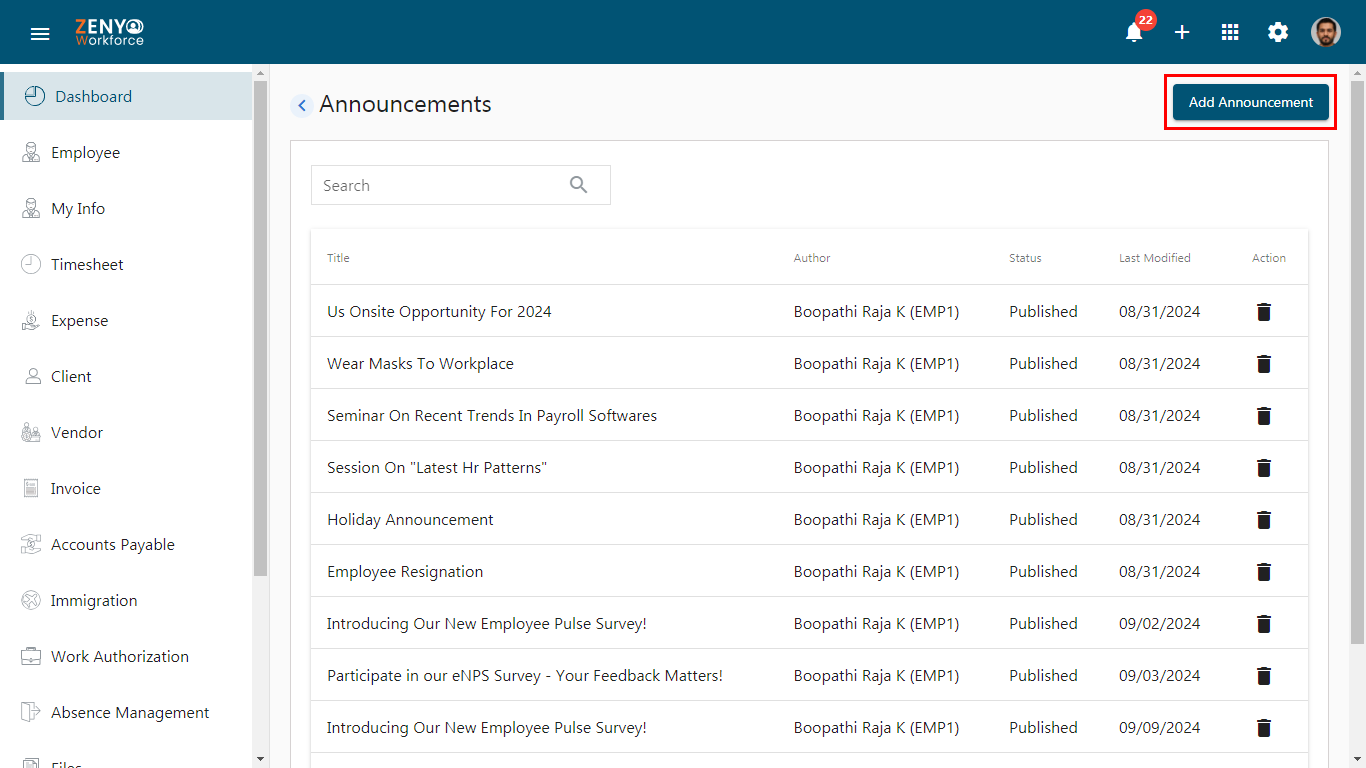
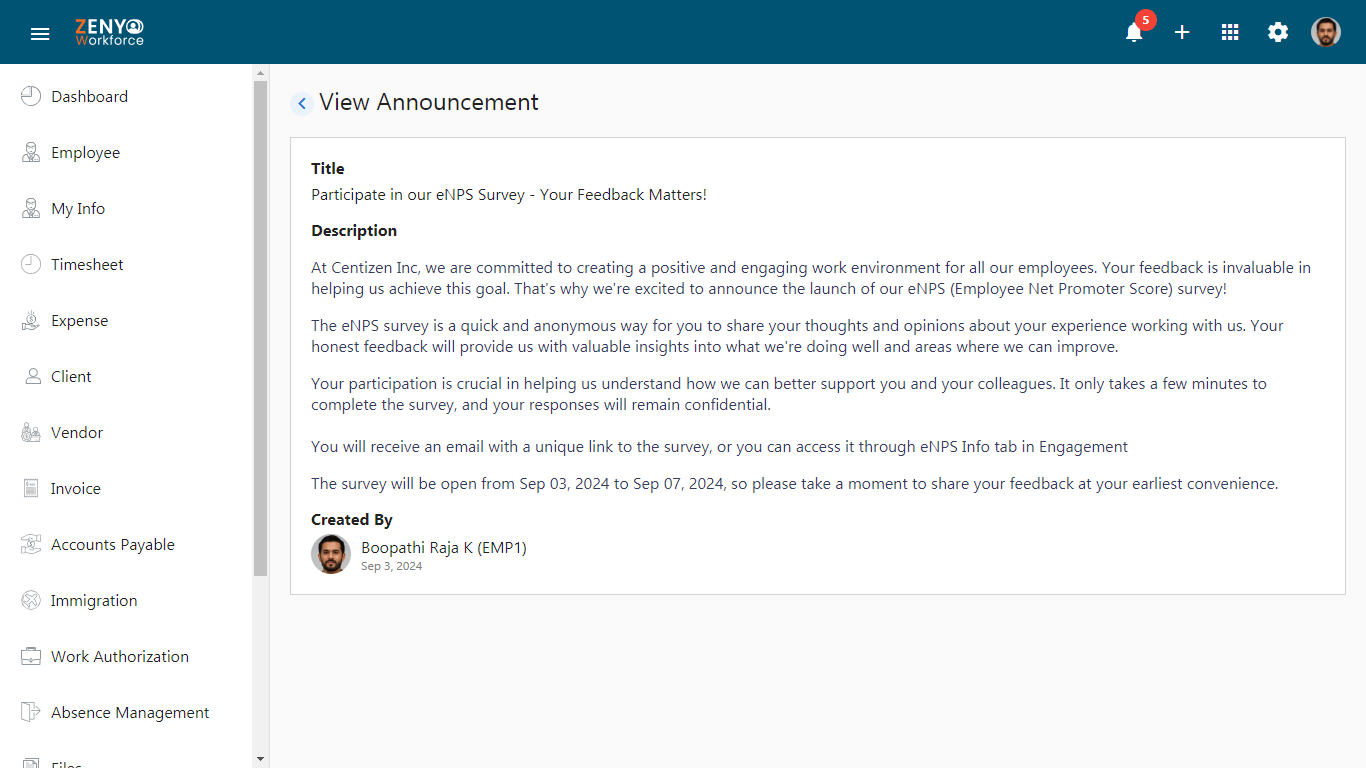
- You can view important organizational announcements in the New Announcements section. Click on the Announcements link to navigate to the announcements page.
- From there, you can add an announcement by clicking the Add Announcement button. To create a new announcement, enter the Title and announcement content, and you also have the option to Add Attachments.
- Additionally, you can specify which employees should see the announcement by selecting recipients. You can either send it to all employees or click Edit to filter and select specific employees based on Role, Department, Office Location, or Employment Type.
- After finalizing the announcement, you have the options to Cancel, Save as Draft, Publish, or Publish and Email the announcement.
- You can view the announcements you have created along with their status. You can also use the Search Bar on the announcements page to find a specific announcement.
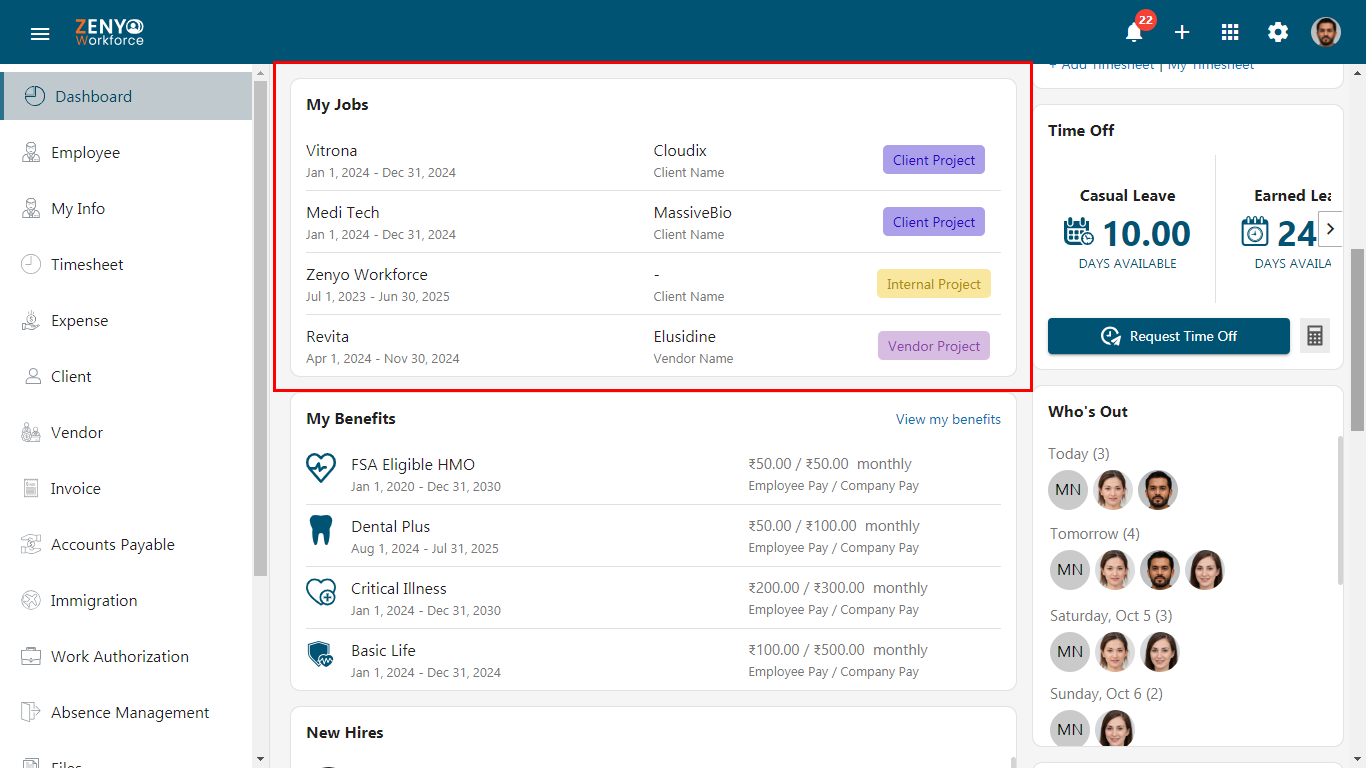
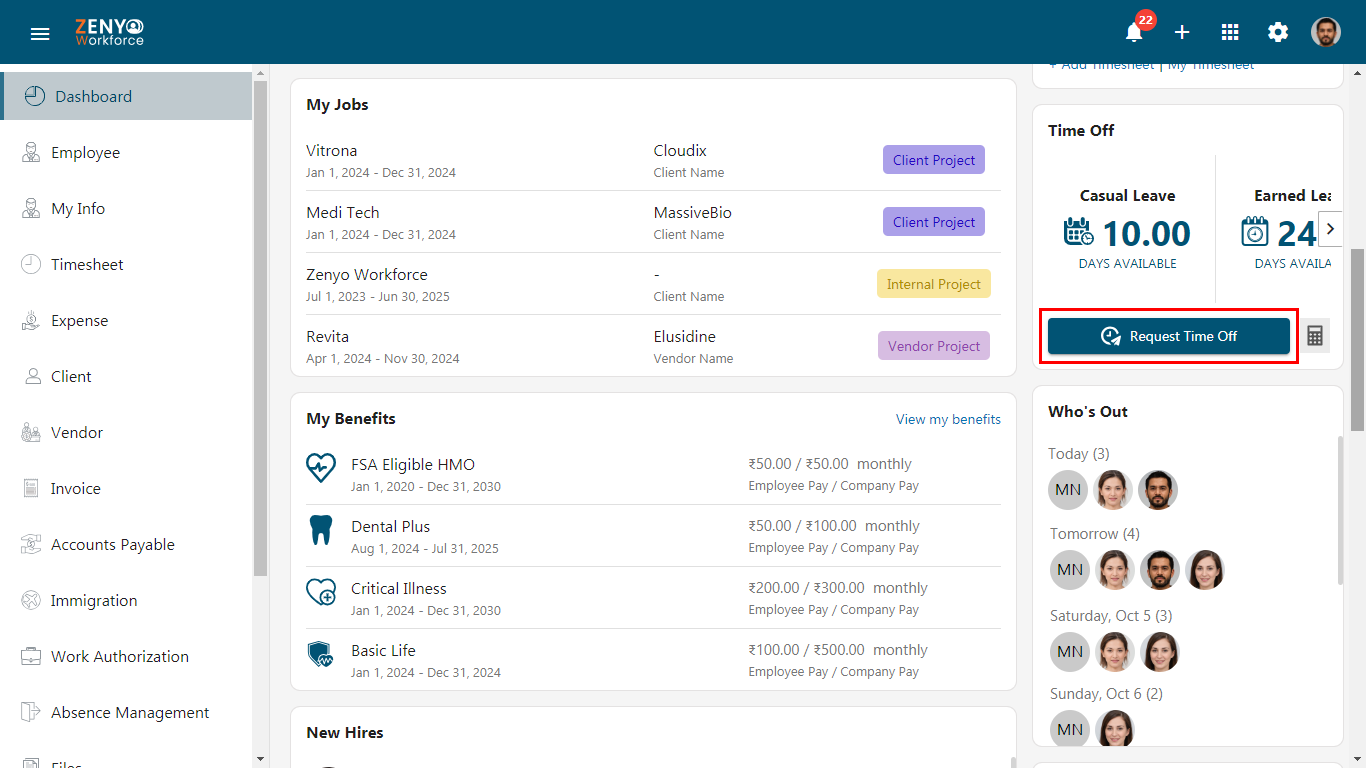
- In the My Jobs section, you can view the projects assigned to you.
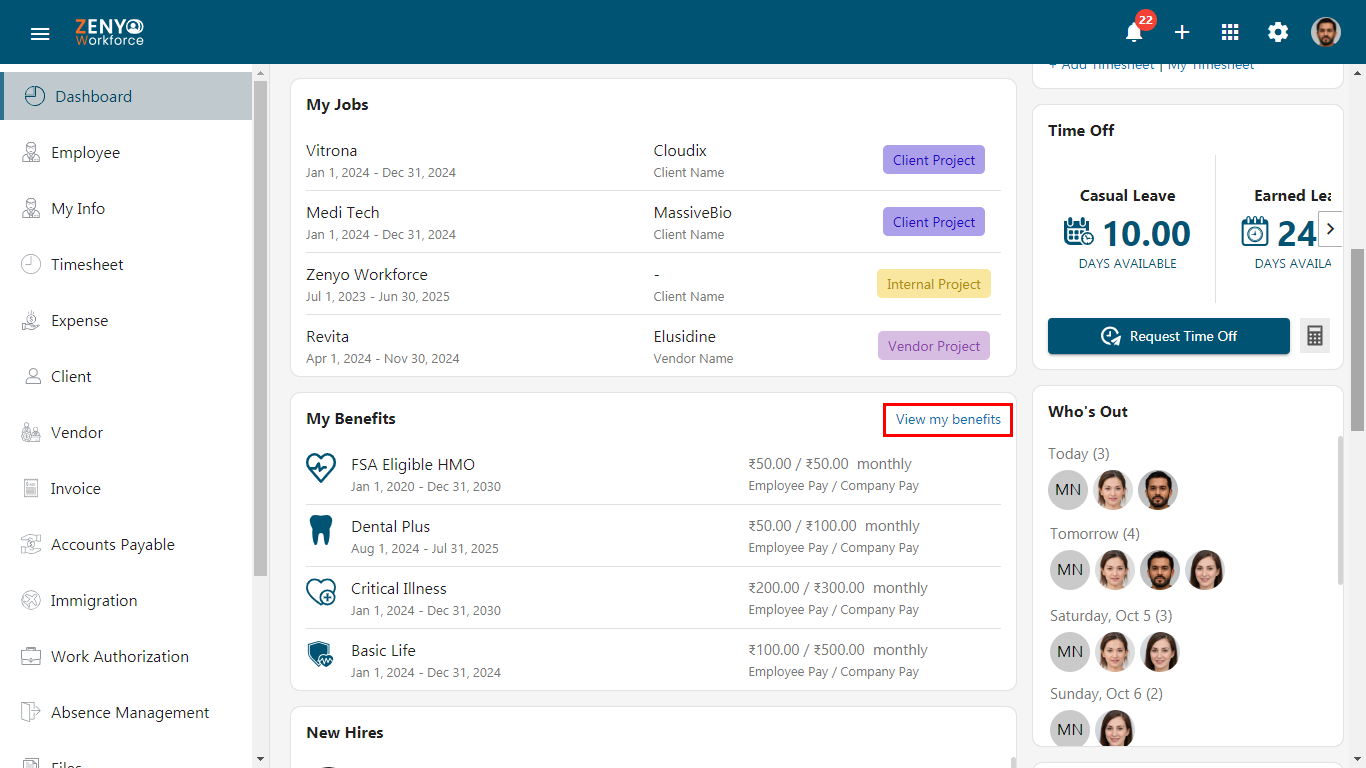
- In the My Benefits section, you can view your assigned benefits plan. For a detailed view, click on the View my benefits link, which will take you to the My Info page. Here, you can see an overview of all your benefit plans and review their history at the bottom of the page.
- In the New Hires section, you can view details of new employees. Clicking on a newly hired employee’s name will take you to their information page, depending on the permissions granted to you.
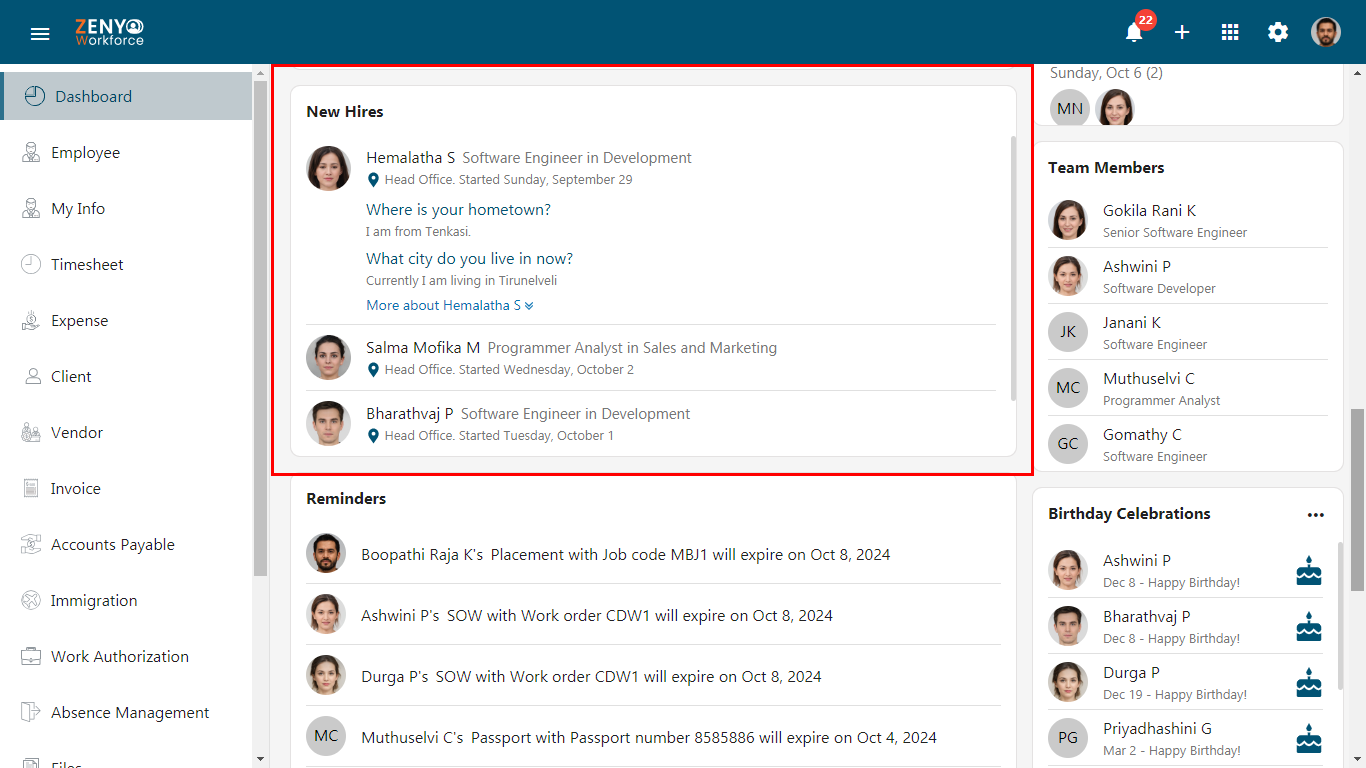
- In the Reminders section, you will be alerted about deadlines or expirations, helping you avoid costly penalties.
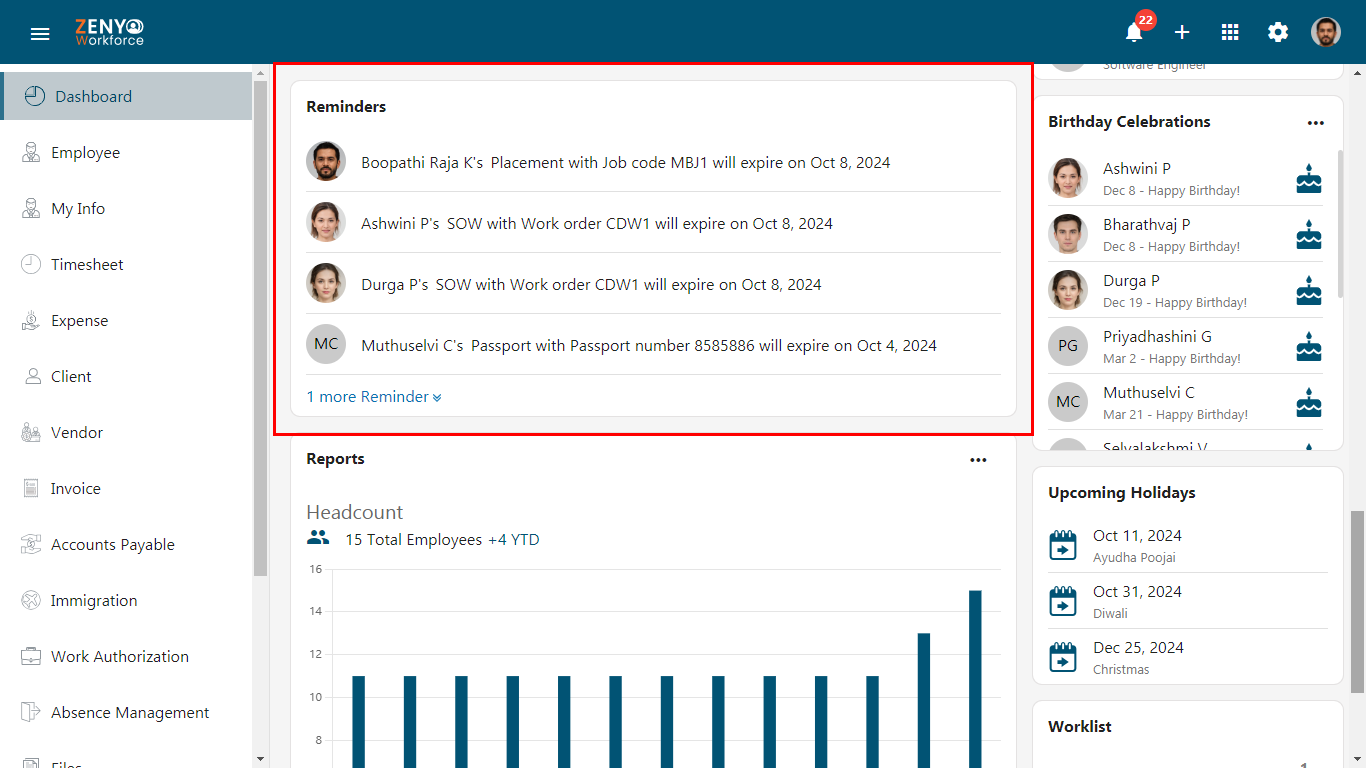
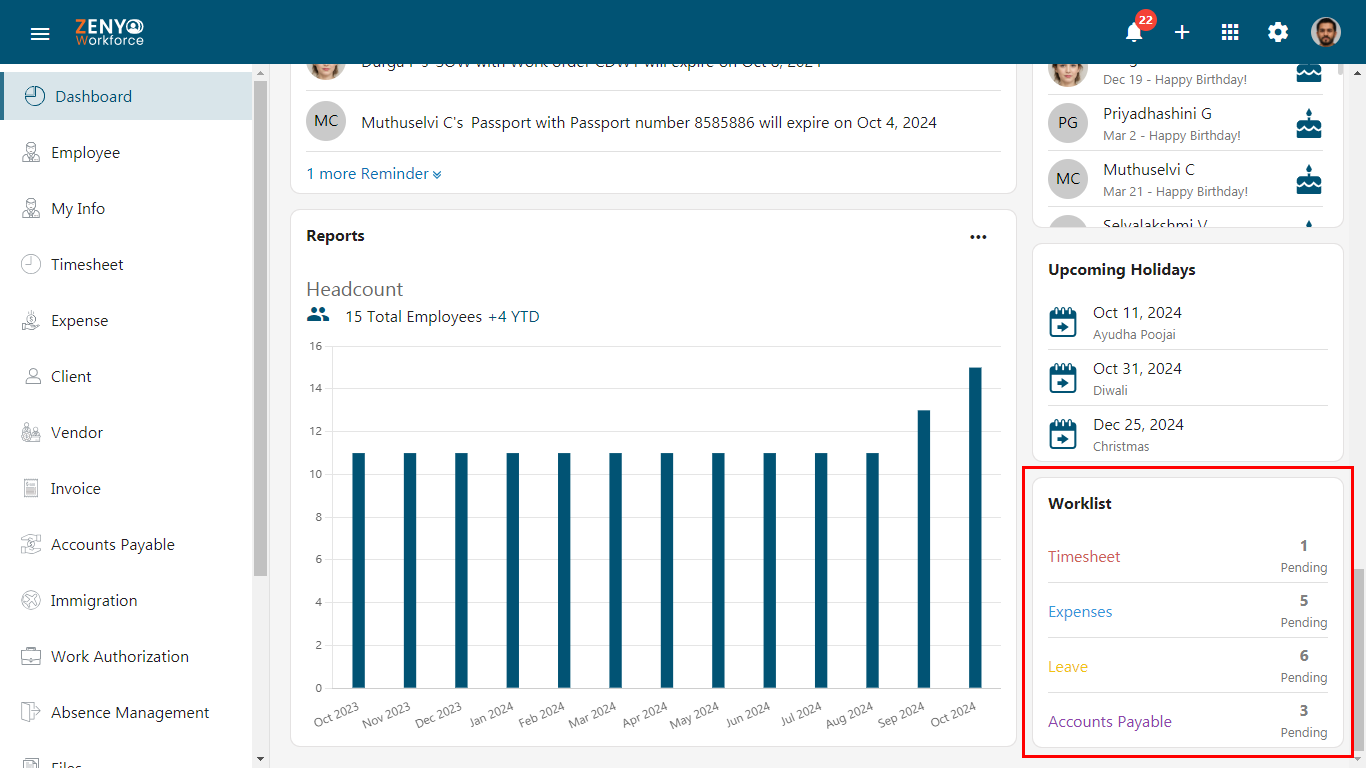
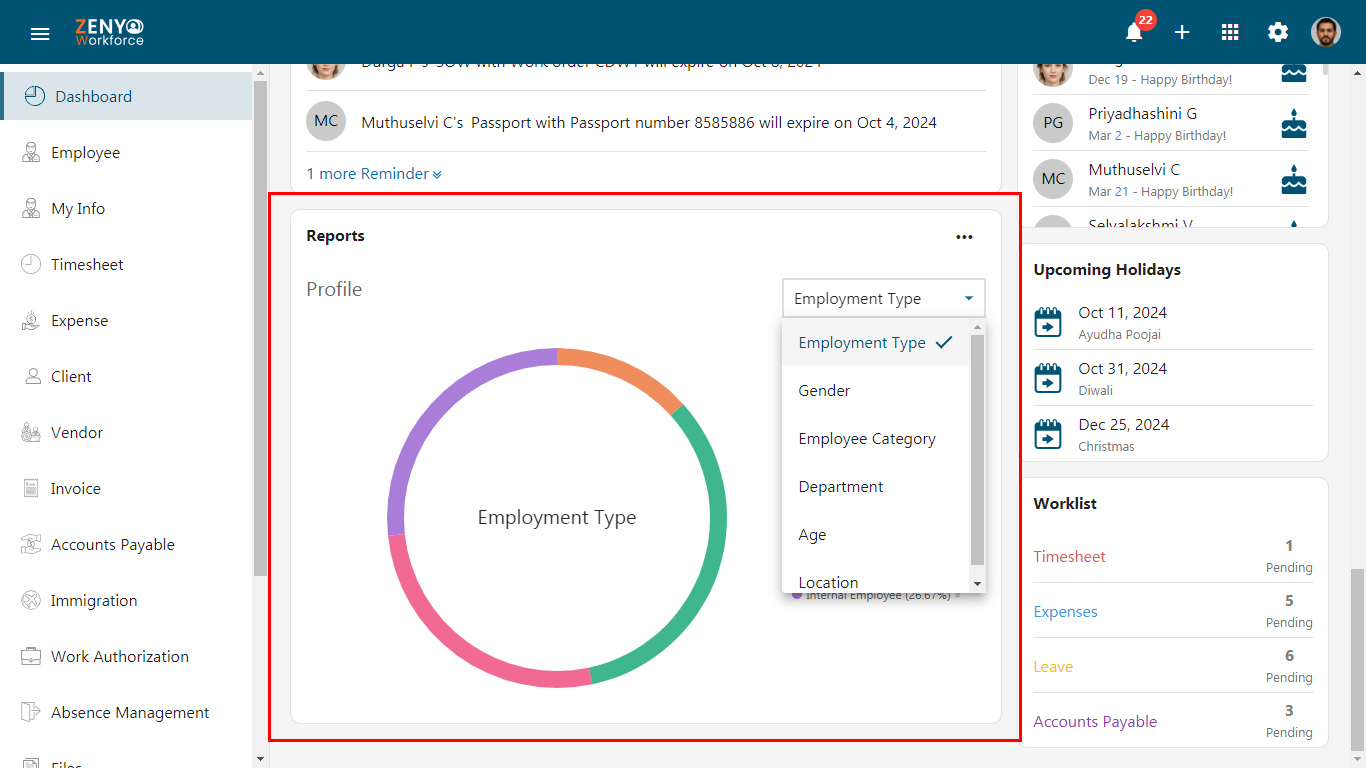
- In the Reports section, you can view details on Employee Headcount, Employee Turnover, and Profile. Click on the More icon at the top right corner to access detailed information about each report.

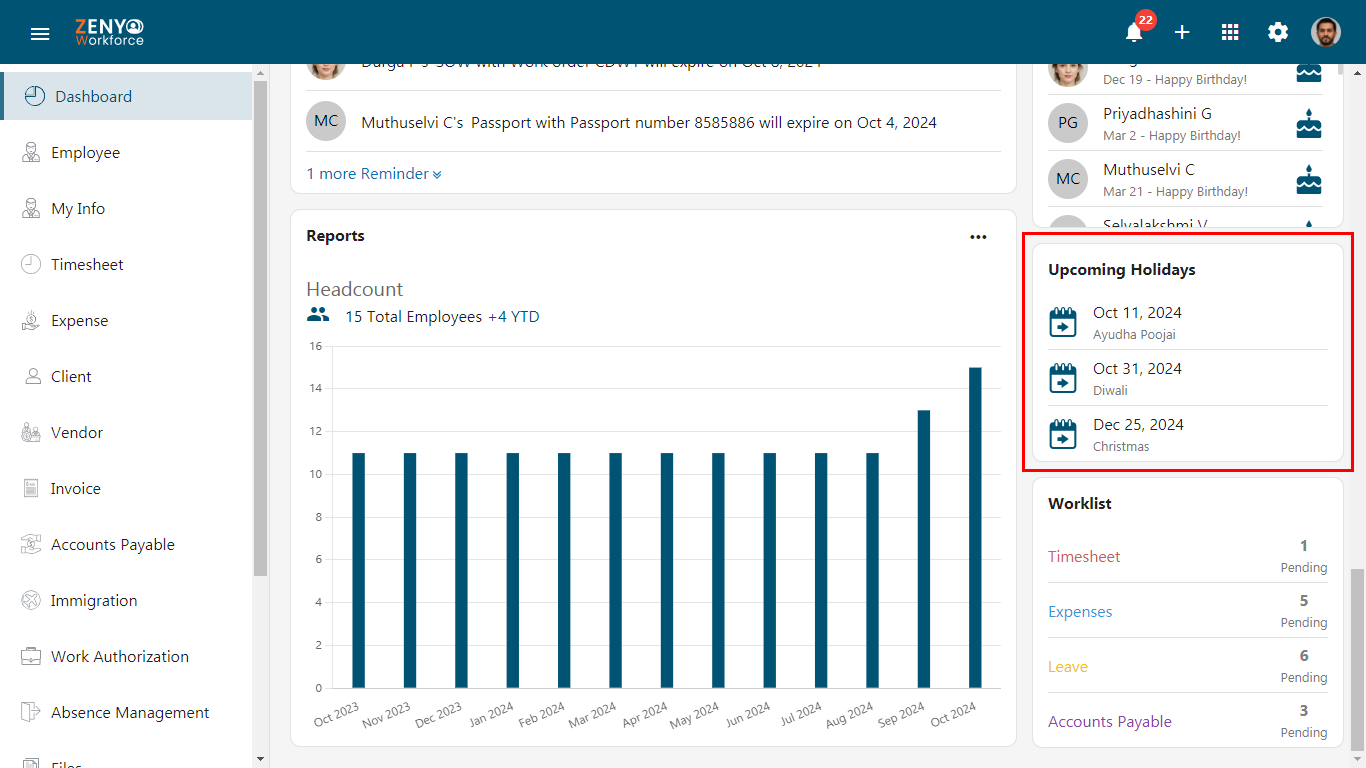
- Select Headcount to see the Year-to-Date (YTD) reports displayed in a bar chart.
- Select Employee Turnover to view the annual report, also presented in a bar chart.
- Choose Profile to open a dropdown list with options like Employment Type, Gender, Employee Category, Department, Age, and Location. Selecting any of these will display the corresponding reports in a pie chart.
- You can define your work cycle by starting with the Clock In button and ending with the Clock Out button. For breaks, click the Start Break button, and when your break is over, click the End Break button to resume work.
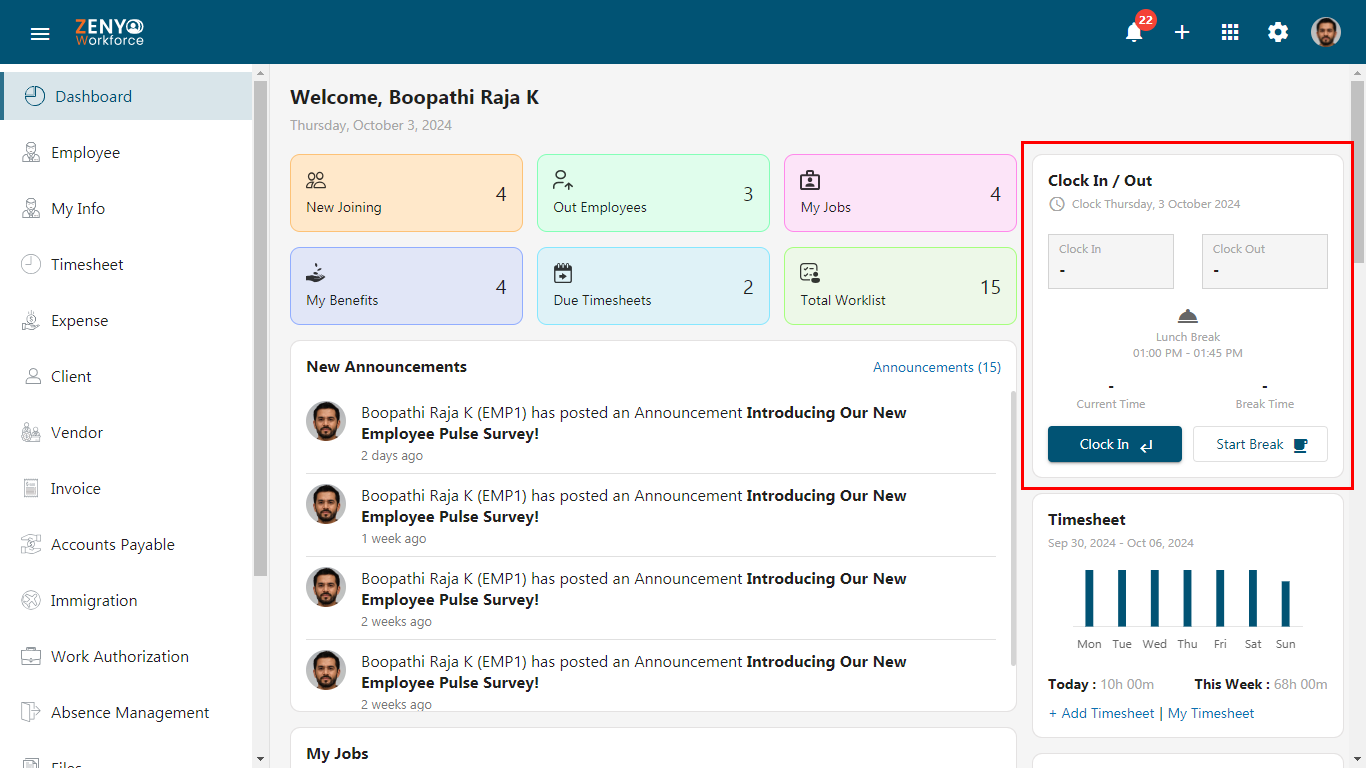
- You can view your submitted timesheet for the current week in a bar chart format. Below this, the total hours worked for the current day, as well as the total weekly work hours, are displayed.
- In the Timesheet section, click on Add Timesheet to create a new timesheet entry. This will take you to the timesheet page. To view both submitted and drafted timesheets, click on My Timesheet.
- In the TimeOff section, you can view the total number of leaves and permissions available to you. If you need time off, click the Request Time Off button. This will take you to the absence management page, where you can apply for leaves and permissions.
- To calculate leave balances, click on the Calculator icon near the Request Time Off button.
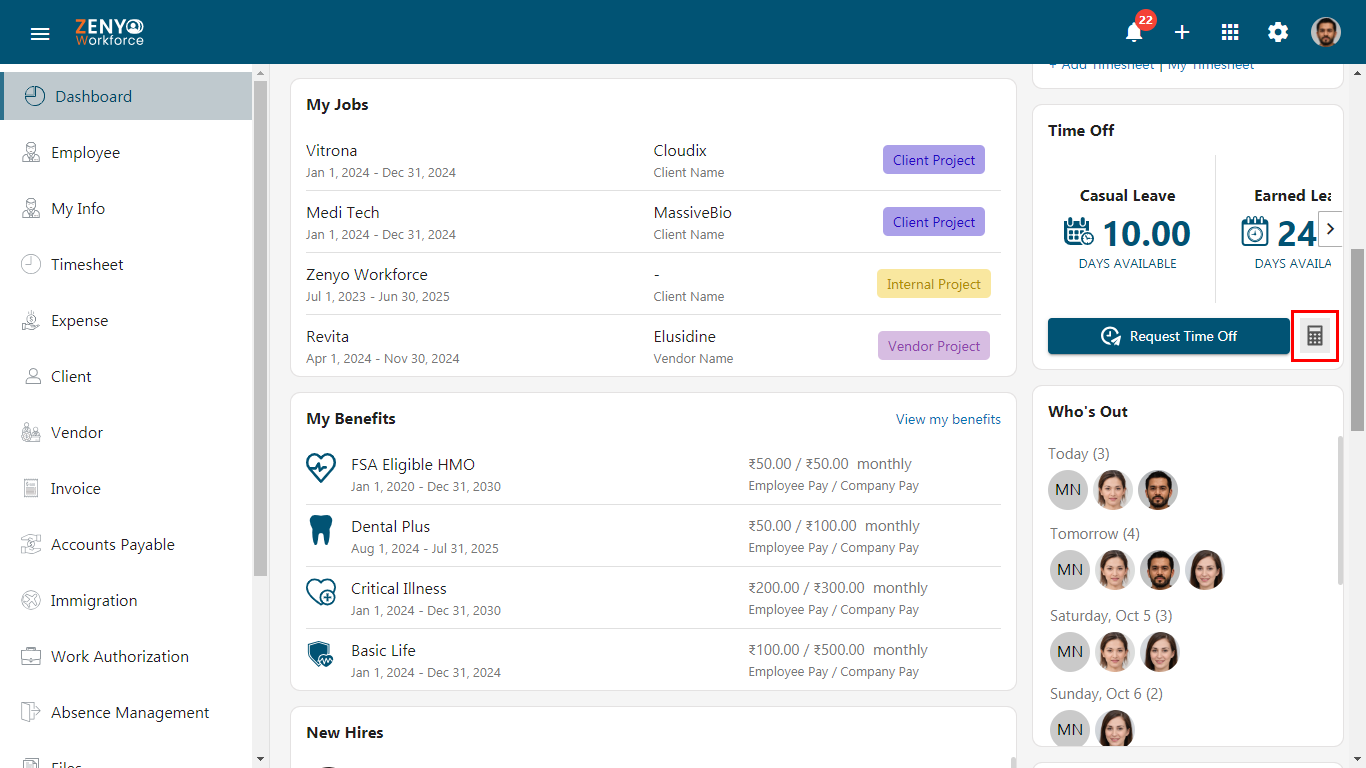
- A pop-up dialog box will appear where you can select the Time Off Type. This will display the number of leave days remaining as of the date shown on the right. For more details, click here to view the Accrual Details.

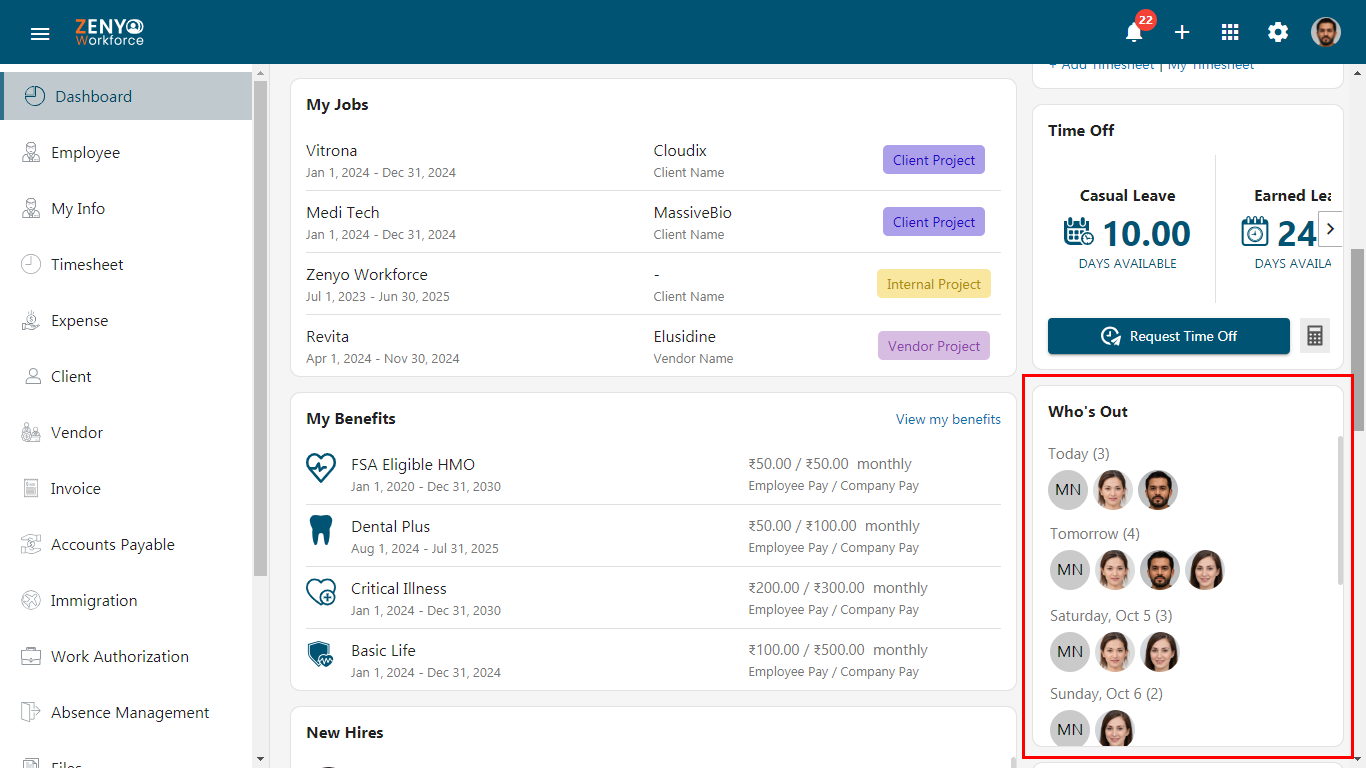
- In the Who’s Out section, you can view the list of employees who are currently on leave or have applied for extended leave.
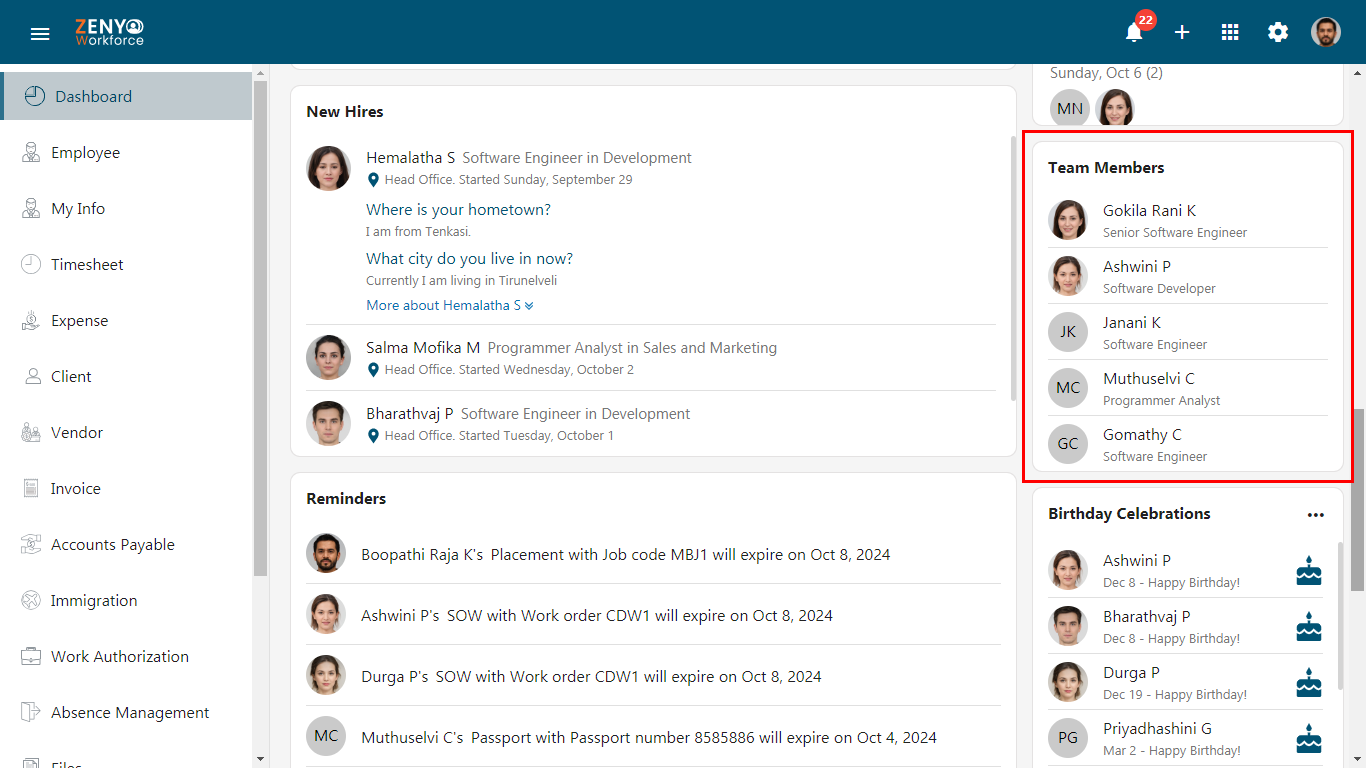
- You can view the list of your team members in the Team Members section. To see the full list, click on the Load More Members.
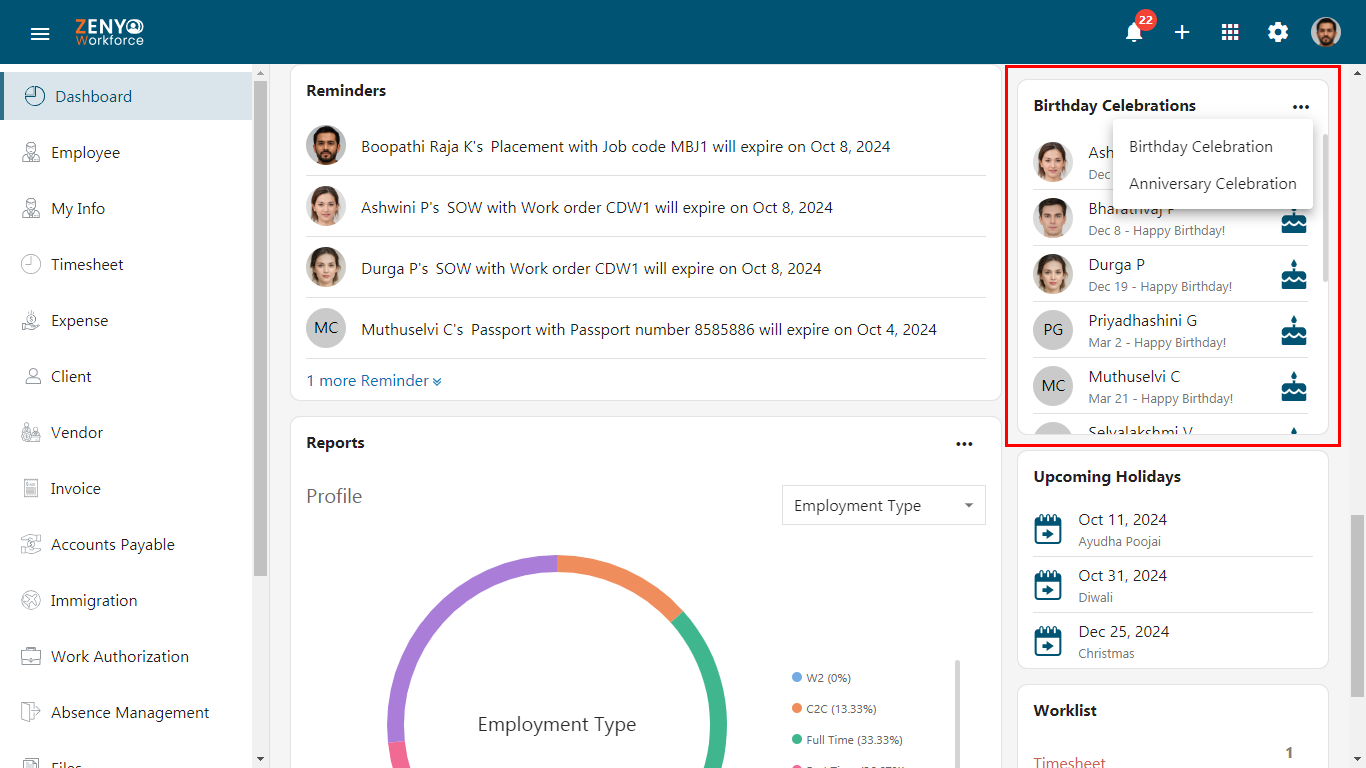
- You can view employee celebrations such as birthdays and work anniversaries by selecting from the more options in the Celebration section. Click on Load More Celebrations at the bottom to view more employees’ celebrations in the organization.
- You can view the complete list of holidays for the entire year based on the selected calendar in the Upcoming Holidays section.
- The pending requests for Leave, Timesheets, Expenses, and Accounts Payable are displayed in the Worklist section.