Approval flow in accounts payable is an integral part of ensuring that financial transactions are both accurate and authorized before payments are made.
Accounts Payable Approval Flow Setup
- Go to the Accounts Payable menu in the dashboard and check whether all 7 tabs are displayed to determine if the approval flow is enabled.
- If the approval flow is disabled, only the Draft, Open Bills, and Paid Bills tabs will be shown.
- Click on the Settings icon in the top right corner of the navigation bar.
- From the Approval submenu, select Accounts Payable.
- Enable the toggle if you need an approval flow for accounts payable.
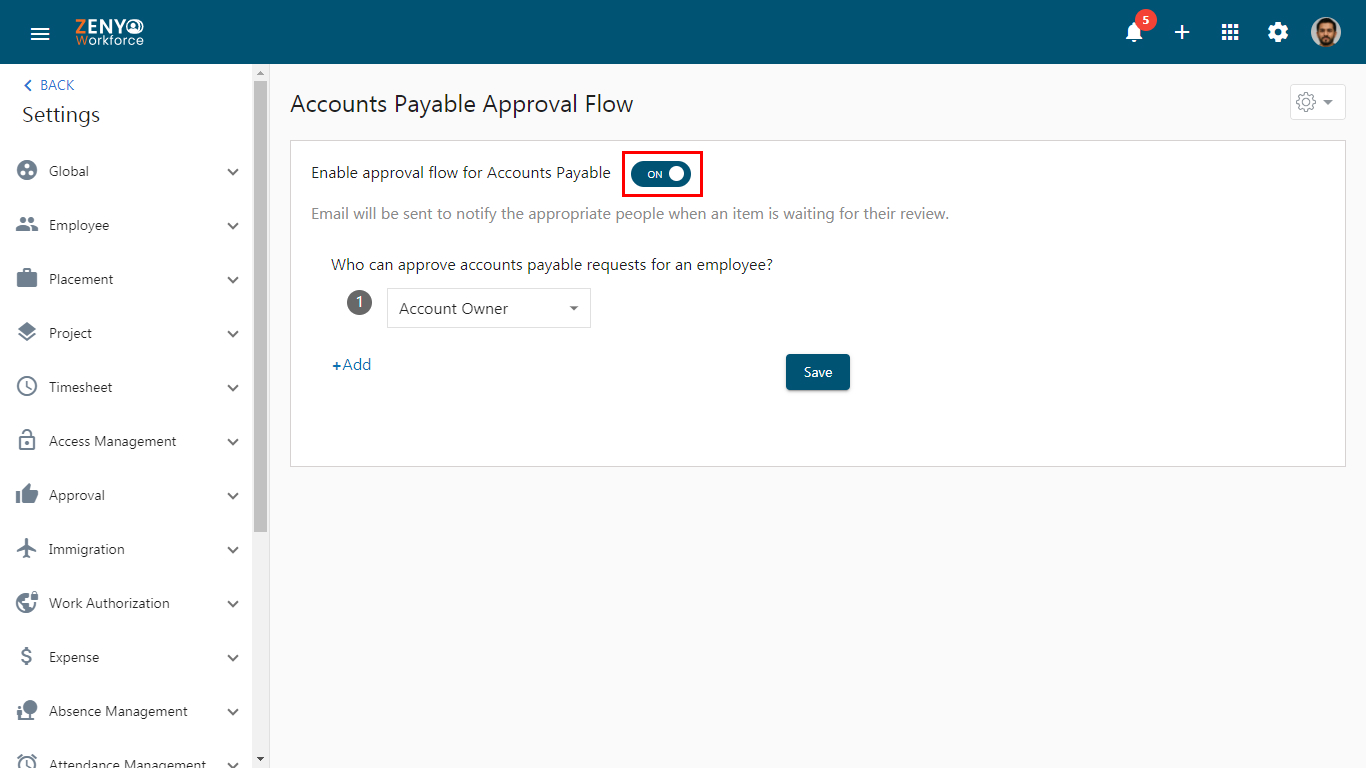
- You can set approvals at two levels: default or advanced levels. In the default level, the set approval flow will be applied to all employees.
How to Set Default Level Approvals?
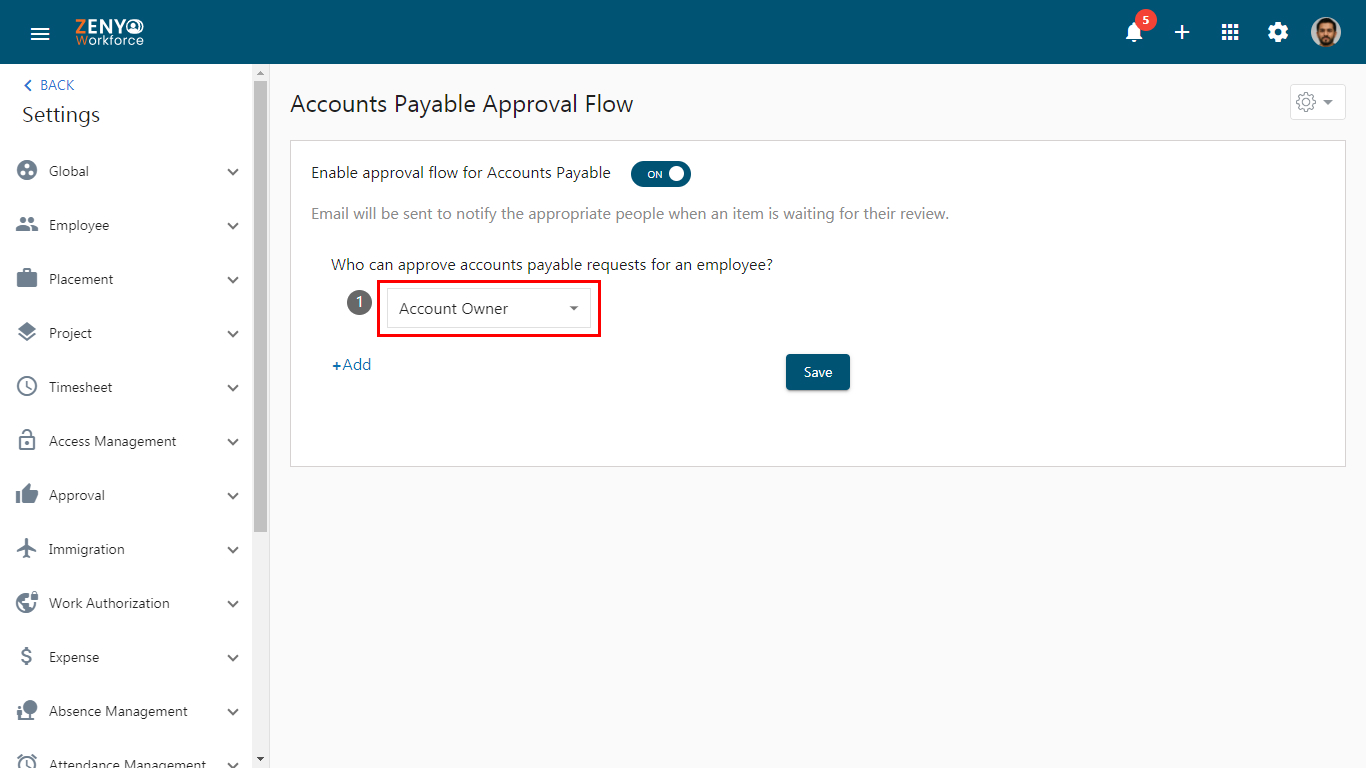
- Set approvals at the default level, click on the dropdown menu under Who can approve accounts payable requests for an employee? field. Then, select an approver from the available options. You can choose the Account Owner, Admin, Reporting Manager, Manager’s Manager, or a Specific Person as the approver.
Note: Each of the roles mentioned above can be chosen only once, except for a specific person.
- If you choose a Specific Person, you can select a particular employee as the approver. Click on Add to add approver for accounts payable requests.
- You can remove these added approvers by clicking the Remove icon.
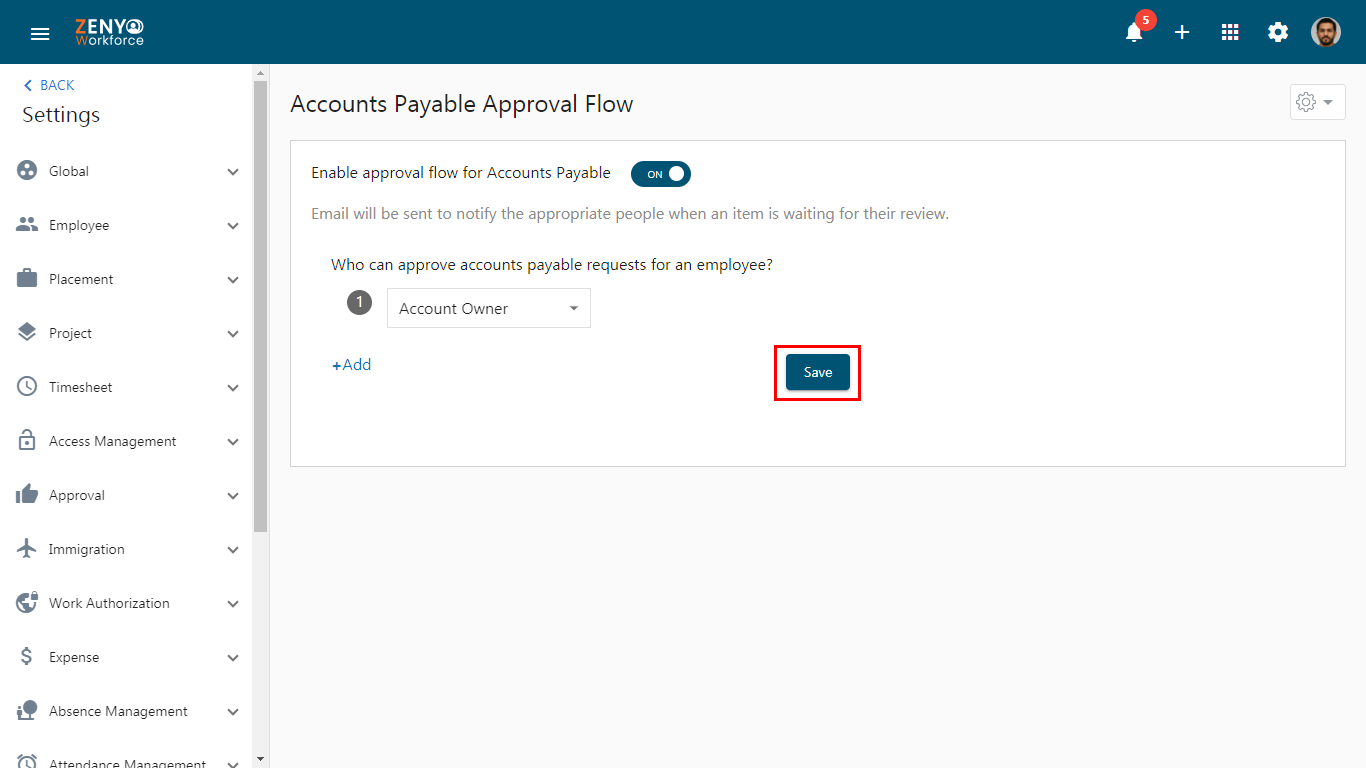
- Click on the Save button to apply the changes.
How to Set Advanced Approvals?
To set up Advanced Approvals for Accounts Payables, follow the link.
