How to Manage Invoice Settings?
Invoices are crucial documents that provide detailed information about services rendered, hours worked, and costs incurred.
- Click on the Settings icon and select the Invoice menu.
The invoice menu has two submenus
- Address Format
- Invoice Template
Invoice Address Format
- Click Address Format, which allows you to modify the required address format for display in the invoice.
- Modify each address line by selecting an option from the dropdown menu.
- Choose the Business name on line 1 and choose subsequent lines accordingly.
- Click on the ‘Add’ icon to add additional lines to the address, enabling you to include all necessary details.
- A sample address is provided to facilitate modifying the address format.
- After making the modifications, click the Save button.

- The modified address format will be visible in the Preview of Sample Address.
- A confirmation pop-up will appear stating “Billing address format added successfully”.
Invoice Template
- Now, go to the Invoice Template submenu. It allows you to choose a pre-designed format or document structure to generate standardized invoices efficiently.
- The default Invoice Template is available.
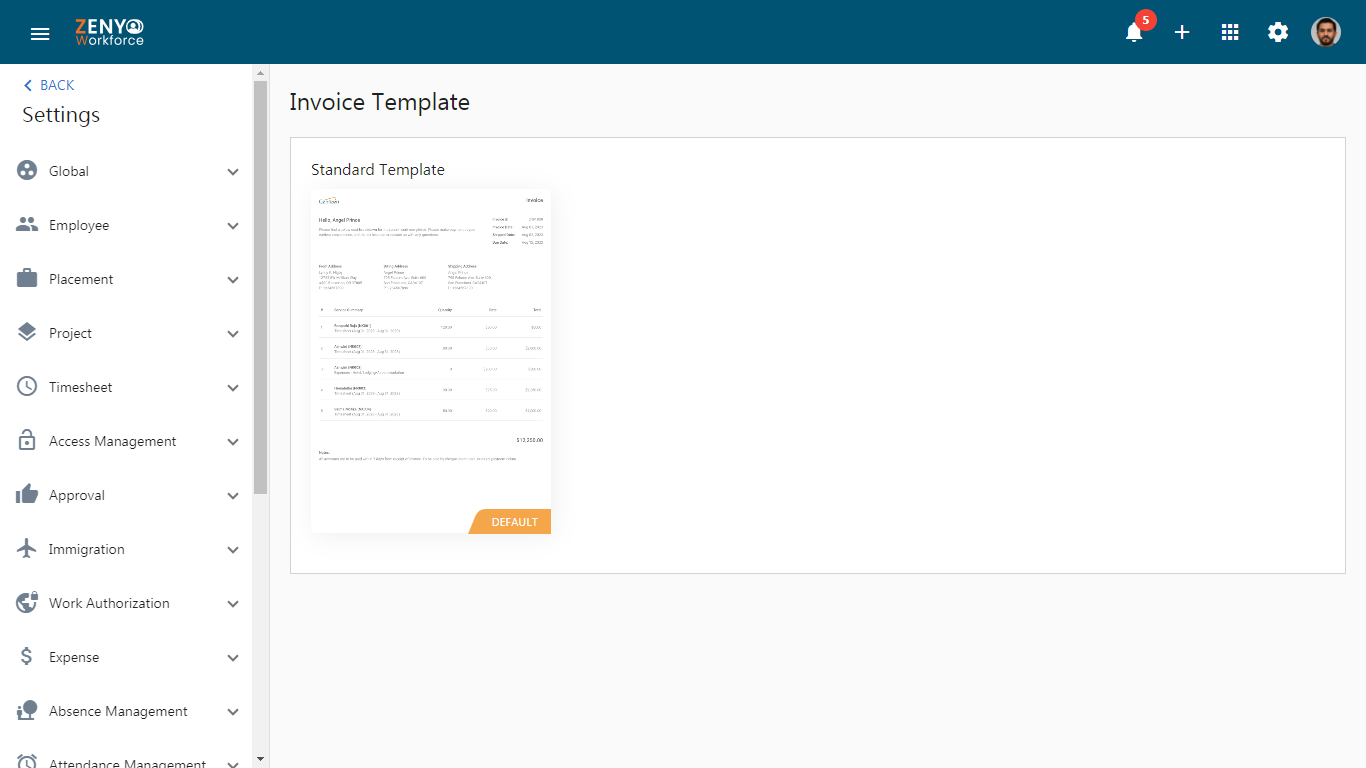
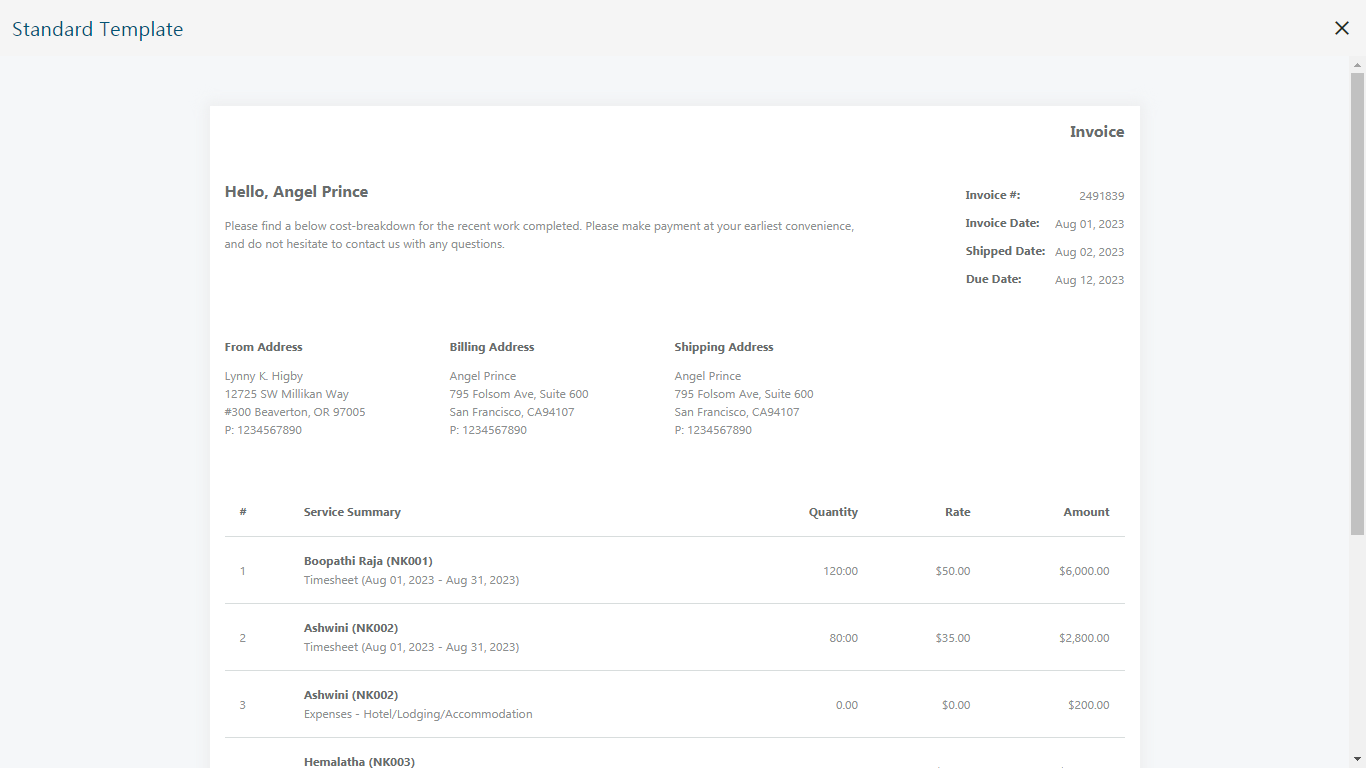
- You can preview the Standard Template.
How to Setup Invoice Approval Flow?
- Go to the Invoice menu in the dashboard and check whether all 8 tabs are displayed to determine if the approval flow is enabled.
- If the approval flow is disabled, only the Draft, Open Invoice, and Paid Invoice tabs will be shown.

- To modify the Invoice approval flow, navigate to Settings, then go to the Approval menu and select the Invoice submenu.
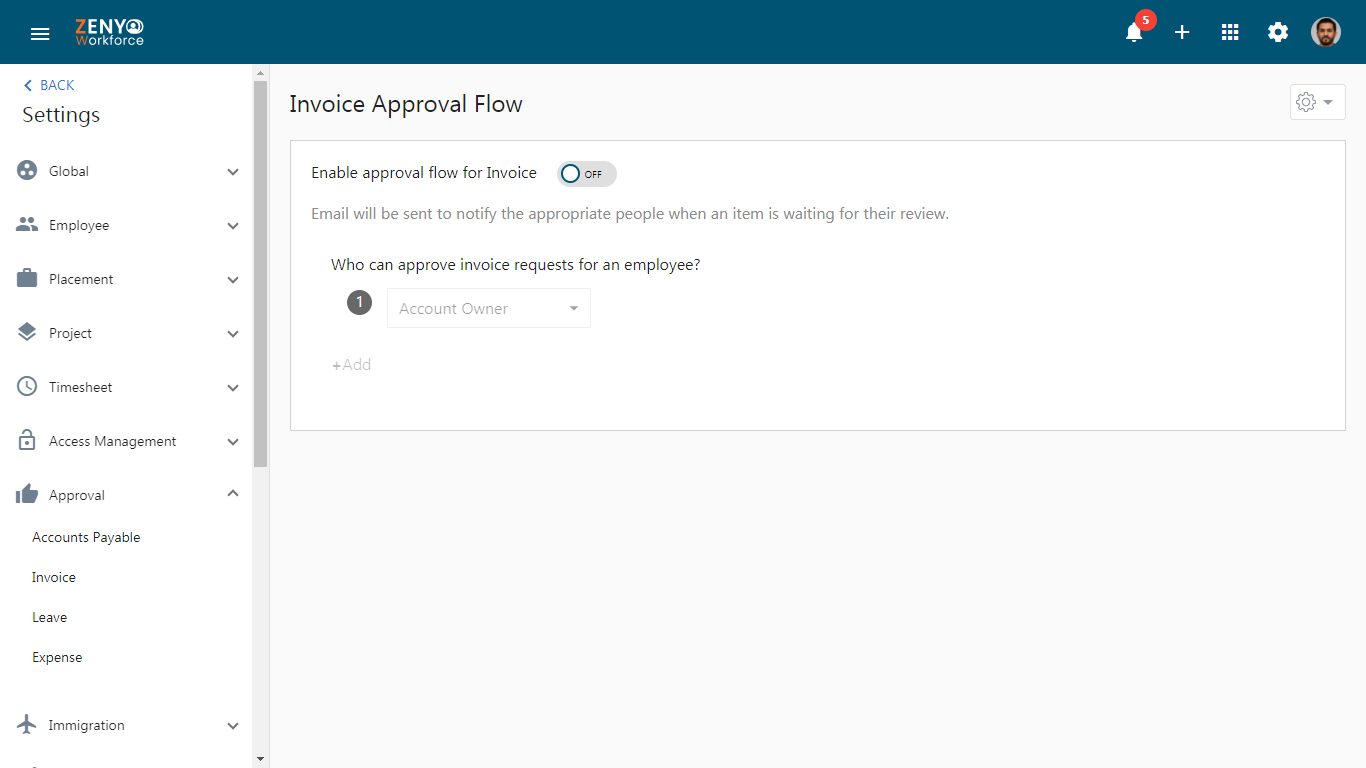
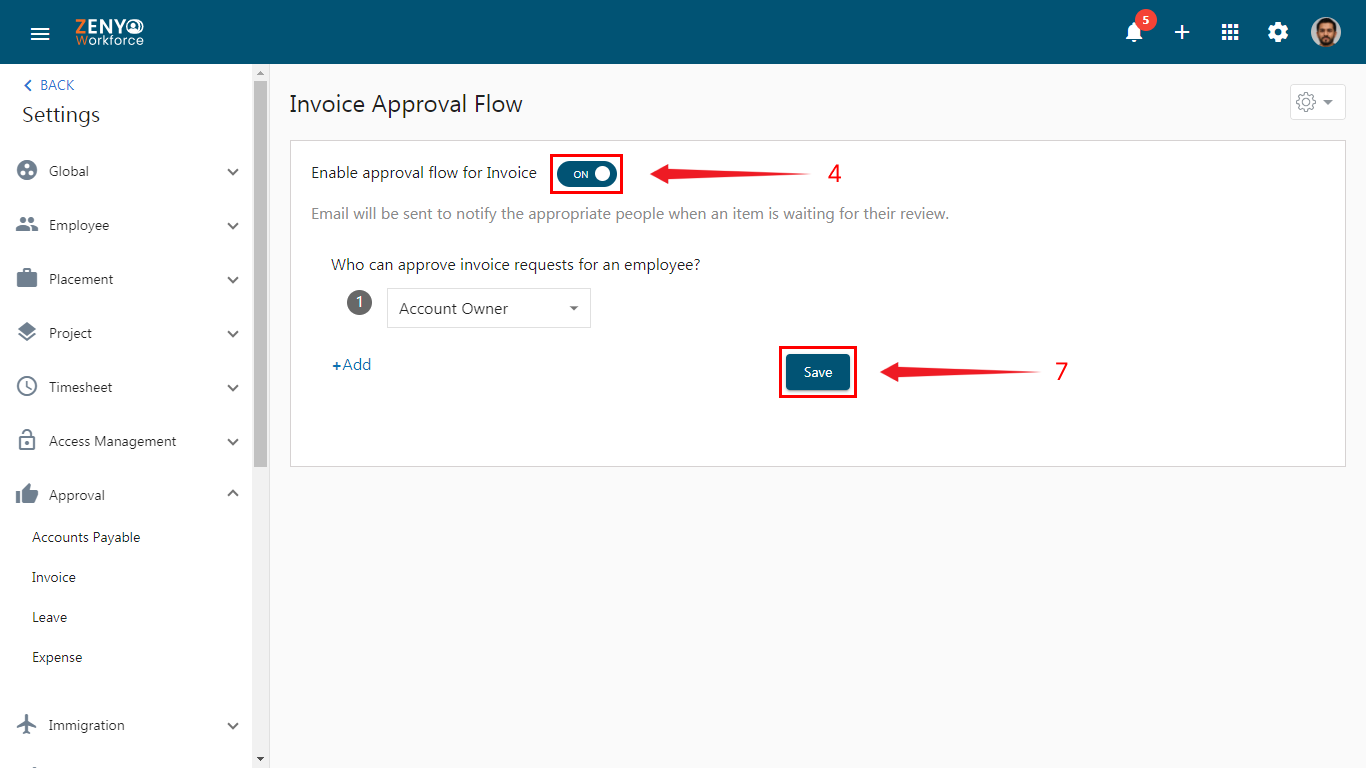
- Enable the approval flow for invoice toggle.
- Specify who can approve invoice requests for an employee.
- Click on the ”+ ADD” and choose another person to be included in the approval flow order. (If multiple levels of approval are required).
- After making the necessary changes, click the Save button.
- A pop-up will appear confirming that the “Invoice approval flow settings updated successfully”.
- To set up Advanced Approvals for invoices, follow the link.
