A Statement of Work (SOW) is a critical document that outlines the scope of work, project deliverables, timelines, work location, and payment terms and conditions for a given project, providing a clear roadmap for all parties involved. Zenyo’s SOW Module streamlines this process, enabling easy creation of templates, mapping of project requirements, task assignment, and progress tracking—ensuring efficient project management and successful outcomes.
How to create a SOW for a client?
- Select the SOW from the main menu.
- To create a SOW for the client, click on the Add icon.
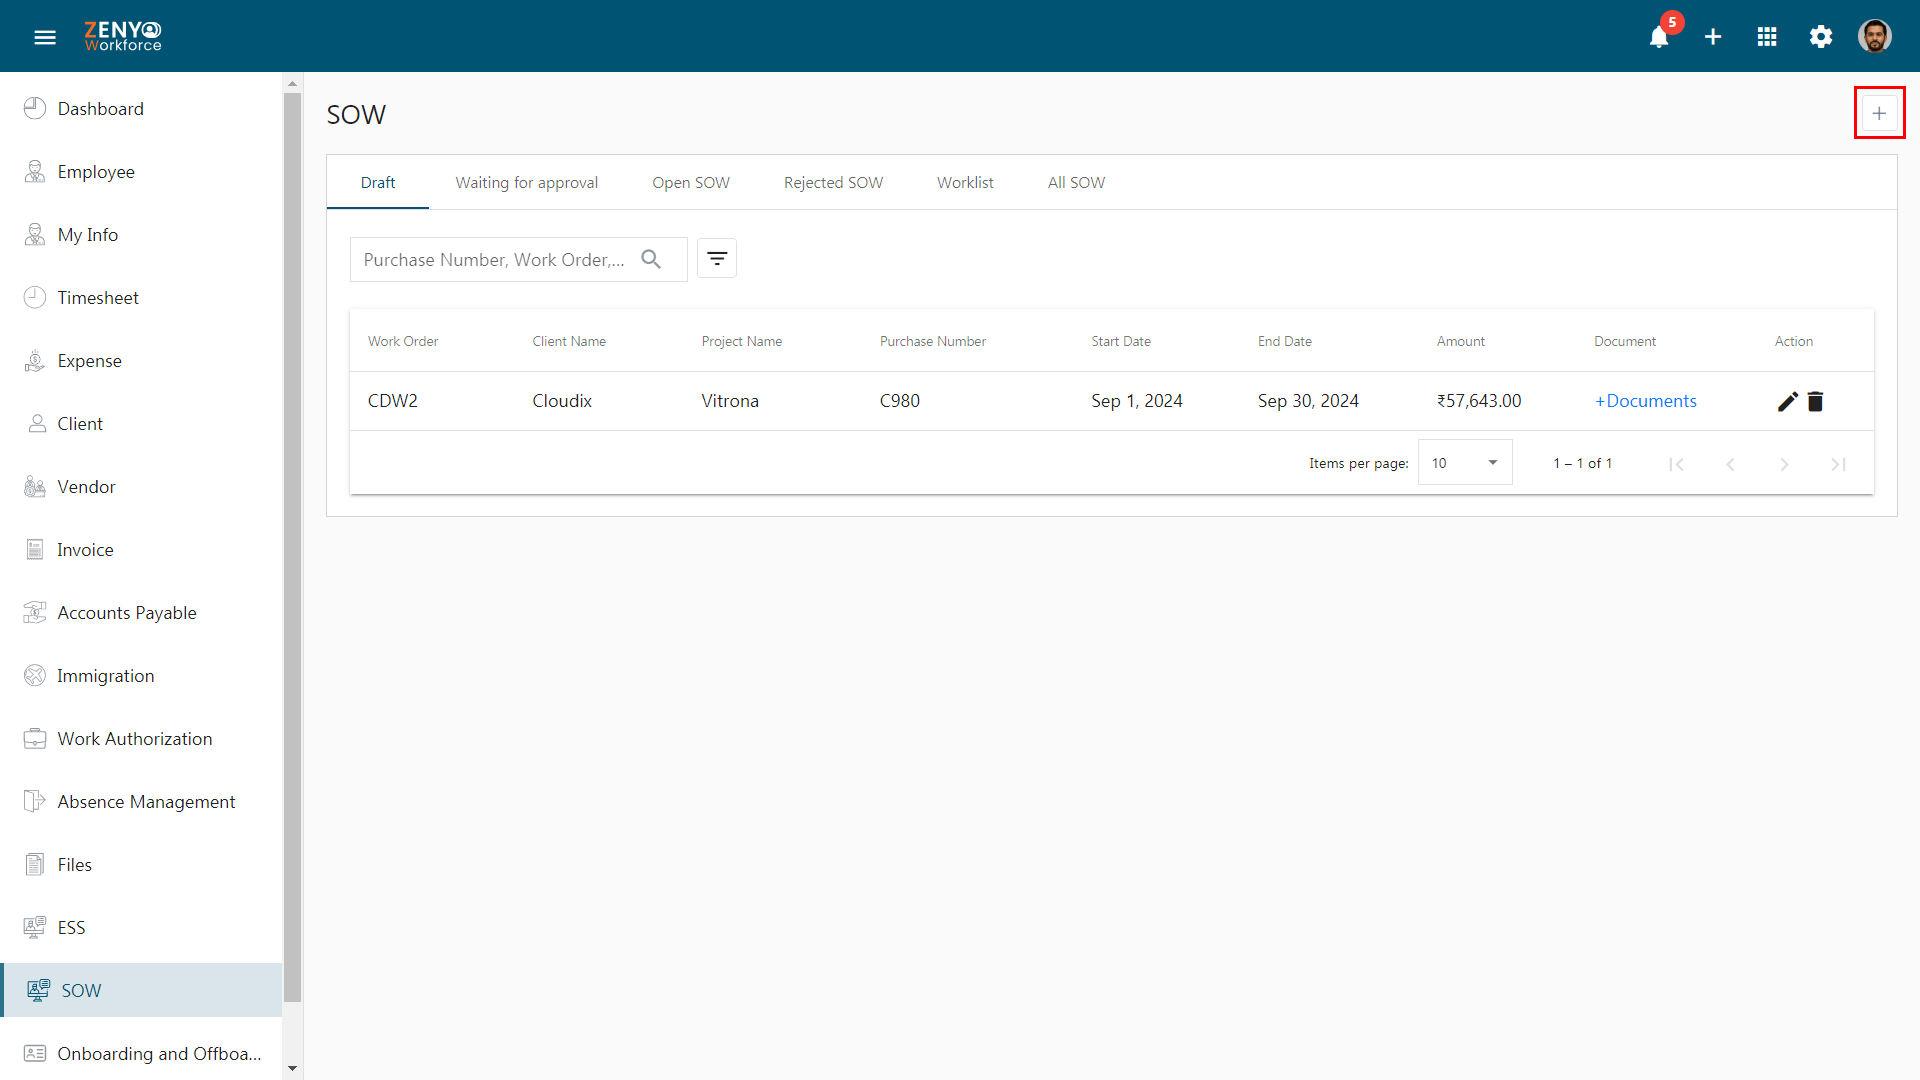
- The SOW page displays the four stages that need to be completed.
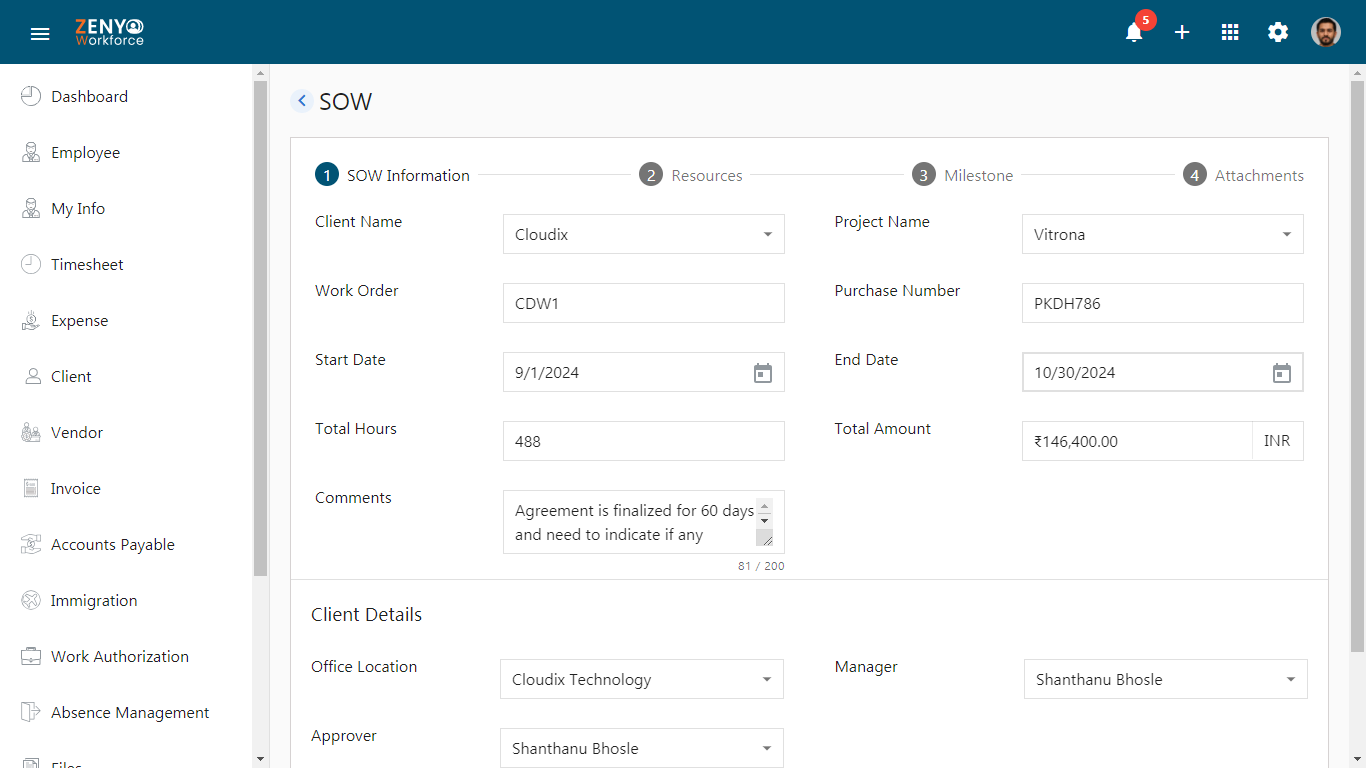
I. SOW Information
II. Resources
III. Milestone
IV. AttachmentsI. SOW Information
- Select the Client Name from the list of options.
- After selecting a client, the Work Order number will automatically appear.
- Select the Project Name from the dropdown.
- Enter the Purchase Number, Total Hours, and Total Amount along with the currency, and Start and End Dates. Leave Comments if needed.
- In the Client Details section, select the Office Location, Manager, and Approver. Click Next to proceed to the Resources section.
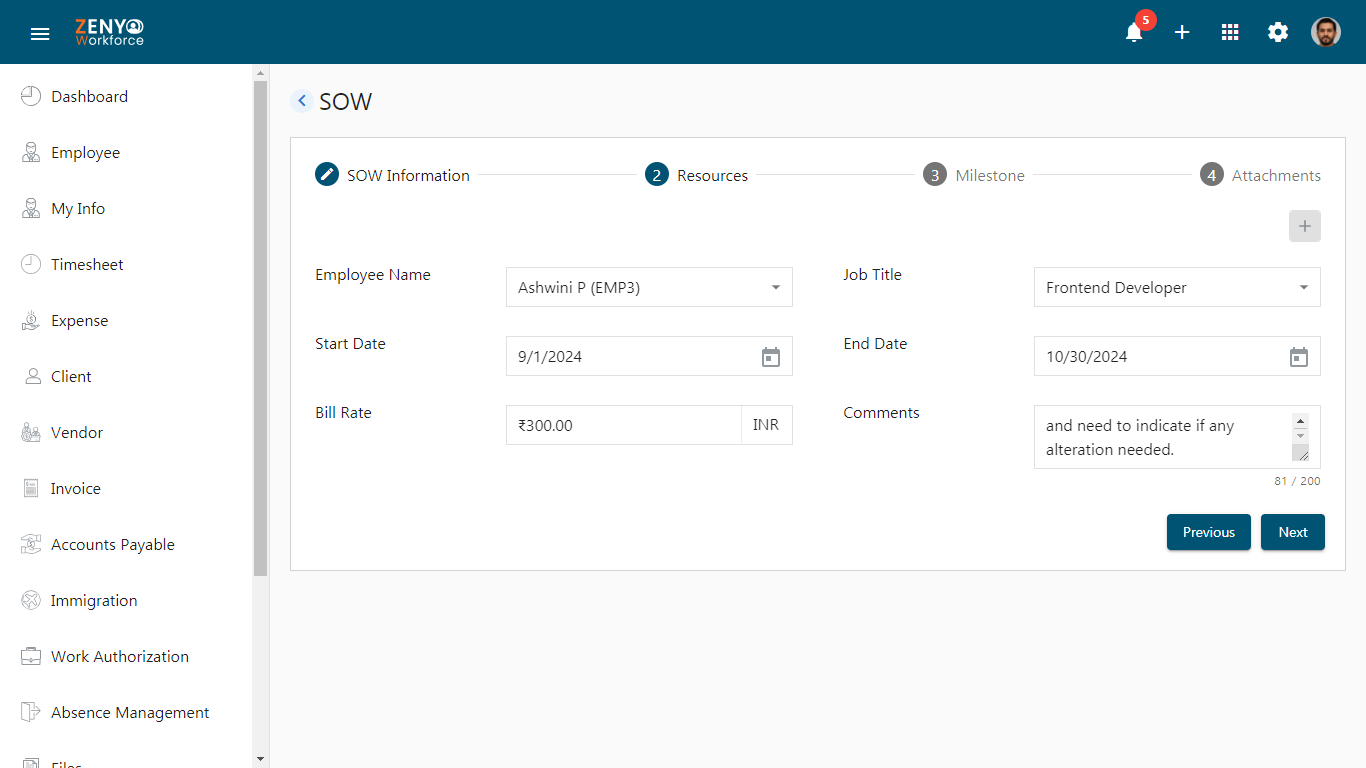
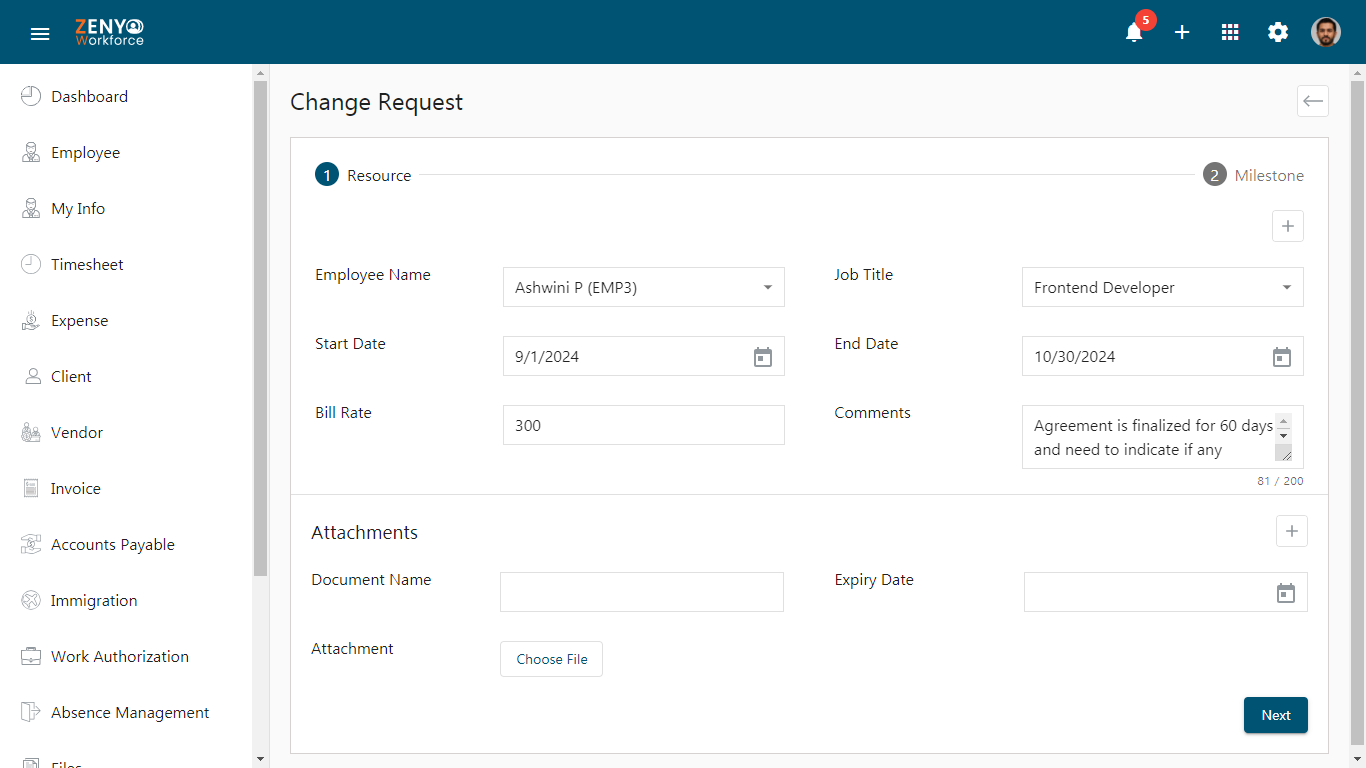
II. Resources
- Assign employees for this SOW by selecting the Employee Name, Job Title, Start and End Dates, and entering the Bill Rate along with the currency. You can also add Comments if needed.
- You may add extra resources by clicking the Add icon at the top of the page.
- You can remove the extra resource by clicking the Remove icon.
- Click on the Next button to proceed to the Milestone section.
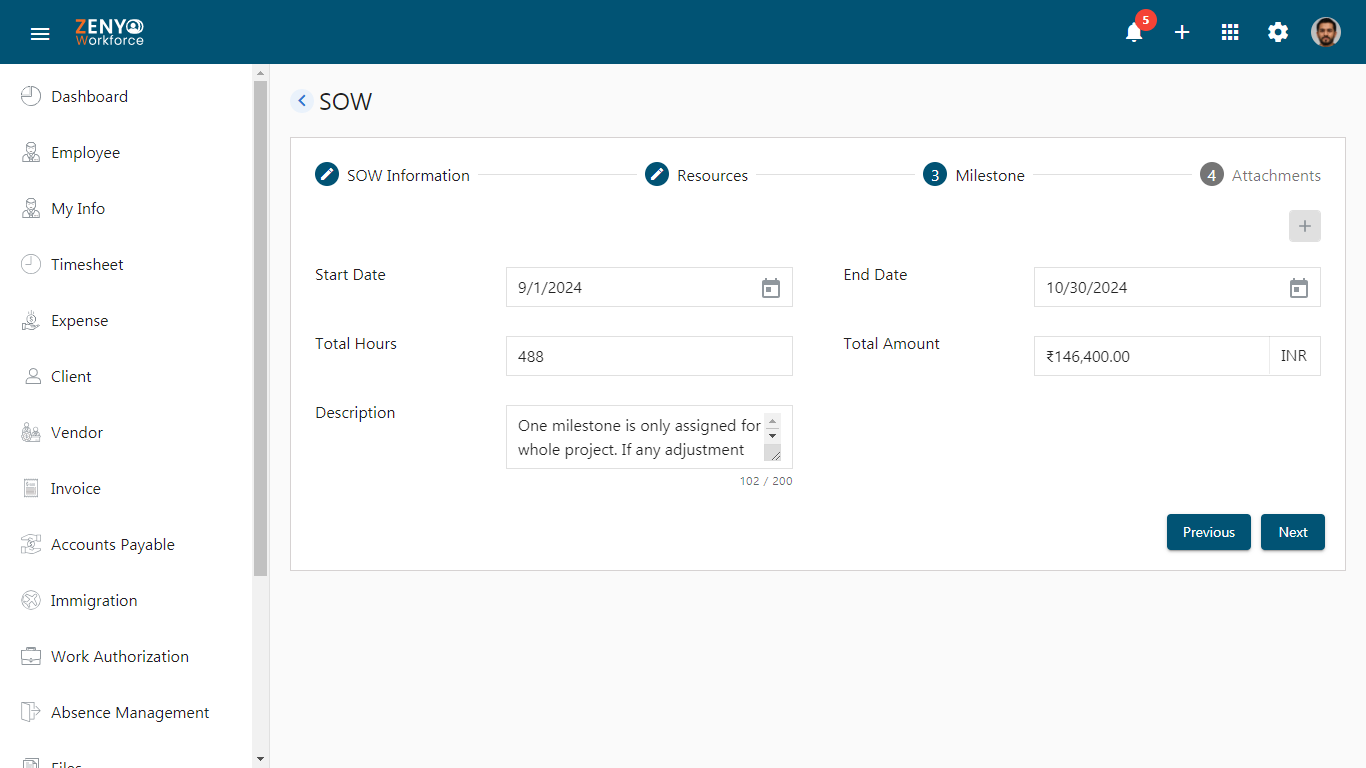
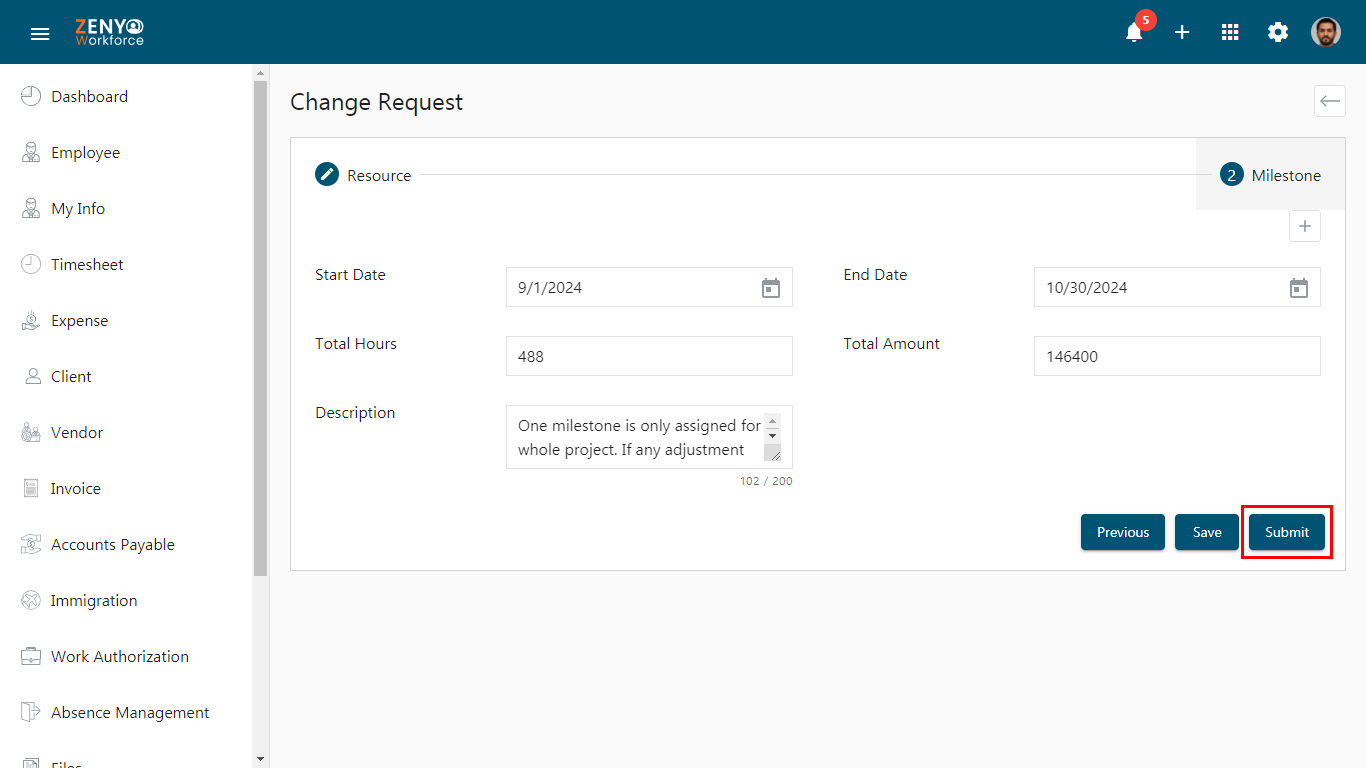
III. Milestone
- To set the Milestone, enter the Start and End Dates and enter the Total Hours, Total Amount with the currency, and Description.
- Add or Remove the milestones using the respective icons.
- Click the Next button to proceed to the fourth and final step, where you will add attachments.
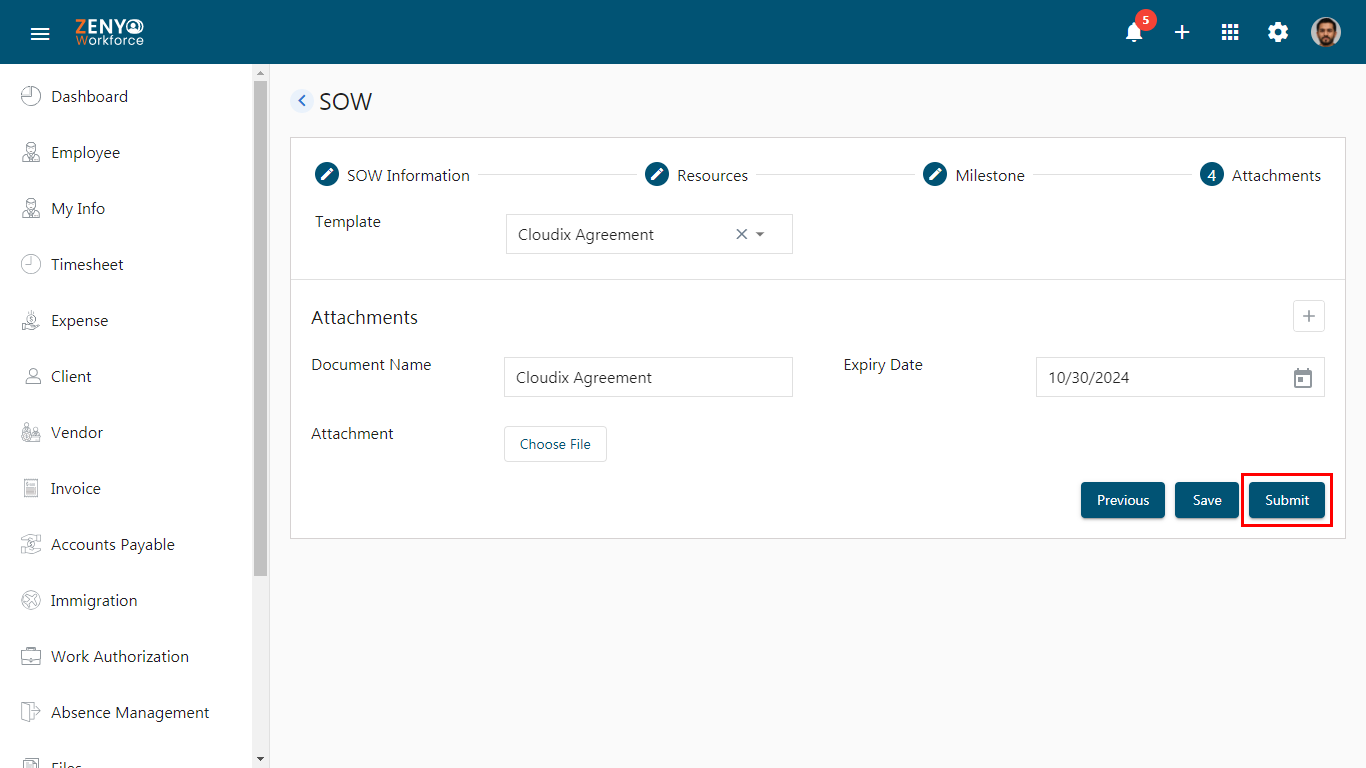
IV. Attachments
- Before adding attachments, you need to create an SOW Template for the client. To do this, refer to the steps under the heading How to Access Client Information in the Client module.
- After creating the SOW Template, proceed to add the attachment details. In the Attachment section, enter the Document Name and Expiry Date for the document, and attach a file by clicking the Choose File button.
- Click on the Add icon to add more attachments.
- You have the option to Add or Remove the extra attachment by clicking on the related icon.
- Click Save to keep it as a draft or Submit to send the template for approval. You can also click the Previous button to go back to the previous section and make any necessary changes.
- The Draft tab shows SOWs that have been saved as drafts. This tab includes details such as Work Order, Client Name, Project Name, Purchase Number, Start Date, End Date, Amount, and Document. You can Edit or Delete these drafts by selecting the appropriate action.
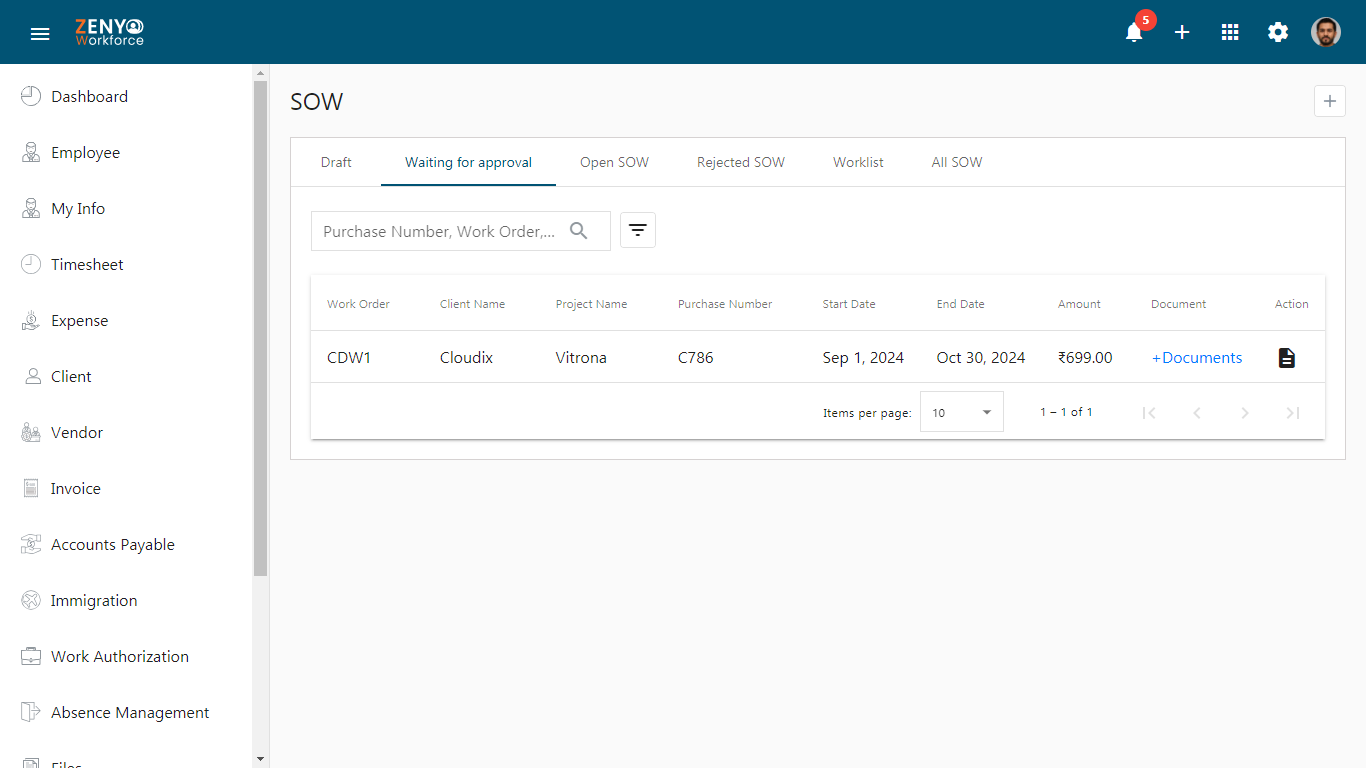
- The Waiting for approval tab displays SOWs that are awaiting approval. If you are an approver, you can view the submitted SOW details by clicking the View icon.
- You can approve the submitted SOW by clicking the Worklist tab. This tab shows all the SOWs that have been waiting for approval.
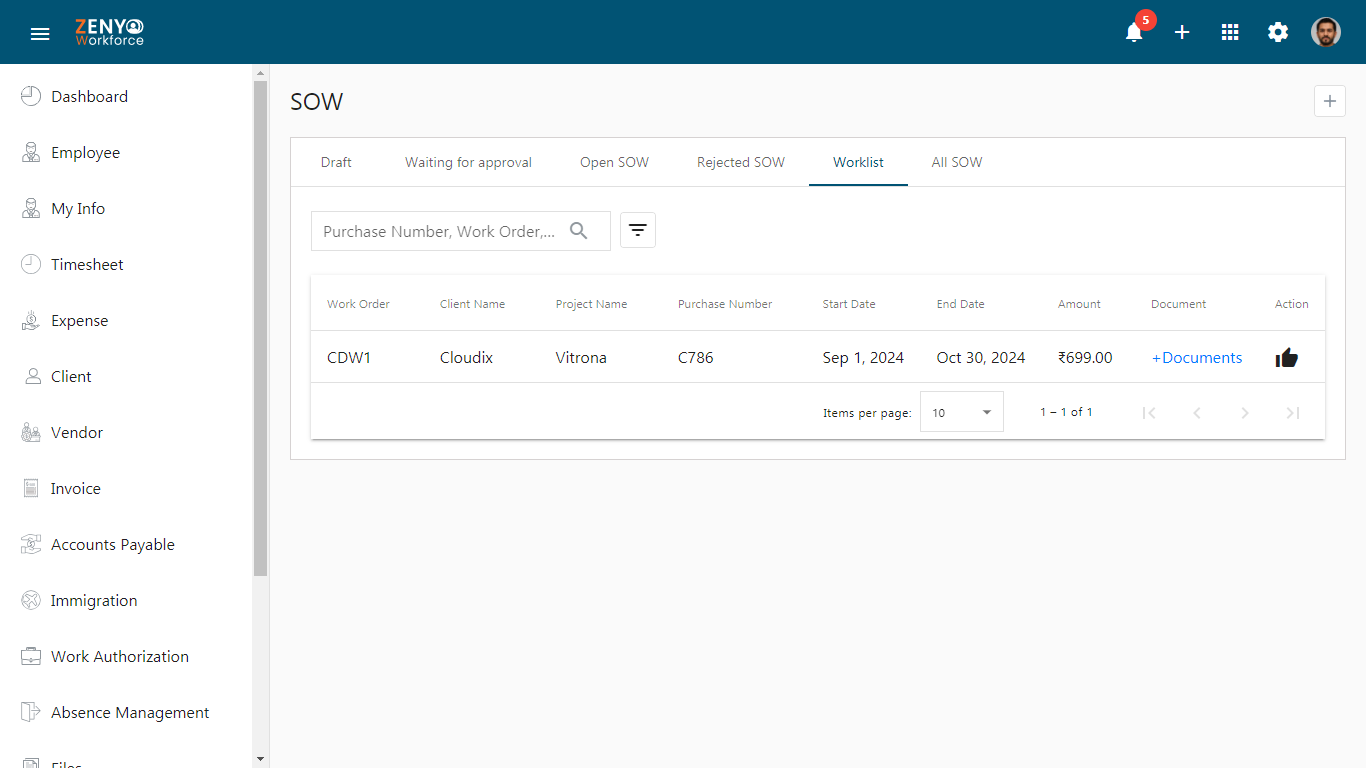
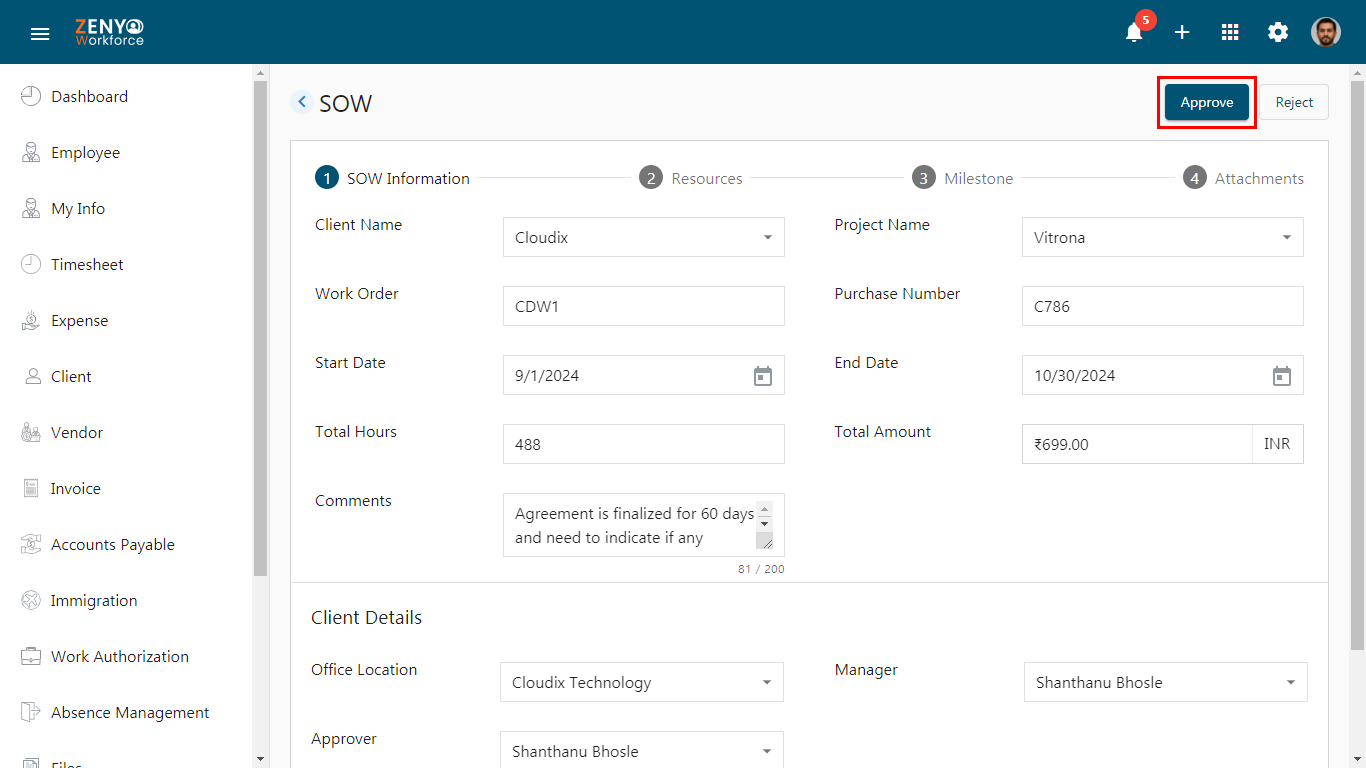
- On clicking the Approval icon, you will be directed to the SOW page, where you can approve or reject it.
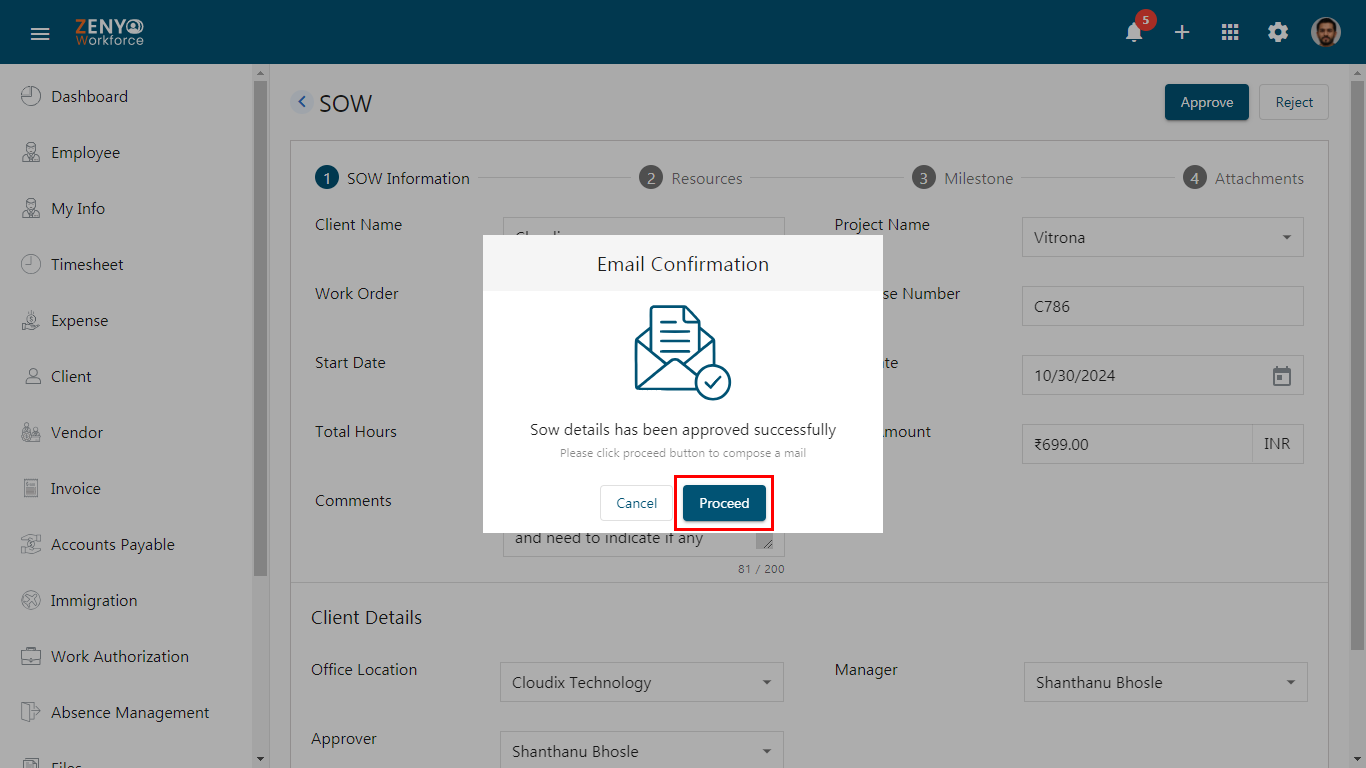
- On clicking the Approve button, a pop-up appears prompting you to send an email to the client, informing them of the SOW approval.
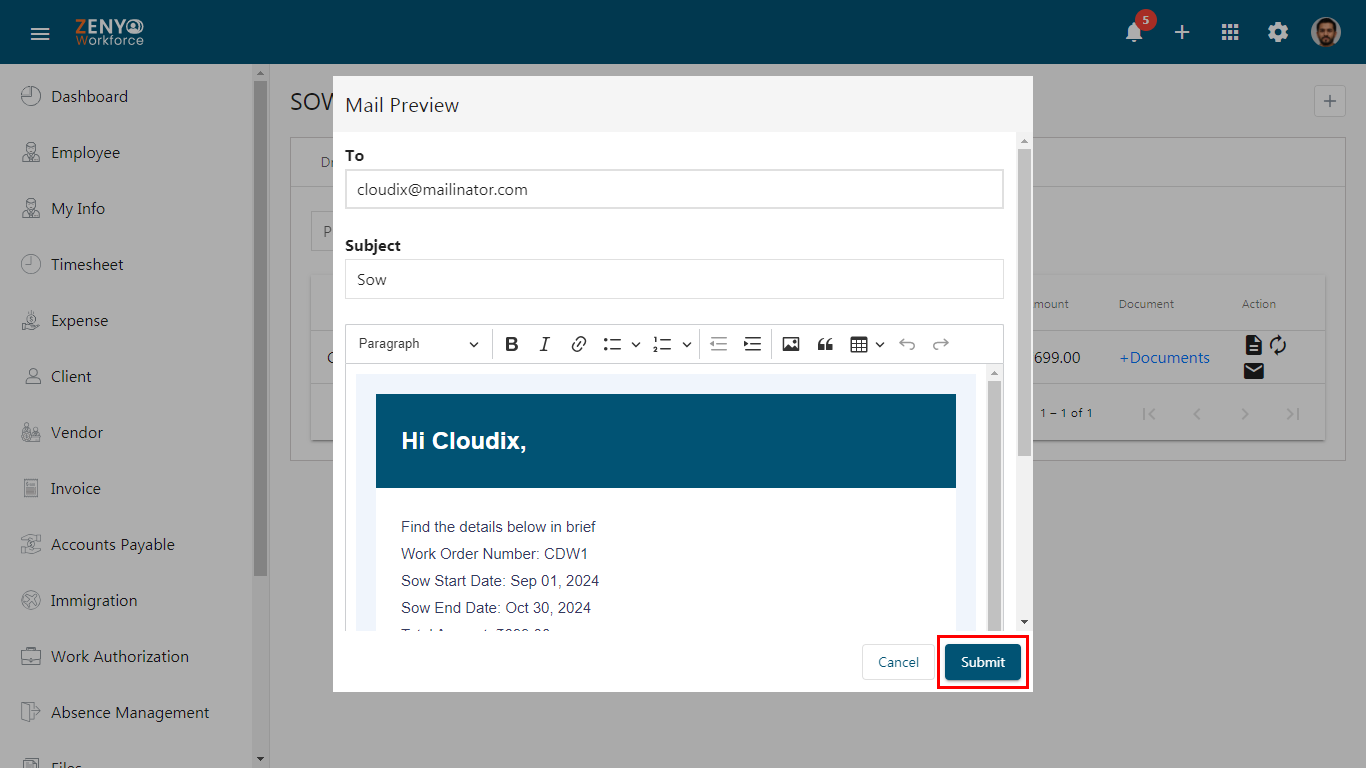
- Click Proceed to preview the email you will send to the client.
- The email ID and other details, including the SOW attachments, will be displayed in the email, and they are editable.
- Click on the Submit button to send an email.
- You may reject the SOW by selecting the Reject button.
- The Open SOW tab will show approved SOWs. Click on the View icon to view the generated SOW.
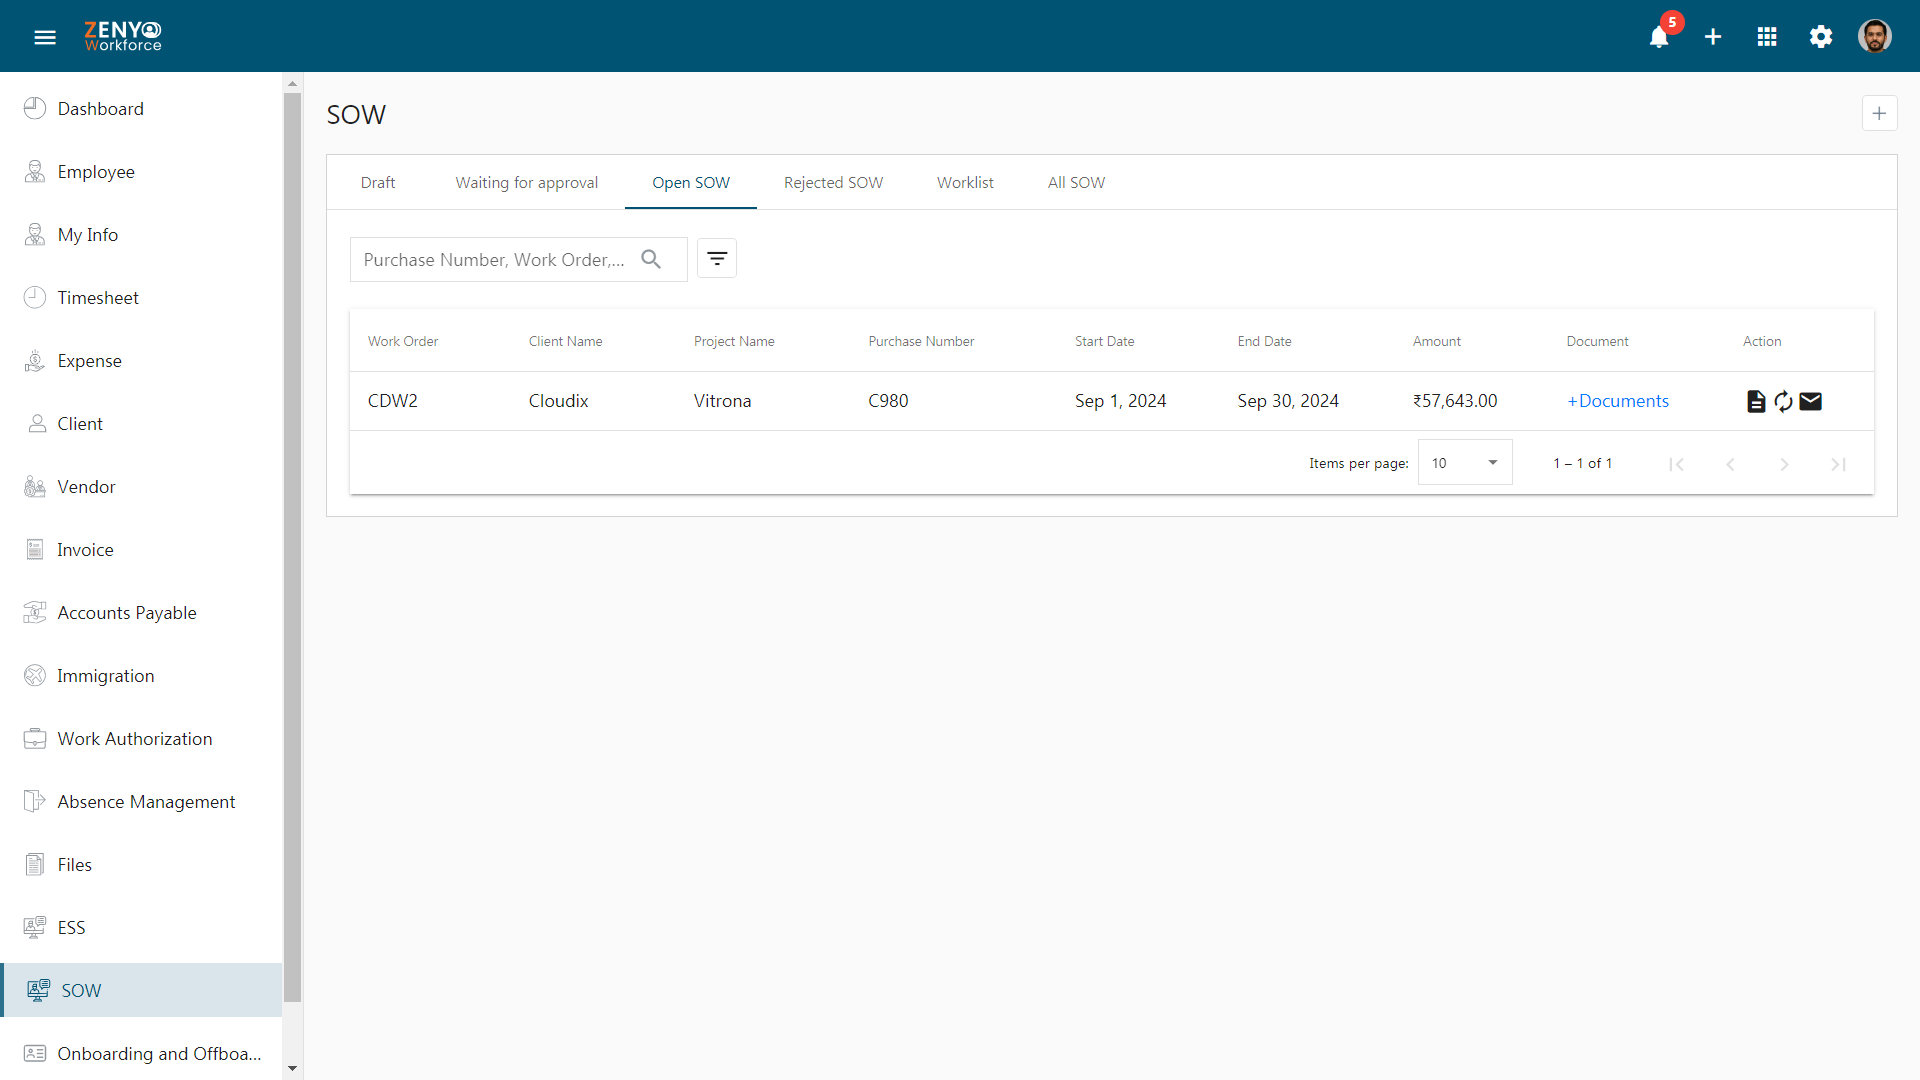
- By clicking on the Change Request icon, you can make changes to the Resource and Milestone details of an already-approved SOW by editing it.
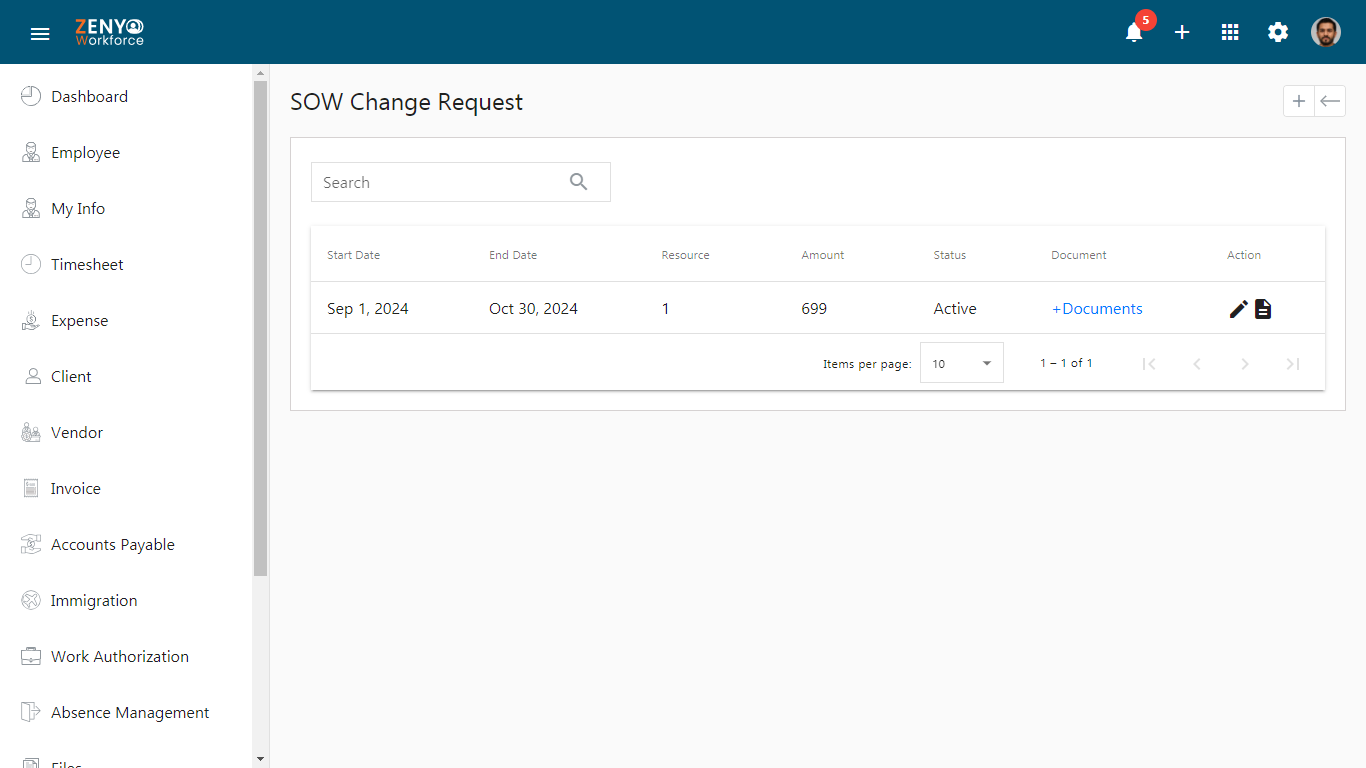
- You can either edit the change request details by clicking the Edit icon, referred to as the zero change request, or add a new one by clicking the Add icon, which is the new change request.
- After making changes in the change request page, you can click Submit to send it for approval again.
- Click on the Sent Mail icon to mail the approval of the SOW details to the client.
- By clicking on the Change Request icon, you can make changes to the Resource and Milestone details of an already-approved SOW by editing it.
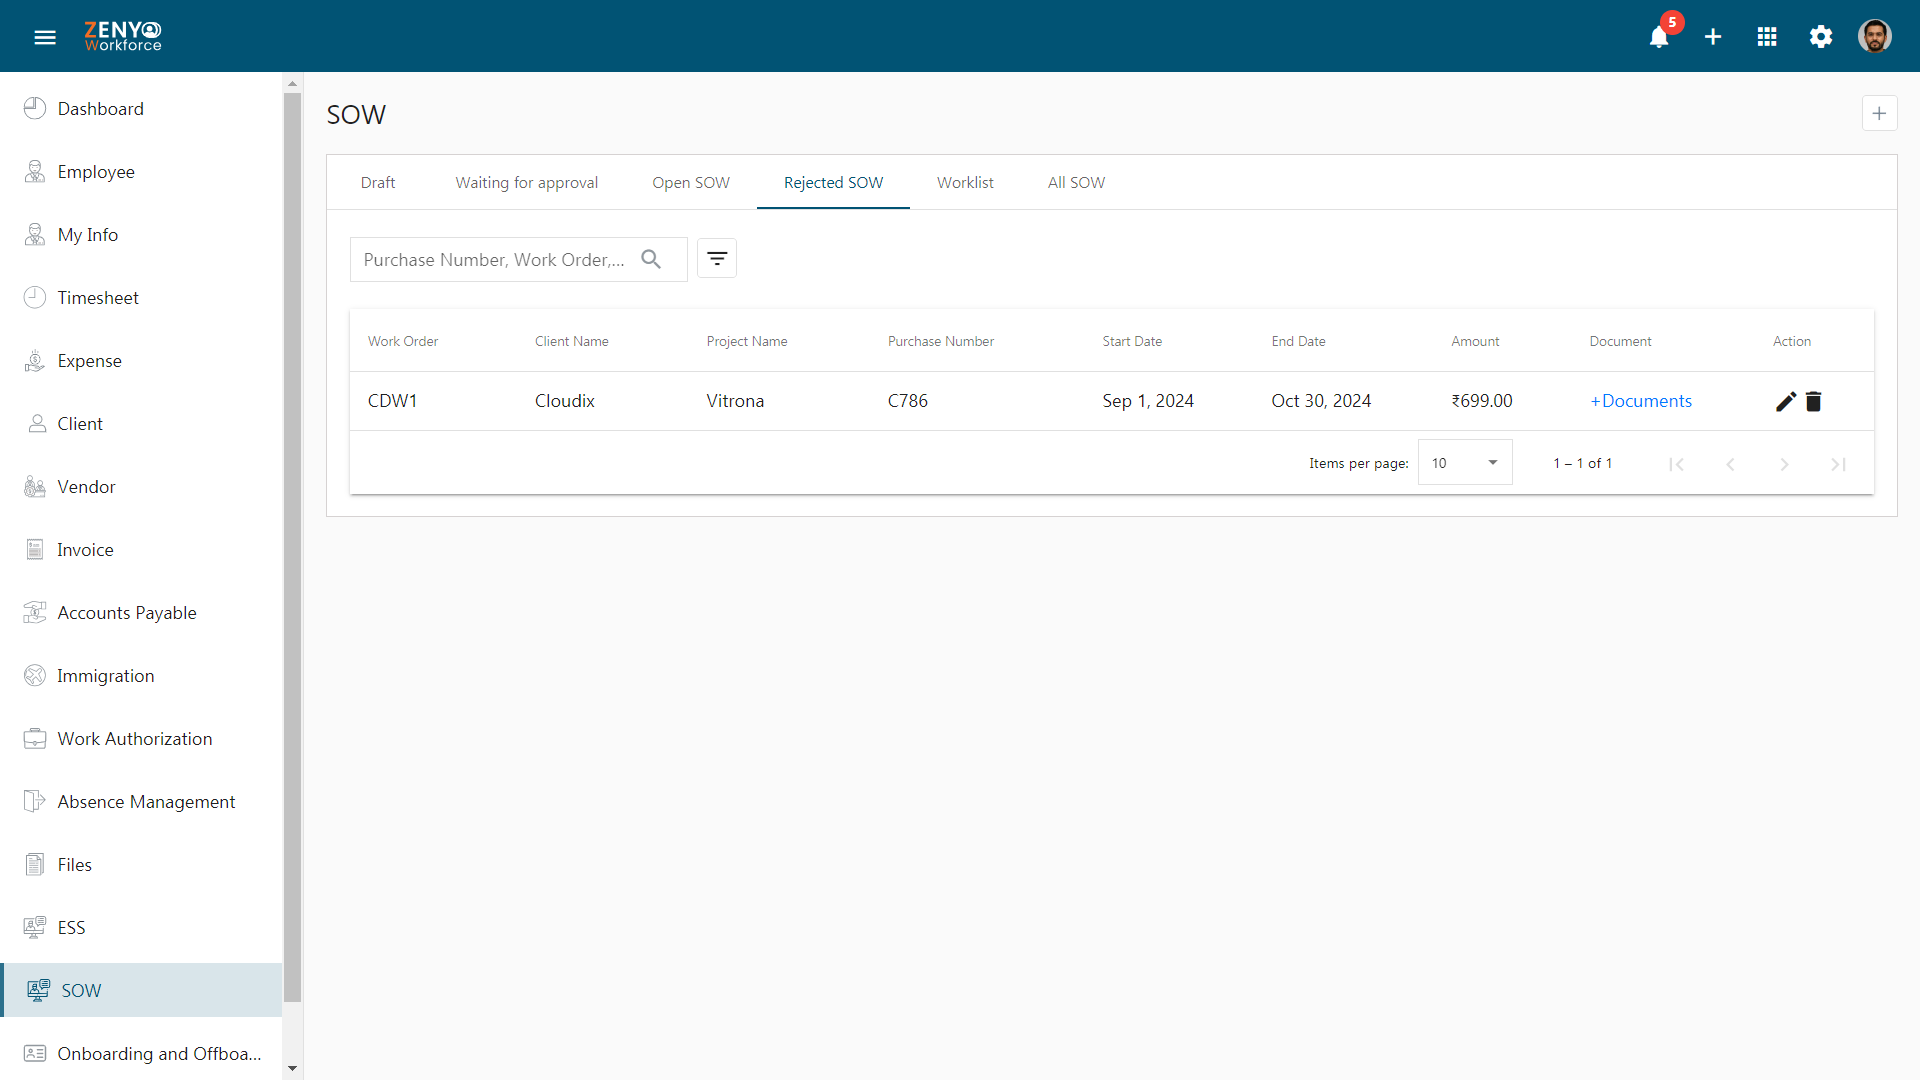
- The tab labeled Rejected SOW contains a list of SOWs that were rejected.
- The All SOW tab shows all the SOWs created for clients, including those that are in submitted, approved, and rejected status.
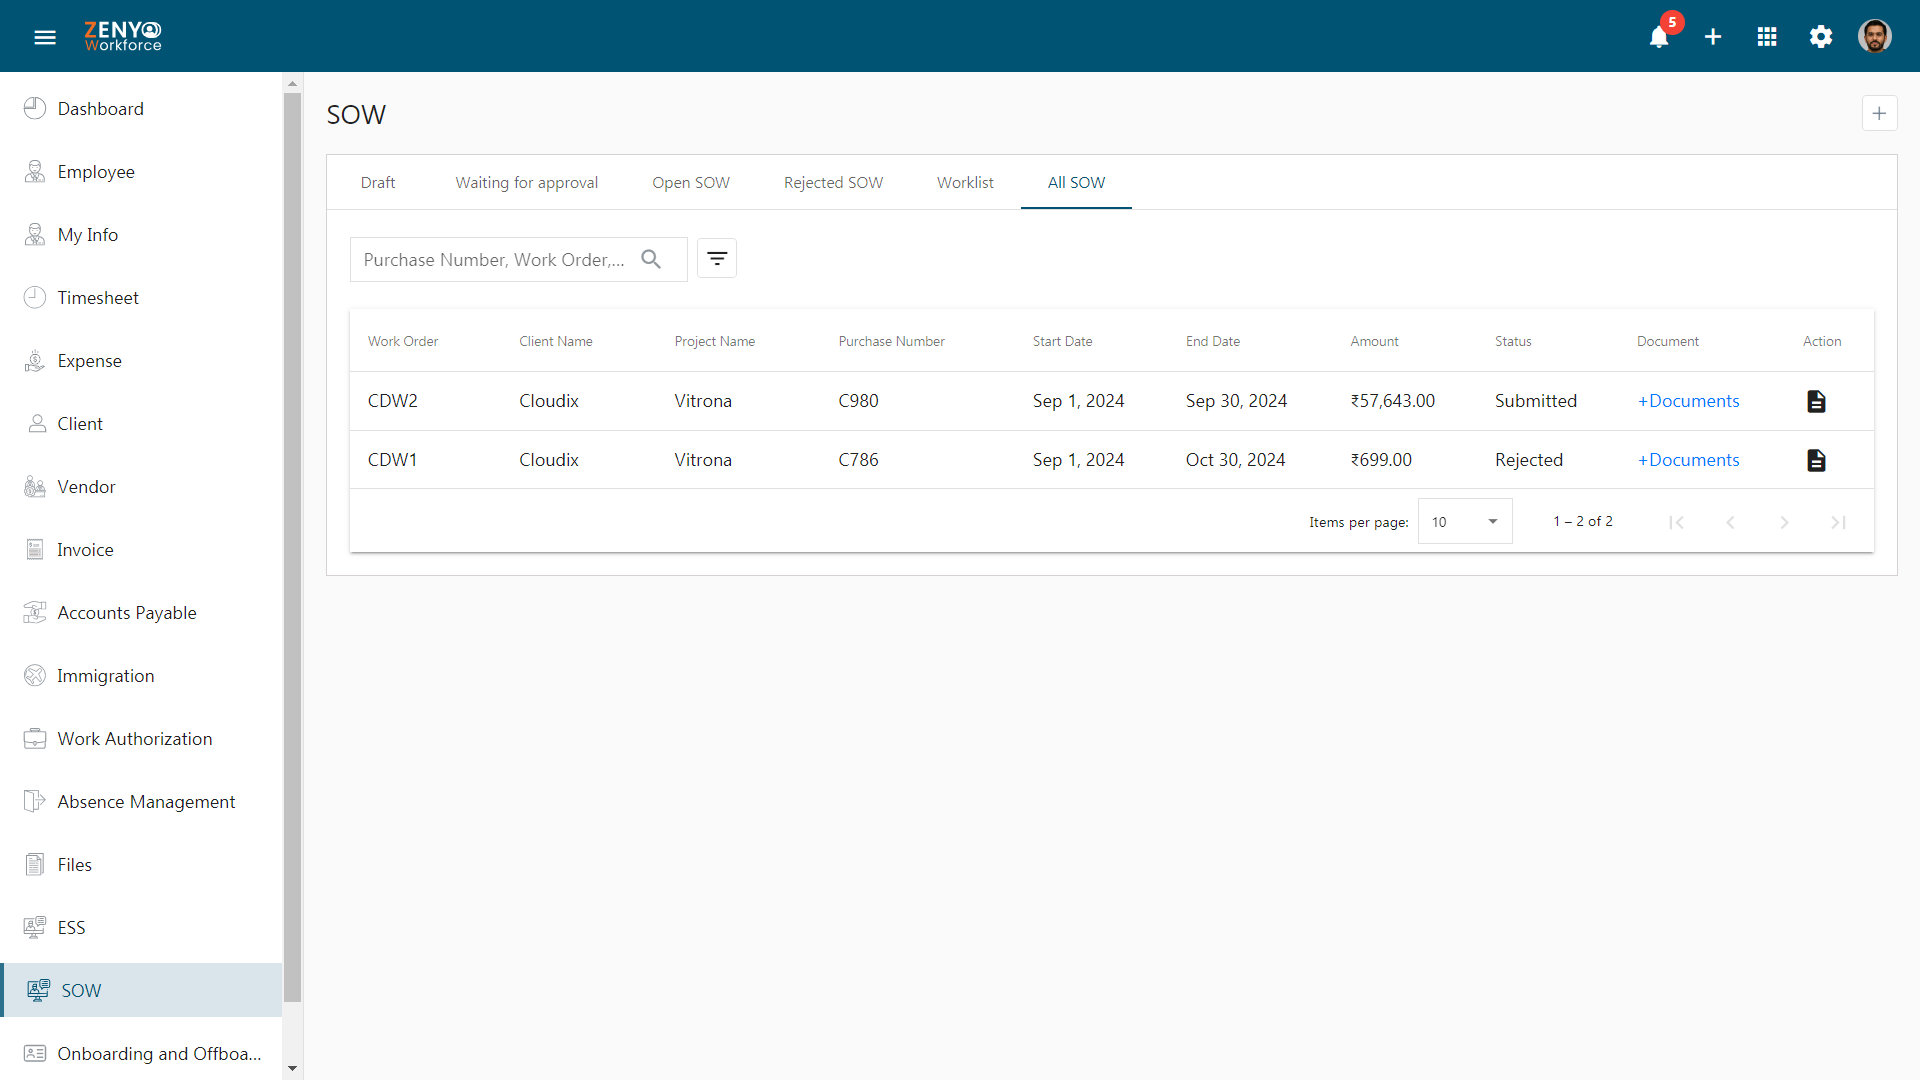
- You can filter the SOWs by selecting a date range using the Filter option at the top. Once the filters are set, click Apply.
- To search for a specific SOW, use the Search bar provided.
